
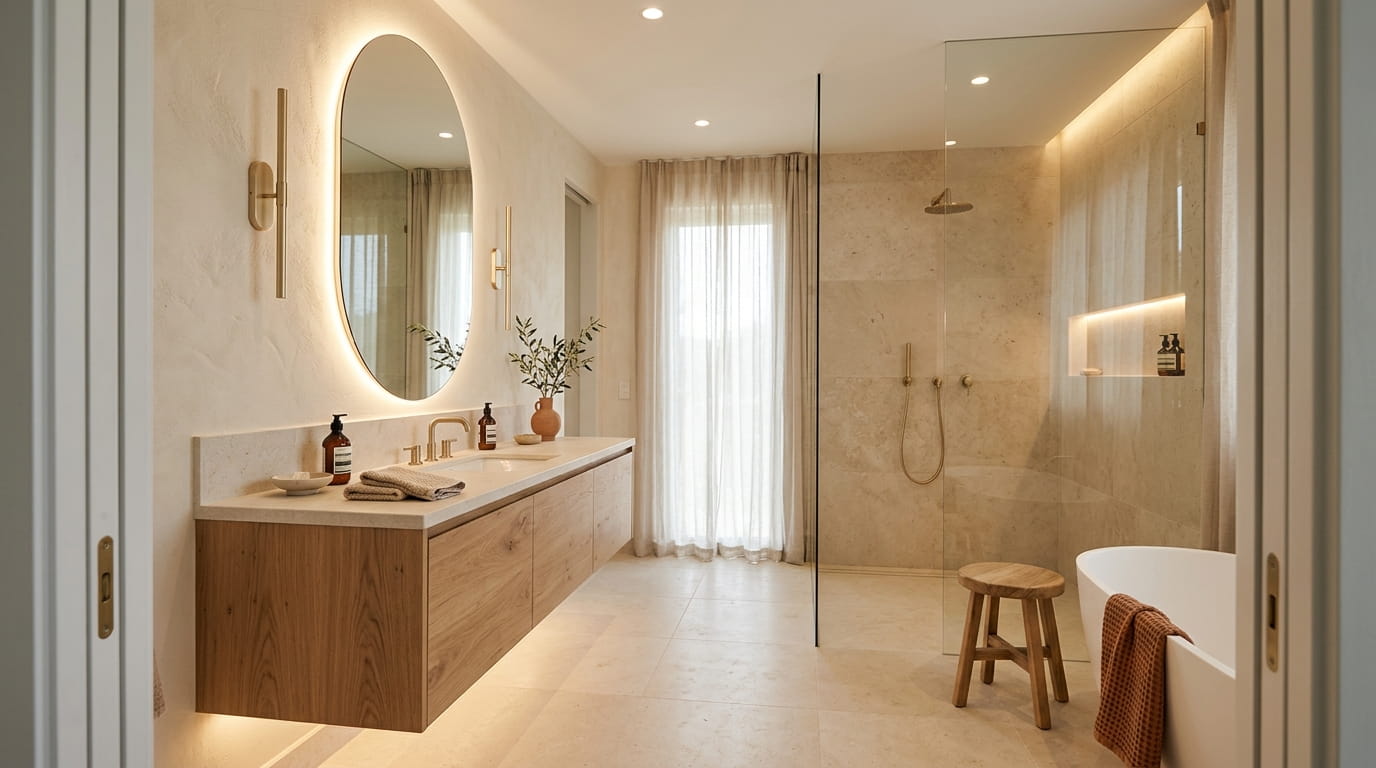
Most bathrooms have one light in the middle of the ceiling and hope for the best. That’s why you can look tired in the morning mirror and why the room feels flat at night. Layering bathroom lighting sounds like a designer term, but it just means using three kinds of light that each do a different job.
The fix doesn’t require an expensive fixture. It starts with knowing what each light is for. Ambient light fills the room. Task light helps you see your face and hands clearly. Accent light adds depth to the walls, the tile, or the shelf you care about.
Once you split the light this way, the room starts working for you. You can get ready without squinting, shower without glare, and dial the whole space down to a soft glow when it’s time to wind down. The 14 moves below are practical, and a few cost almost nothing. Others take an afternoon, but you can do them one at a time.
1. Start With the Ceiling Light, Then Check How Dark the Corners Get
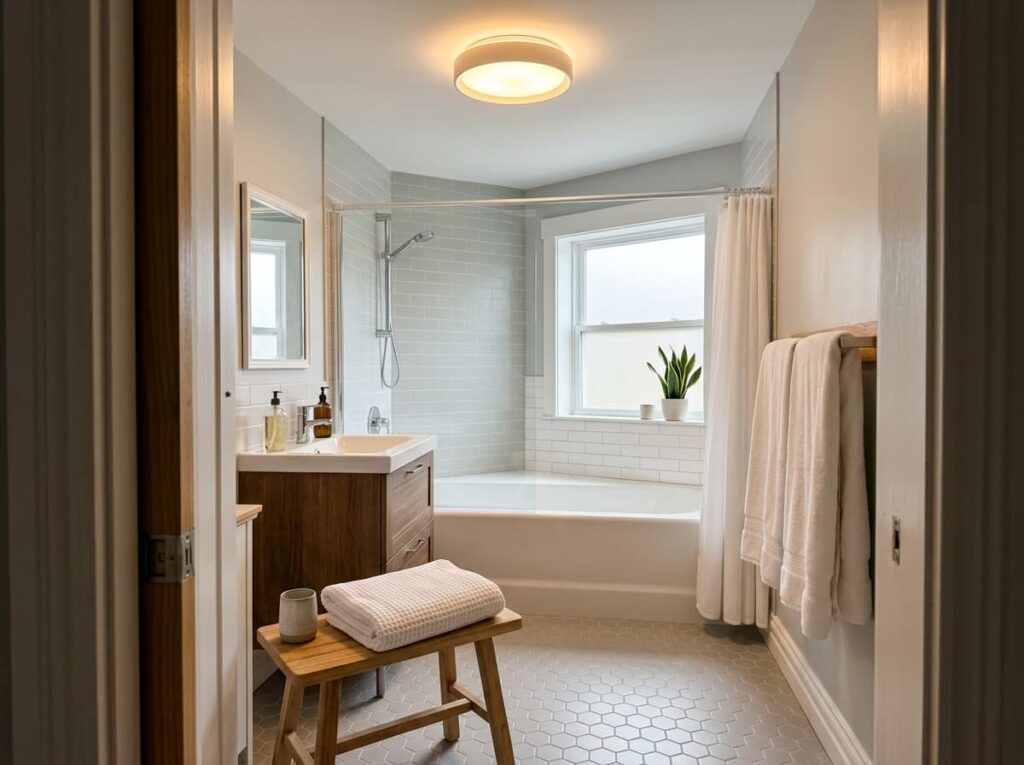
Your ceiling fixture is the base layer. Most people already have one, and its job is to fill the room with general light.
Turn it on, then walk to each corner and look back. If the spots by the tub or toilet feel like a cave, the base layer is too weak or too high. Good ambient light makes the room feel even, so you can see the floor, the sink, and the shower door without hunting for a switch.
2. Put a Vanity Light on Each Side of the Mirror, Not Just Above It
Here’s the problem with a light bar over the mirror. It sits above your head, so it shades your eyes, nose, and chin. Your face ends up with shadows right where you need the least.
Side lights fix that. When fixtures sit on each side at about eye height, light reaches your face from two directions and the shadows soften. It’s the same reason makeup artists like lights on both sides of the mirror.
Side fixtures need wall space and wiring, so check before you buy. If the wall is already finished, a plug-in or battery model can give you a test run first.
| Light above the mirror | Lights on each side |
|---|---|
| Shadows under the eyes and chin | Softer, more even light on the face |
| Best for quick, simple updates | Best for daily grooming and makeup |
| Easiest install, one fixture | Needs wall space and wiring |
3. Choose a Warm White Bulb Around 2700K for Skin That Looks Like Skin
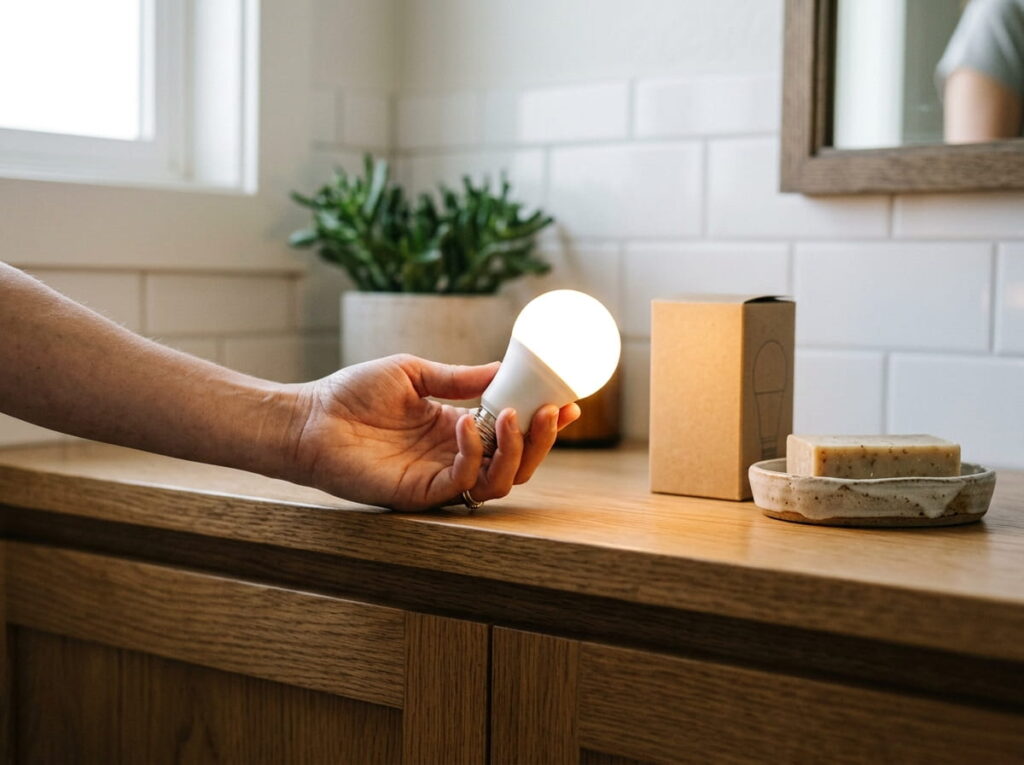
Bulb color is the detail most people skip, and it changes everything. Cool white light, the bluish kind you see in offices, makes skin look gray and tired. Early mornings and late nights are when that hurts most.
Look for 2700K to 3000K on the box. That range reads as warm white, close to the glow of a bedside lamp. It flatters skin tones and keeps tile and wood from looking washed out.
Stick to one color temperature across the room. Mixing a warm vanity bulb with a cool ceiling light makes the room look patchy, even when each bulb is fine on its own.
💡 Quick Tip
If the box lists a CRI of 90 or higher, the bulb shows colors more accurately. Your makeup match and your towel color will look closer to how they look in daylight.
4. Use a Dimmer on the Main Light So You Can Drop the Glare at Night
A bathroom that’s bright at 6 a.m. isn’t always the right brightness at 10 p.m. The same full blast that helps you shave can feel harsh when you’re brushing your teeth before bed.
A dimmer on the main fixture gives you control without adding anything new. Check that your bulbs are labeled dimmable first, because some LEDs buzz or flicker on older dimmer switches. Pair a dimmable LED with a compatible dimmer, and the room goes from bright to soft with one turn of the knob.
Use the dimmer together with your accent layer, and the bathroom feels calm at night without any extra shopping.
One bright overhead light on full all day, glare off the mirror, and a harsh feel at bedtime.
A dimmer on the main light, low settings at night, and full brightness only when you shave or put on makeup.
5. Add a Task Light Over the Shower Area Where You Shave or Apply Makeup

Shaving and eyeliner are small jobs that need direct light. The ceiling fixture won’t cover them well, because your own head often casts a shadow right on the work.
Put the task light where your hands go, not just where your face goes. Many people mount it above the mirror, and that works. If you want light near the shower, pick a fixture rated for wet or damp locations and mount it outside the spray zone. The rating is printed on the box, so check it before you buy.
Once it’s installed, run a quick test. Stand where you normally stand, look at your reflection, and see whether your hands are sitting in your own shadow.
What to grab first
6. Tuck LED Strip Lighting Under a Floating Vanity for a Soft Floor Glow
A floating vanity can look like it’s hovering, and LED strip lighting makes that look work for you. Run a strip along the underside of the cabinet, and light spills onto the floor. The bottom edge glows instead of ending in a dark gap, so the room feels lighter.
Most strips come on reels with marked cut points, so measure the cabinet length first. Stick the strip under the cabinet with its adhesive or a clip channel, hide the plug and driver, and connect it to a switch you can reach. Choose the same warm tone as your other bulbs.
Strip light works best as a night layer. At full brightness it can look like a runway, so keep it dim or put it on a timer.
7. Light the Toilet Area Separately with a Low Motion Sensor Night Light
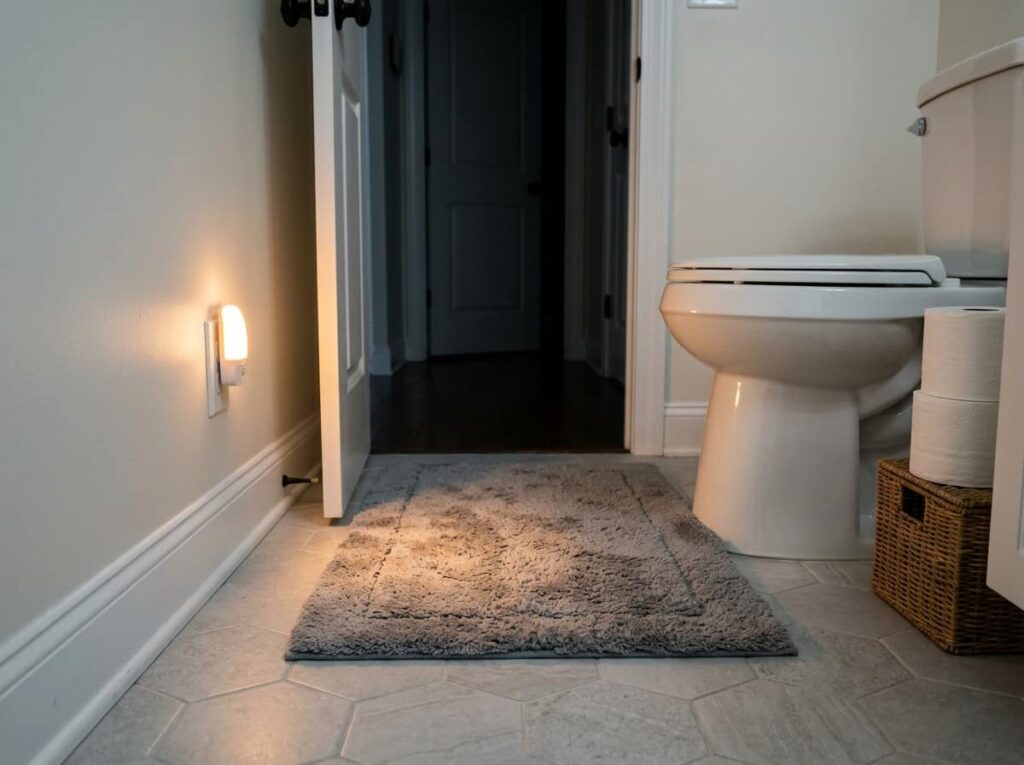
Night trips to the toilet are where bright lights do the most damage. A full blast at 2 a.m. hits your eyes hard, but fumbling in the dark isn’t much better.
A motion sensor night light handles both problems. Mount it low, on the wall beside the toilet or along the vanity base, so the light points down at the floor and not into your face. Warm, low output works better than a cool bright bulb here.
Test it in the dark before you call it done. If it triggers from the hallway before you reach the door, adjust the angle until it only responds to the path you actually walk.
Pick a sensor light with warm white light and low output.
Mount it low and aim it at the floor path from the door to the toilet.
Set the timer so it shuts off a minute or two after you leave.
Test it in the dark and adjust the angle until it ignores the hallway.
8. Aim a Small Accent Spot at Textured Tile or Wallpaper to Add Depth
Flat paint and smooth tile reflect light evenly, so the room can feel like a box. A small accent light fixes that by pulling attention to one surface with texture, like stone tile, a stripe, or a patterned wallpaper.
The angle matters more than the wattage. Light that grazes the wall picks up every ridge and grain. Light that hits the surface straight on tends to wash it out and flatten the pattern. A shallow angle is the goal, and you can check it after dark by turning off the other lights.
Keep the accent to one or two surfaces. Lighting every wall makes the bathroom look like a showroom, and that’s a lot of effort for a room you use in the morning.
Aim the light at a shallow angle so the texture shows.
Light one or two surfaces, like a tile wall or a feature panel.
Pointing the light straight at the wall, which washes out the pattern.
Lighting every wall at once, which makes the room feel staged.
9. Skip Recessed Lights Directly Over the Mirror, Since They Cast Hard Shadows

Recessed cans look clean in a ceiling, so it’s tempting to put one right above the sink. The problem is that a light straight overhead drops shadows under your eyes and nose. The mirror ends up showing the exact shadows you were trying to avoid.
If the ceiling is your only option, move the recessed light a bit forward, toward the room, so light reaches your face at a gentler angle. Then add side lights or a task fixture so the overhead layer isn’t doing all the work.
A quick check helps. Stand at the sink and look at your reflection. If your eyes sit in shadow, the fixture is too direct.
⚠️ Watch Out
A recessed can right over the sink is one of the most common reasons faces look shadowy in the mirror. Move it forward or add side light instead.
10. Hang a Pendant or Sconce Pair Beside a Tub to Anchor the Room’s Look
A tub wall can feel like empty space, especially in a room full of tile. A pendant hung above a freestanding tub, or a pair of sconces on either side of a built-in tub, gives the eye a place to land. The room looks more finished the moment one fixture is in place.
Pick a fixture rated for damp locations, since it sits close to steam and spray. Hang a pendant so its bottom sits well above head height, and mount sconces near shoulder level. Match the metal finish to your faucet so the pieces read as one design.
Put these lights on a dimmer or their own switch. Kept low, they add a warm glow that feels good when you run a bath.
11. Match Bulb Color Temperature Across Every Fixture So the Room Looks Even
Mismatched bulbs are easy to miss in a store and hard to miss in a bathroom. You buy the vanity bulbs on one trip, the ceiling fixture a year later, and suddenly one corner looks blue while the mirror looks gold.
Check the Kelvin number on each box before it goes in the cart. Keep every fixture in the same range, like 2700K to 3000K, and buy from one product line if you can. Brands often match their bulbs across sizes and shapes, which saves guessing.
Replacement bulbs are the usual trap. When one burns out, grabbing whatever is on sale can throw the whole room off.
| Mixed bulbs | Matched bulbs |
|---|---|
| Patchy color from one wall to the next | Even color from the door to the tub |
| Replacements picked up on impulse | One bulb type written down and reused |
| Skin looks cool in one spot and warm in another | Skin and tile read the same everywhere |
12. Layer a Backlit Mirror as a Soft Fill Light Without Adding Glare
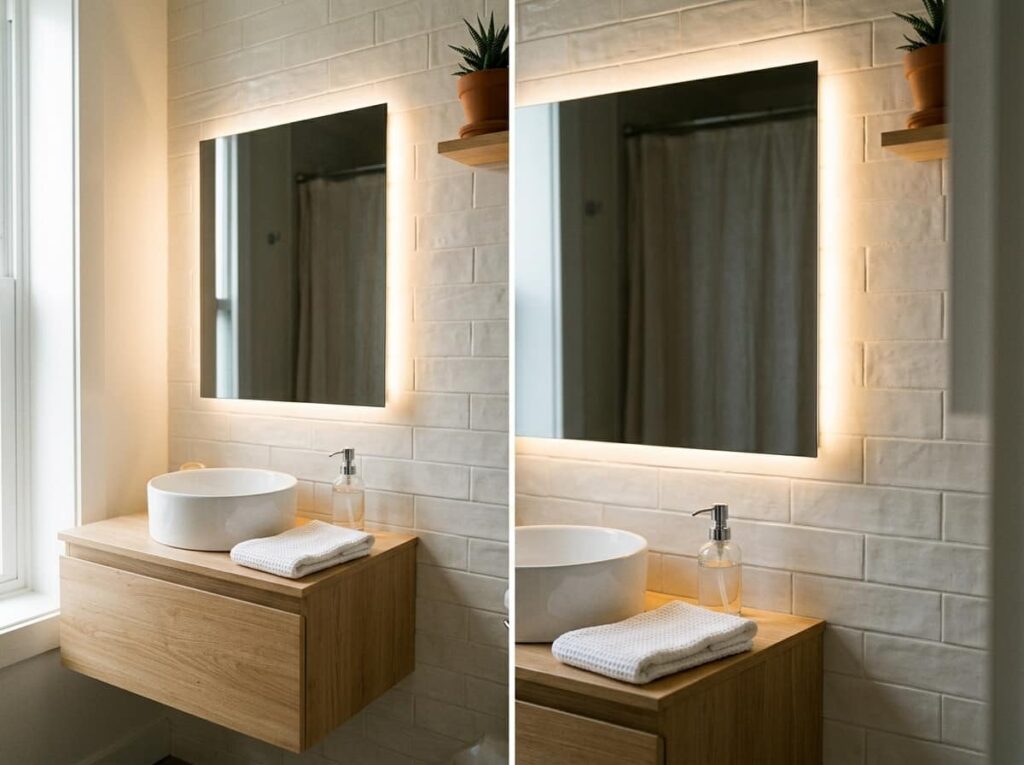
A backlit mirror has LED light built into or around the glass. Because the light comes from behind the reflection, it spreads over your face without the hard edge of a bare bulb. The shadows under your eyes soften, and you don’t get a glare spot in the middle of the glass.
It works well in a small bathroom where side fixtures won’t fit. Choose one with a warm color setting and a dimmer if it has one. Some models include a defogger pad, which helps on steamy mornings.
Most of these need hardwired power, so plan the wiring before you pick a size. A slim frame with light along the edges often looks more finished than a bulky one.
A backlit mirror gives your face soft, even light, so you get a fill layer without a glare spot in the glass.
13. Test Each Layer at Night Before You Call the Job Done
Lighting plans look great in a store and can feel different at 9 p.m. with the door closed. A quick walk-through catches most problems before they become daily annoyances.
Turn on each layer alone, then in combination. Use this check:
Night test checklist
Write down anything that needs a tweak, then move the fixture or swap the bulb. Small fixes at this stage are much easier than tearing into a finished wall later.
14. Give Each Layer Its Own Switch So You Only Light What You Need
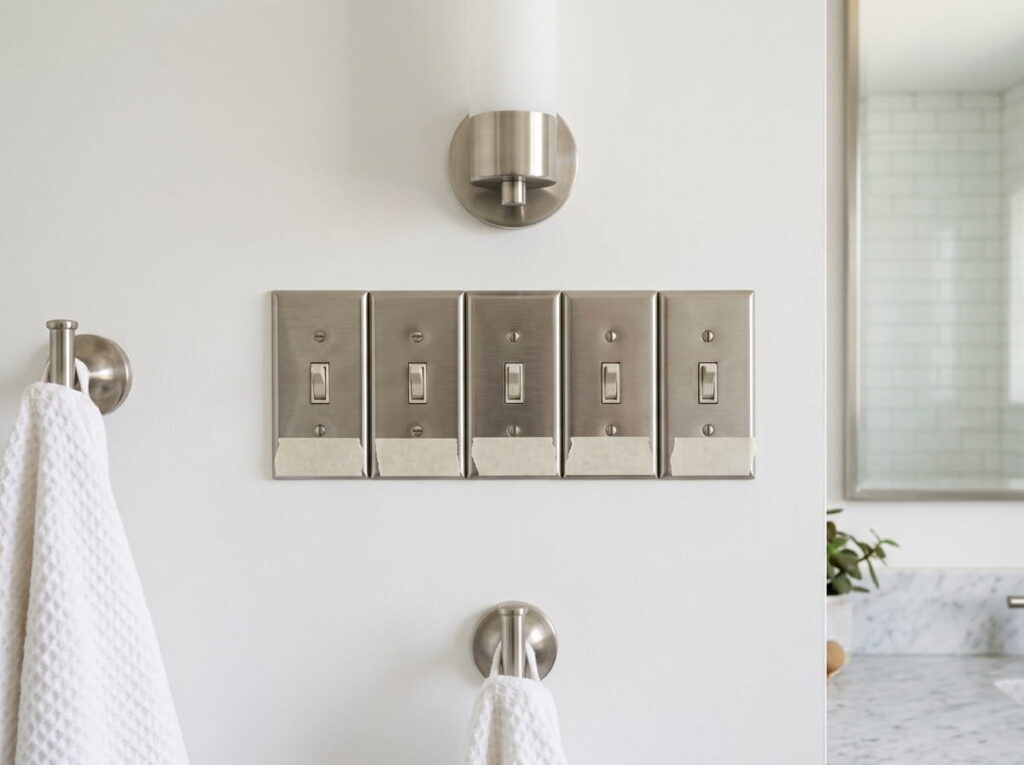
Many bathrooms have one switch by the door that controls everything. That’s why you end up with full brightness when you only wanted the mirror, or you stand in the dark to avoid the blast.
Wire or program the layers so each one turns on separately. A switch for the ceiling, one for the vanity, one for the accent, and a motion sensor for the night path gives you real choices. In some setups, a smart switch or a dimmer can handle part of this without new wiring, so check with an electrician before you commit.
If the switches are confusing, label them with a small piece of tape. Guests will appreciate it too.
One switch by the door runs everything at full strength, so a quick check at the mirror means lighting the whole room.
Separate switches for each layer, so a quick trip to the mirror uses only the light you need.
Final Thoughts
Layering bathroom lighting comes down to three jobs: a base layer for the whole room, a task layer for your face and hands, and an accent layer for the surfaces you want to show off. You don’t need to do all 14 moves at once.
Pick the two that fix your biggest annoyance, whether that’s harsh morning light or dark corners by the tub, and start there. Each change makes the next one easier to judge. Before long, the room will feel softer, more even, and much easier to live in. Save this list for the next time you plan a bathroom update, so you can come back to the checklists when you’re ready to start.
Leave a Reply