

Black and white tile looks sharp in almost every bathroom, right up until you pick the wrong grout. Go too light and every joint shows soap film within a week. Go too dark and you may spend your weekends wiping a faint chalky haze off the tile. Most advice says to choose whatever looks good, which is hard when you are staring at a tiny sample under a store light.
The real question is how your grout will look in your own bathroom, under your own lighting, next to your own tile. That is where grout color for black and white tile gets tricky. The tile is only part of the decision. The finish, the joint width, and the light coming through your window all change how the grout reads.
This guide walks through the choices in plain steps. You will see where each grout color works, which quick tests are worth your time, and what to check before you buy a single bag. By the end, you should be able to narrow the options to two, then pick the one that still looks right on a gray afternoon.
1. Compare Matching White Grout With Black Grout on White Tile

Matching white grout is the safe pick, and it works for plenty of homes.
White grout makes the tile look like one continuous sheet, which is lovely on install day. The catch is that light grout takes on everything. Shampoo residue, hair dye splashes, and the gray film from a damp towel all show up fast in the joints.
Black grout flips that look. Each joint becomes a crisp line, so the pattern reads bold and graphic. It also hides grime in the grooves better than white does. The trade-off is that dried water spots on the white tile next to it stand out more, so you will wipe the surface more often.
White grout on white tile looks seamless on install day, then the joints pick up soap film and turn a dull gray.
Dark grout on white tile draws a clean grid and hides grime in the joints, though you will need to wipe the tile surface more often.
2. Mid Gray Grout Hides Dirt Better Than Either Extreme
Plenty of people assume they must choose between a clean look and a practical one.
Mid gray grout sits between white and black, so the tile leads. The joints are visible enough to give the pattern structure, but they do not demand attention. Light dust and soap film blend in better than they would on pure white.
Shades vary a lot between brands. A name like “stone” or “smoke” tells you very little, so compare the sample against your actual tile before you commit.
| Light gray | Charcoal |
|---|---|
| Softens the grid on white tile | Makes the grid bold and high contrast |
| Hides light dust and soap film | Hides grime in the joints but shows white haze |
| Shows dark stains near the tub sooner | Shows white mineral deposits more clearly |
3. Warm White and Cool White Tile Each Need a Different Grout
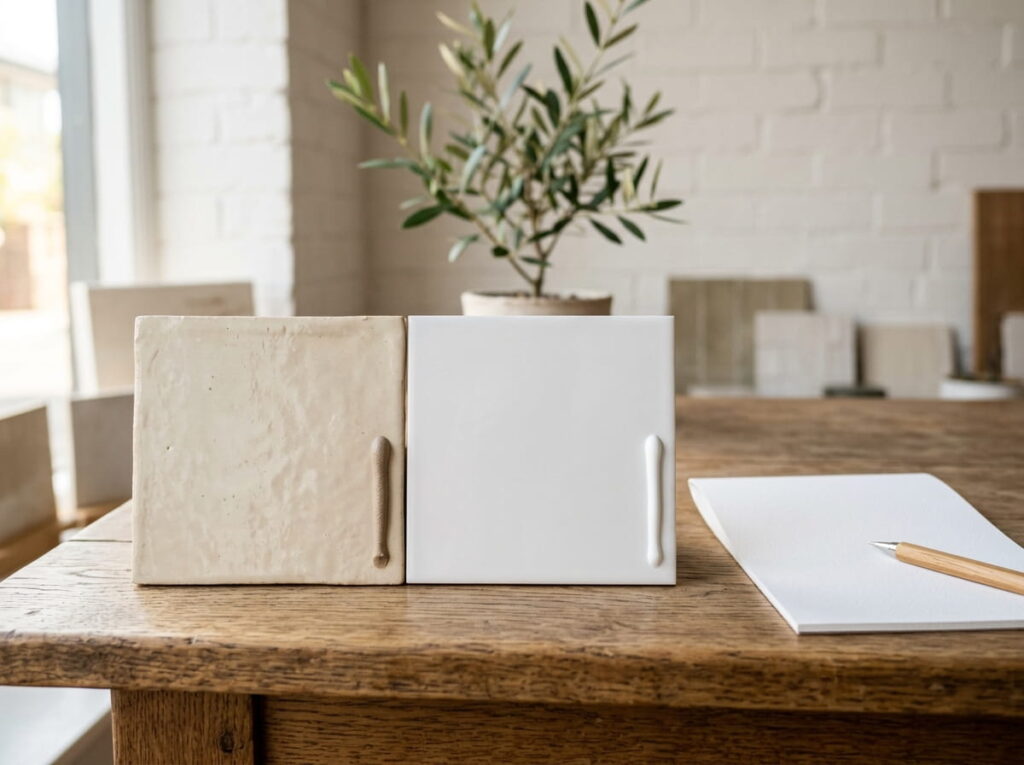
Start by checking whether your tile leans warm or cool.
Hold a sheet of plain white paper beside a tile in daylight. If the tile looks slightly cream or yellow, it has warm undertones. If it looks crisp with a faint blue cast, it is cool.
Warm tile looks best with a soft grout that echoes its creamy base. Cool tile usually needs a brighter grout, since a warm one can make it look dingy beside the crisp finish. This is a judgment call, so test before you buy.
4. Black Grout on Black Tile Is the Low-Key Option
Black tile with black grout reads as one dark surface. Many people find that calmer than a busy checkerboard.
The joints nearly disappear, so the tile itself becomes the focus. Small chips and slightly uneven lines also stand out less.
The downside is that a small bathroom can feel darker and tighter. A matte or honed finish cuts glare and helps the room feel softer.
💡 Quick Tip
Ask for a grout sample on a black tile offcut before you buy, since grout can look darker or lighter once it dries.
5. Hard Water Haze Shows More on Dark Grout
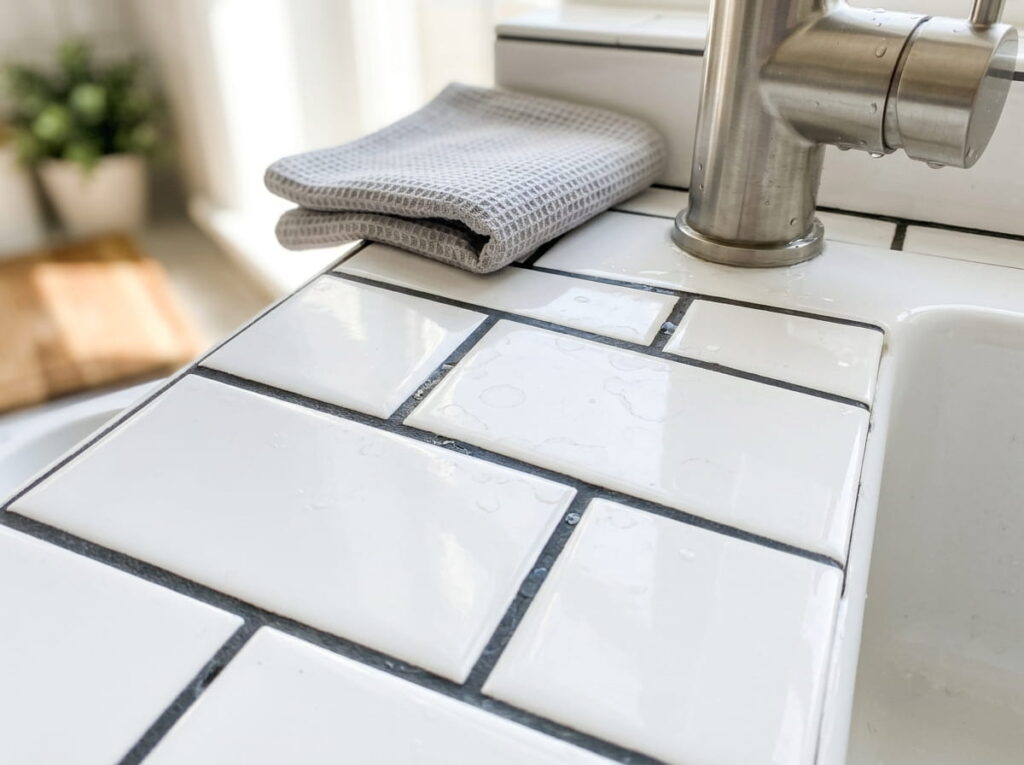
A common mistake is choosing black grout in a bathroom with hard water, then wondering why the lines look chalky after a few weeks.
Mineral deposits are often pale. On dark grout, that pale film stands out. Glossy tile hides some of it, but the joints near the shower and sink usually show it first.
This does not mean dark grout is a bad choice. It means you should plan for a quick wipe with a mild cleaner after showers. Skip harsh scrubbers, since they can wear down the grout surface over time.
Wipe the joints with a soft cloth after showers.
Use a pH neutral cleaner for routine care.
Strong acid cleaners on grout lines.
Wire brushes that scratch the surface.
6. Test a Grout Sample on Your Real Tile Before Buying
Grout looks different on a store shelf than it does on your floor. Small paper swatches rarely match the finish of your tile.
Try this before you buy a full bag:
- Ask for a sample bag of two or three shades.
- Mix a spoonful with water, then press it into a gap in a spare tile or a hidden corner of the floor.
- Let it dry fully, since most grout lightens as it cures.
- Check it in morning light, then again under your bathroom bulb at night.
Keep the sample in place for a week if you can. If it still looks right after that, you are ready to buy.
📌 Good To Know
Grout that looks right when wet can dry several shades lighter, so always judge the sample after it cures.
7. Estimate Upkeep Before Committing to Dark Grout
Dark grout asks for a little more routine care than light grout. That does not make it high maintenance, but it helps to know what you are signing up for.
Think about how your household cleans the shower, whether anyone uses harsh sprays, and how much water the tub and sink see each day. A bathroom used by one person usually needs less attention than one shared by a busy family.
Sealing matters too. A good sealer helps dark joints resist stains, but it needs refreshing on a schedule set by the product. Read the label before you buy.
8. Check Your Bathroom Lighting Before You Choose

Bathroom light can shift a grout color more than you expect. A warm bulb can make white grout look yellow and gray grout look brown. A cool LED can make the same shade look icy.
If your bathroom has one small window, the daytime look and the evening look may be very different. Look at your sample in the room at different times of day before you buy.
Check at home
9. Let Tile Pattern Size Pick the Grout Color
Tile size changes how much grout you actually see. Small mosaic squares have many joints, so grout color covers a large share of the wall. Large format tiles have fewer lines, so the grout becomes a quiet accent.
For a small black and white mosaic, a strong contrast grout can look busy. For big white tiles with thin joints, dark grout makes a bold statement. Match the grout to the job you want the pattern to do.
Smaller tiles mean more grout lines, so the grout color shapes the whole look of the room.
10. Skip Cool Grey Grout on Warm White Tile
Grey grout is a popular middle ground, but it has a catch. Cool grey placed next to warm white tile can look muddy or slightly greenish in the room.
Many people only notice after the grout cures. Compare the sample directly against the tile instead of trusting the color name on the label. If the two seem to fight each other, a warmer grey or a soft beige usually sits better.
⚠️ Watch Out
Cool grey and warm white can clash, so test the pair side by side before you grout.
11. Pick Epoxy Grout When Color Consistency Matters Most

Epoxy grout is the choice for people who want the color to stay exactly where they put it. It resists stains better than standard cement grout and holds one even shade across the whole floor.
It is harder to work with, though. It sets quickly, cleanup takes care, and the material costs more. Hire someone who has laid it before if you can, because mistakes are difficult to fix once it hardens.
Epoxy makes the most sense on a dark floor you do not want to fuss over, or a white floor where a single spill would show. Cement grout can still work well for a small, low-use bathroom.
Cement grout can darken unevenly over time and soak up spills near the tub.
Epoxy grout keeps a steady shade across the floor and wipes clean with less scrubbing.
12. Match Grout Joint Width to Your Tile Edge Style
Joint width changes how much grout you see, so it changes how much the color matters. Tile with crisp, straight edges can sit close together. Handmade or beveled tile usually needs wider joints, and the grout becomes a strong line across the whole wall.
Before you pick a shade, check the tile label or ask your installer what joint width the tile was made for. Wider lines call for a color you want to show, while thin lines let the tile lead.
How edge style shapes the grout line
- ▸Rectified tile has thin joints, so grout color changes the look less.
- ▸Beveled or handmade tile has wider joints, so grout becomes a clear design line.
- ▸Mosaic sheets are mostly grout, so test the sample carefully before buying.
13. Choose Sanded or Unsanded Grout Based on Joint Width
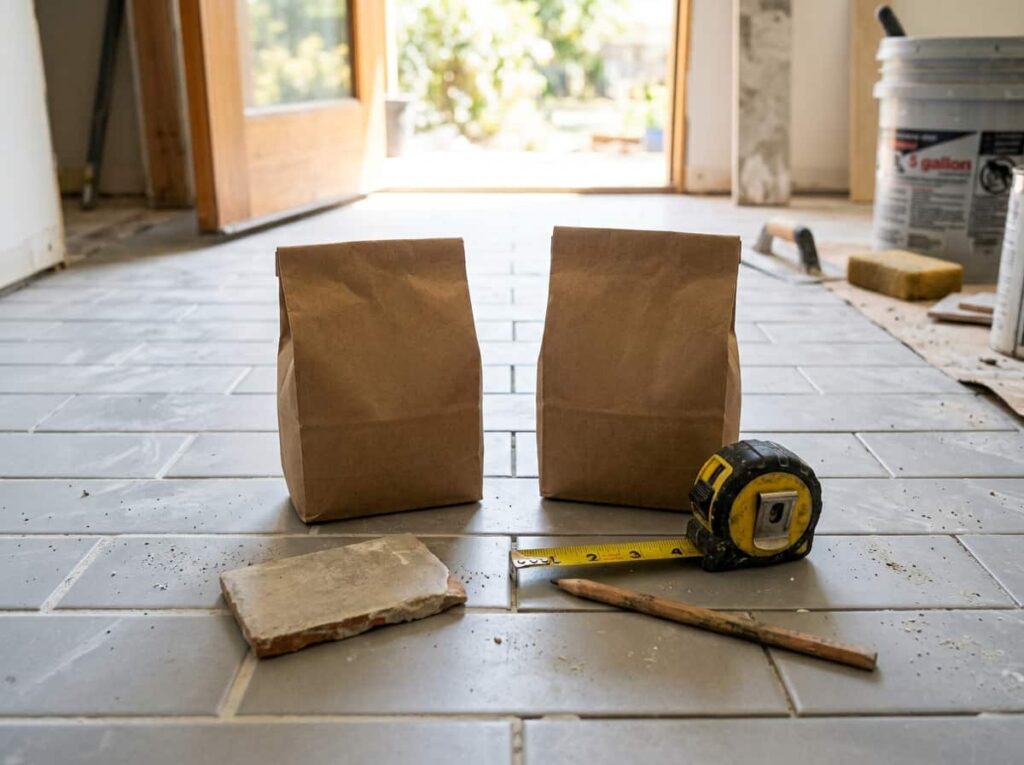
Sanded and unsanded grout look almost the same in the bag, but they behave differently. Sanded grout has fine sand mixed in, which helps it stand up in wider joints. Unsanded grout is smoother and suits narrow lines, which is why it works well with delicate tile.
A common rule of thumb is sanded for joints around 1/8 inch and wider, and unsanded for narrower ones. Always check the tile maker’s guidance, since some polished stone can scratch if sanded grout is used.
Measure the joint width before you open the grout bag.
Follow the tile maker’s advice for polished or delicate surfaces.
Guessing the grout type based on the color alone.
Using sanded grout on glossy stone without checking first.
Final Thoughts
Choosing the right grout color for black and white tile comes down to how you live in the room. Light grout suits a tidy household that wipes often. Dark grout suits anyone who wants the lines to read as part of the design, as long as they stay on top of water spots. Mid grays and warm neutrals work for most homes in between.
Start with a sample, look at it in daylight and under your bathroom light at night, and compare it against your real tile. Once you have seen it in your own space, the decision usually gets much easier.
Leave a Reply