
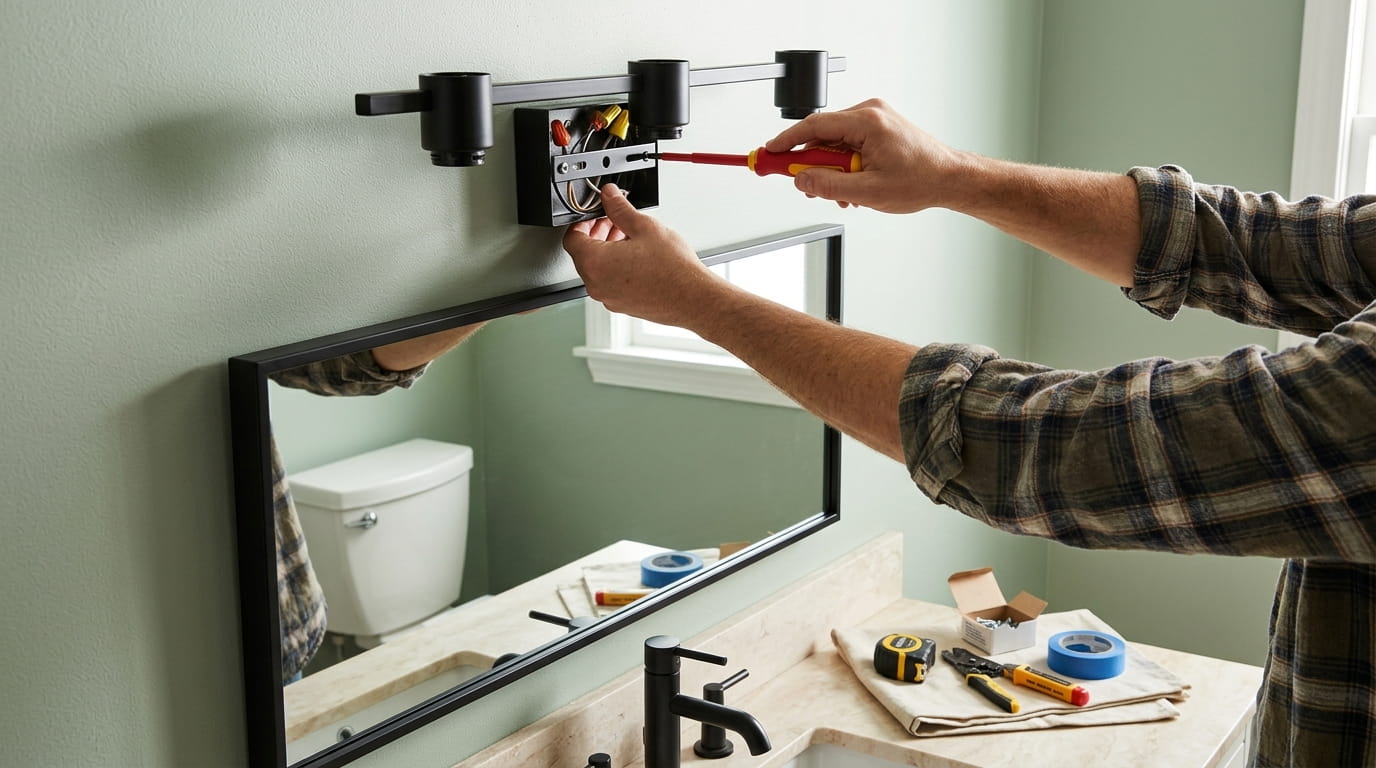
Swapping an old vanity light is one of the most satisfying small upgrades you can make. It also sits right next to live wiring, a sink, and a mirror that can crack if a screwdriver slips. Plenty of people who decide to install a vanity light fixture themselves stop halfway, not because the job is too hard, but because they skipped the first step or couldn’t make sense of the wires.
The honest truth is that this is a doable project for a patient beginner, as long as you respect the power and move one step at a time. Most trouble comes from rushing. People grab the wrong breaker, twist wires in a hurry, or hang a heavy fixture from a box that was never built to hold it.
This list walks you through 15 steps in order, from the tools you need to the final test. Each section includes a quick visual you can use as a checklist. Save it for the day you pull out the screwdriver, and keep your phone dry while you work.
1. Gather These Tools and Parts Before You Touch a Wire

Start with a small pile on the counter, not a store run halfway through the job. Most stalled installs come down to one missing part, like a wire nut that’s too small or a strap that doesn’t match the new fixture. Here is what I’d lay out first:
What to grab first
The voltage tester is the one tool you should never skip. It’s one of the cheapest items on this list. Keep the fixture’s instruction sheet nearby too, since the wire leads and mounting parts can vary from one brand to the next.
2. Measure Your Mirror and Vanity Before You Buy
The fixture that looks great in a store can crowd your mirror once it’s hanging at home. Grab a tape measure and check three things: how wide the mirror is, how wide your vanity is, and where the bottom of the shade will sit. Lightly mark those points on the wall with a pencil before you buy anything.
Product photos often make small lights look bigger than they are. Check the dimensions printed on the box, then compare them with your marks on the wall. A light near eye level keeps your face evenly lit while you shave or apply makeup.
3. Shut Off the Breaker and Prove the Wires Are Dead
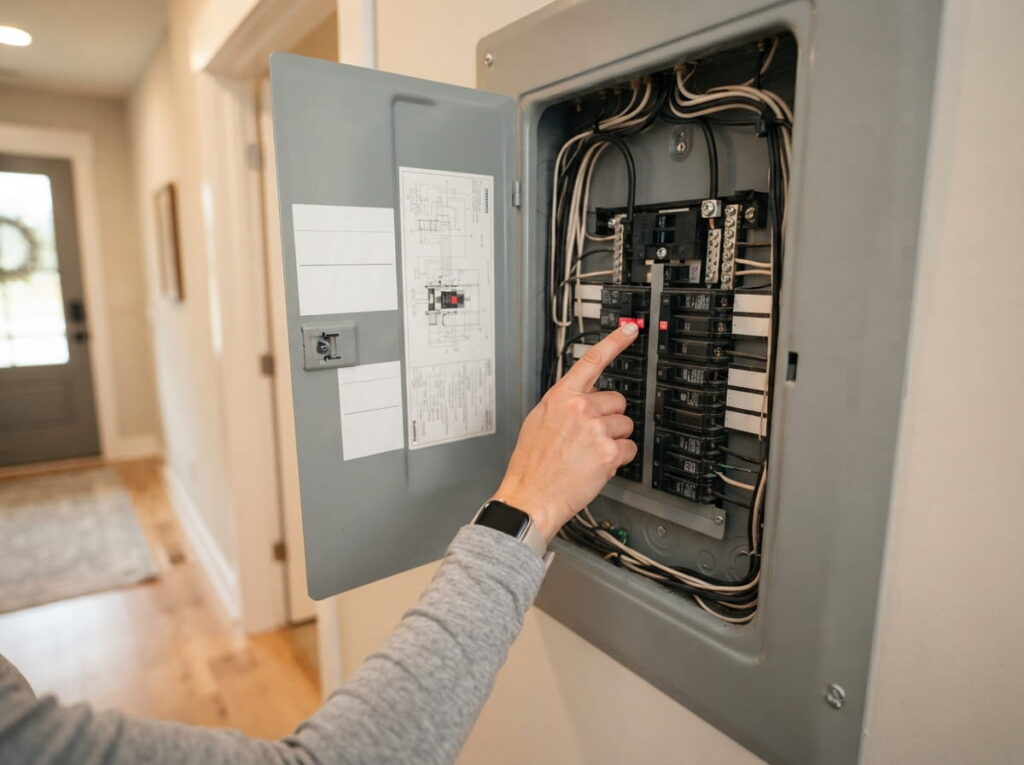
Rule one is simple: the breaker goes off before the cover comes off. Find the breaker that feeds the bathroom. If your panel labels are unclear, flip one breaker at a time and check the light until you find the right one. Then don’t trust the wall switch alone, since a switch being off doesn’t always mean the box is dead.
⚠️ Watch Out
If the light still turns on after the breaker is off, stop right there. You may have the wrong breaker or a wiring problem, and a licensed electrician can sort that out faster than guesswork.
Before you touch any wire, check your tester on a known live outlet so you know it works. Then hold it near each wire in the box. A quiet tester is a good sign, but it isn’t proof by itself, so test each wire twice.
4. Photograph the Old Wiring Before You Disconnect Anything
Your phone camera might be the most useful tool in the room. Before you disconnect a single wire, take three or four photos of the box: one wide shot of the whole setup, and a close up of each connection. Old wiring looks simpler in a photo than it does when you’re on a step stool with both hands full.
Take photos from a few angles.
Label each wire with painter’s tape.
Trusting your memory alone.
Pulling every wire out at once.
Painter’s tape works well for labels. Stick a small strip on each wire, write what it connects to, and keep the photos on your phone until the new fixture is working.
5. Lower the Old Fixture Without Dropping Its Hardware

Support the fixture before you undo the last screw. A vanity light can be heavier than it looks, and a dropped glass shade is a rough way to start a project. Work in this order:
Take off the shade and bulbs, then set them somewhere soft.
Hold the base with one hand while you loosen the mounting screws with the other.
Lower the fixture slowly so the wires stay loose and nothing gets pulled.
Drop the screws into a small bowl so none roll into the sink drain.
Nothing about this step is fast, so give yourself extra time. A slow, careful lowering is the difference between a clean swap and a cracked shade.
6. Check the Junction Box Before You Hang Anything on It
A loose box is the quiet problem that ruins an otherwise good install. Many older vanities hang from a box that was set for a lighter fixture, and it can rock in the wall without you noticing.
Give the box a firm push with your hand. If it moves, or the drywall around it cracks, stop and fix it first. Look for a rating label on the box and compare it with the weight listed in your fixture’s instructions. A box that isn’t rated for the load isn’t a safe mount, even if it looks fine.
The box wiggles when you push it, and the old light was hanging from it anyway.
The box is firmly fastened, rated for the fixture, and doesn’t move under a push.
Once the box is solid, the rest of the job goes much faster. Everything you attach later depends on it.
7. Level the Mounting Strap and Check It Twice
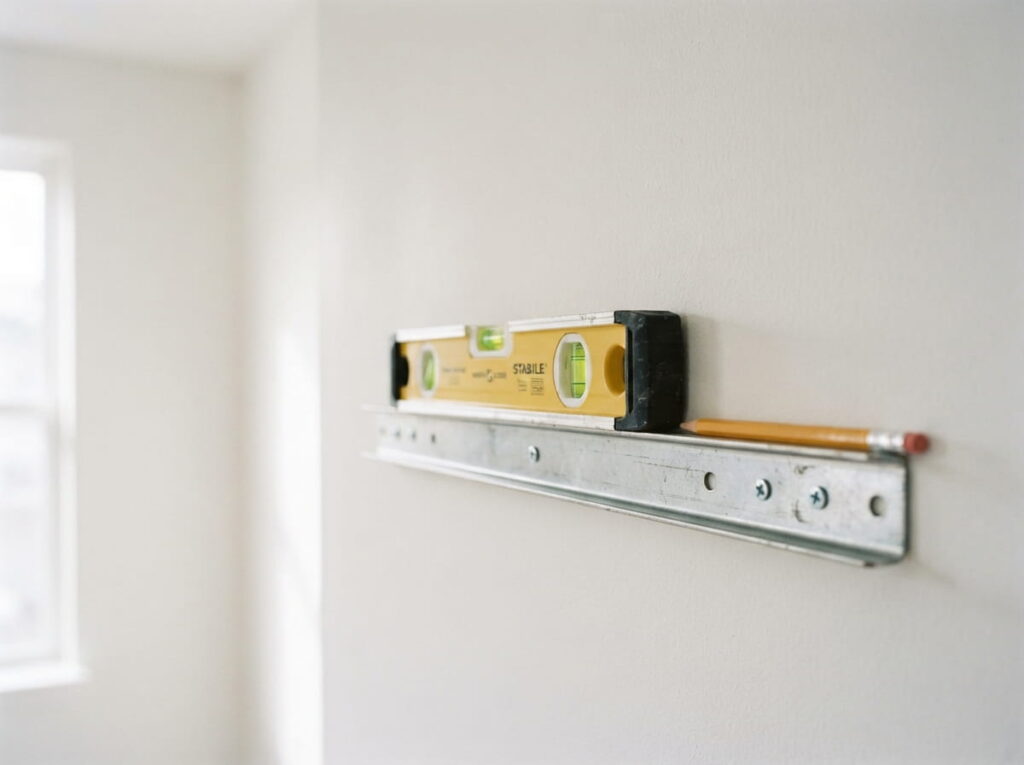
Here is a simple rule: a crooked strap gives you a crooked light, and no amount of fussing with the shade will hide it.
Hold the strap against the box and lay a level across it. Mark the screw holes with a pencil before you drive anything in. Then check again after the first screw goes in, because straps can shift as the screw tightens.
- ▸Fasten the strap with the screws that came with the fixture.
- ▸Check that the strap sits flat against the wall.
- ▸Keep the level bubble centered before you tighten fully.
- ▸Recheck after the last screw is in.
Give the strap a final tug once everything is snug. If it wiggles, the screws aren’t biting into the box, and that needs fixing before the fixture goes up.
8. Match Hot, Neutral, and Ground Wires by Color
Start by finding the three wire types in the box. Colors help, but they aren’t a guarantee, so keep your tester handy.
Black usually carries power. White is the neutral return. Bare copper or green is the ground. Join the matching leads from the fixture to the wires in the box, one color at a time, and twist each pair with a wire nut.
If the wall wires don’t match the usual colors, stop and test again before you connect anything. Mixed or unfamiliar colors are a good reason to call an electrician.
9. Twist Connections Tight and Give Each One a Tug Test
Two connections can look the same and still behave very differently. A loose twist can overheat, buzz, or let go over time, so the difference matters.
A solid connection has the wire ends twisted together snugly inside the nut, with no bare copper showing below the cap. Give each one a gentle tug. If a wire slides out, twist it again.
| Loose twist | Solid twist |
|---|---|
| Bare copper shows below the nut | Insulation reaches the nut cap |
| A wire slides out on a gentle tug | Wires stay put when tugged |
| Ends are uneven or frayed | Ends are trimmed and lined up |
When in doubt, redo the connection rather than hope it holds.
10. Tuck the Wires Back So the Fixture Hangs Flat
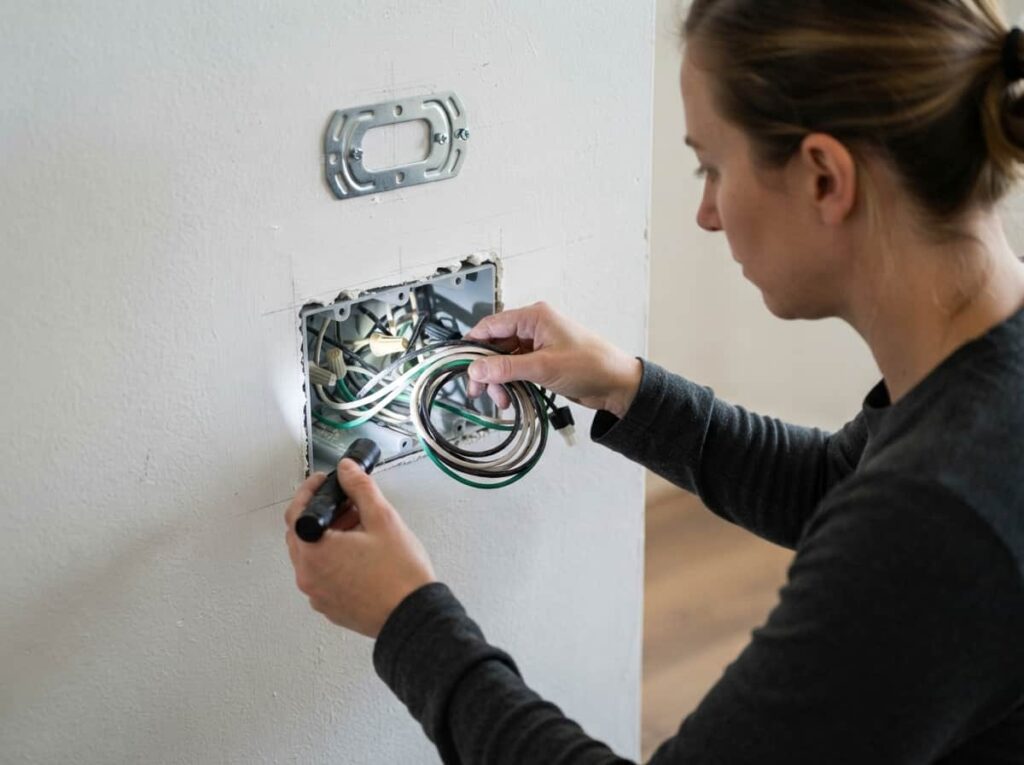
Look inside the box after your connections are done. The wires should form a loose coil, not a tight wad pushed in with a finger.
Fold them in a gentle S shape, and keep the ground wire on one side so it’s easy to spot later. Leave enough room for the mounting plate to sit flat against the wall. If a wire gets pinched under the plate, the whole fixture will sit crooked.
Wires tucked loosely and flat behind the plate keep the fixture level and the connections safe.
11. Choose Bulbs by Base Type and the Wattage Limit on the Label
A simple rule covers bulbs: match the base first, then the wattage. The base is the metal end that screws or pushes into the socket. A bulb that doesn’t fit is just a paperweight, and the fixture’s label will tell you exactly which base it takes.
Next, find the maximum wattage printed on the fixture or the shade. Going over that limit can overheat the sockets and stress the glass. Two bulbs with the same base can still run at very different temperatures, so read the package before you buy a full set.
📌 Good To Know
If the wall switch is a dimmer, the bulb package needs to say it works with dimmers. A mismatched pair can flicker or buzz even when every connection is wired correctly.
12. Install the Glass Shade Without Cracking It

Glass shades look sturdy, but their edges chip easily, and some threads are thinner than you’d expect. This is the step where people rush, so slow down here.
Seat the gasket or ring in its groove first. Then lift the shade into place and turn it by hand only. If it resists, stop and check the threads instead of forcing it. A cloth wrapped around the glass helps if it slips.
Before the shade goes on
Once the shade is on, lift it gently and check that it sits level. If it wobbles, the gasket probably isn’t seated.
13. Restore Power and Test Every Switch and Dimmer
Turn the breaker back on only after the cover plate is on and the box is closed. Then give the light a few seconds to settle.
One flip of the switch doesn’t prove much. Test the light on, off, and at each dimmer setting you plan to use. Listen for buzzing and feel the cover plate for warmth.
If anything hums or smells odd, switch the breaker off and recheck your connections before you go further.
14. Fix Flicker, Buzzing, and Dim Light Before You Call Anyone
A flickering vanity light is irritating, but the cause is often simple. Start with the bulbs. Tighten them, then swap one bulb at a time with a known good one. Most flicker traces back to the bulb or the dimmer, not the wiring.
Buzzing often means a dimmer and bulb that don’t work well together, or a loose connection. Turn the power off before you open the box again, then redo the tug test from step 9.
Swap one bulb at a time.
Check that the bulb and dimmer match.
Buying a new fixture before testing.
Ignoring a warm or burnt smell.
If you notice a burnt smell, scorch marks, or heat at the fixture, shut off the power and stop. Those signs call for a professional.
15. Know When to Hand the Job to a Licensed Electrician
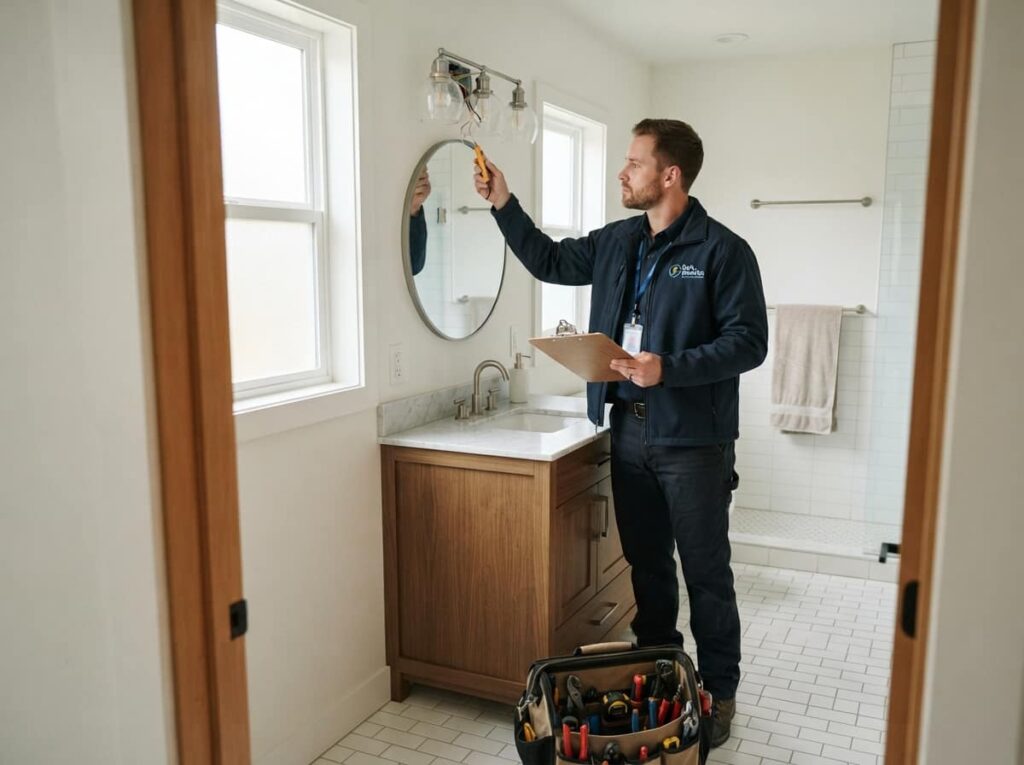
Doing this yourself is a real option, and knowing when to stop is part of doing it well. A licensed electrician can save you an afternoon of guessing, and may spot a problem you’d miss.
Call a pro if the box is damaged or loose, the wiring feels brittle or looks cloth coated, the wire colors don’t make sense, or the box isn’t rated for the fixture. Local permit rules vary, so your building office can tell you what applies where you live.
A short visit can cost less than repairing a damaged box, though prices vary by area.
Conclusion
Learning to install a vanity light fixture yourself comes down to a few habits: cut the power, prove the wires are dead, check the box, and take your time with every connection. Those habits keep you safe, and they make the finished light look like it belongs on your wall.
Keep this list handy for your next bathroom refresh. Start with the photos, slow down at the glass shade, and test everything before you close the cover plate. If something feels off at any point, stop and call a licensed electrician. That isn’t giving up. It’s the smart move.
Power off, wires proven dead, and every connection tested is how a vanity light goes up safely.
Leave a Reply