
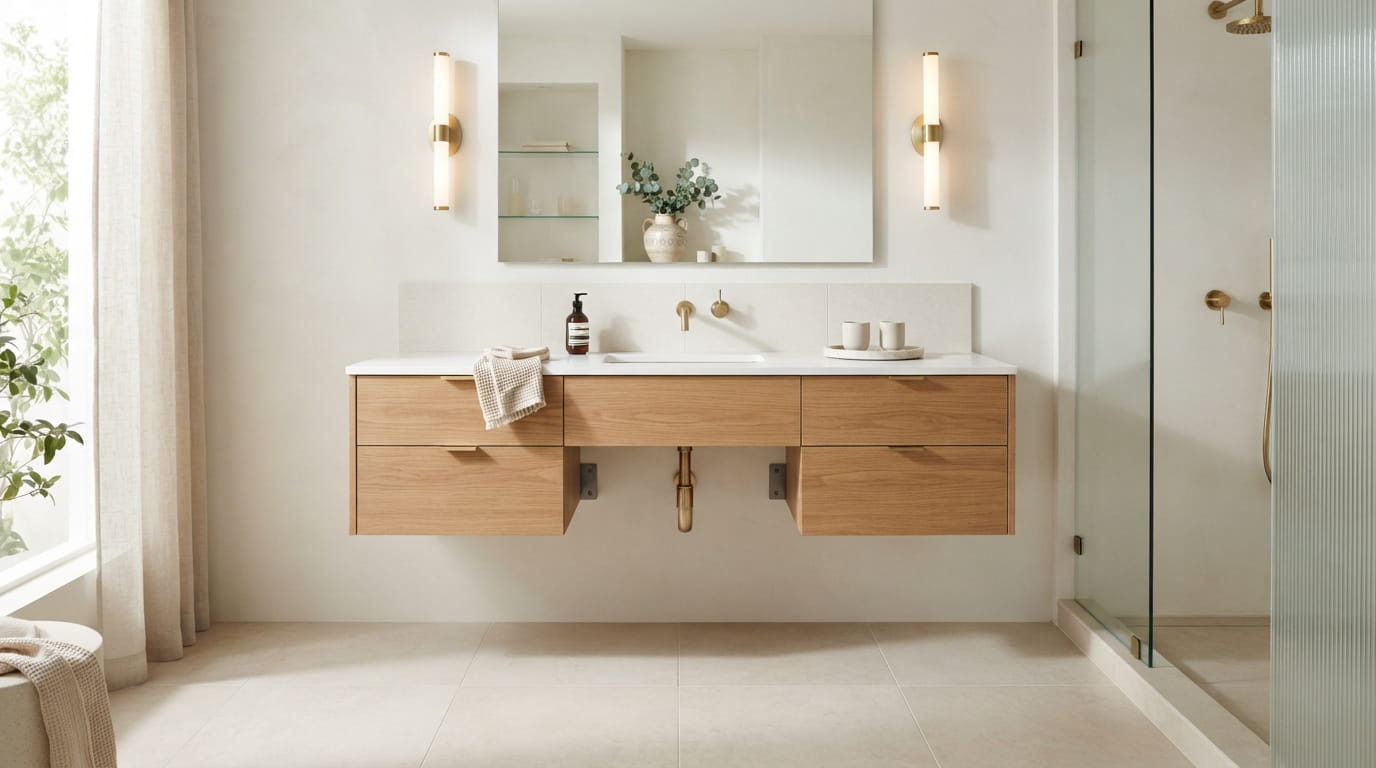
Most floating vanity installs go wrong before the cabinet is even out of the box. The cabinet is rarely the problem. The wall is.
A floating vanity hangs on nothing but its wall connection. Add a stone top, a full sink, and a few pounds of water, and that connection carries real weight every day. Lots of quick tutorials skip straight to the drill, which is how people end up with a cabinet that tilts forward or pulls a fixing out of drywall.
If you already own the vanity and want to know how to install a floating vanity yourself, the order of the work matters more than fancy tools. Find solid wood behind the wall, mark one level line, hang the cabinet, and only then deal with the plumbing.
The 15 steps below follow that exact order, starting at the unboxing and ending at the final bead of sealant. Read the whole list once before you begin, and keep your manufacturer’s instructions open beside it.
1. Unpack and Check Every Part Before You Pick Up a Drill
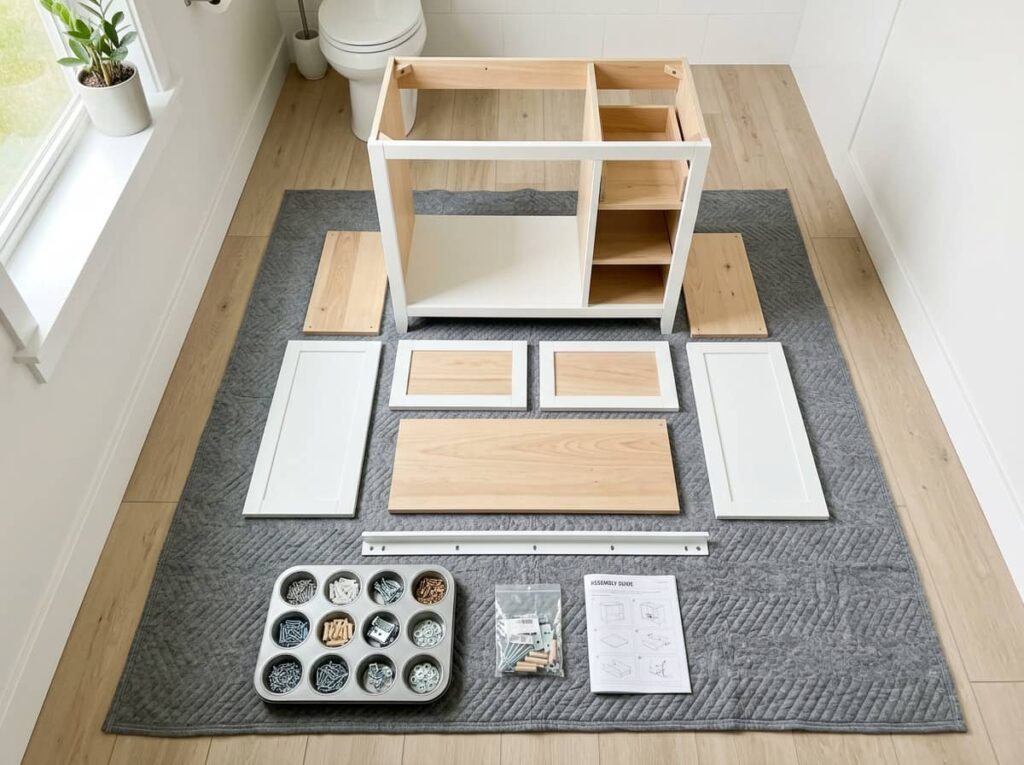
Nothing stalls a Saturday like finding a missing bolt with the cabinet already on the wall.
Lay a blanket on the floor and unpack everything slowly. Check the corners, the drawer fronts, and the back panel for cracks or dents. Compare the hardware bag to the parts list in your manual. Set aside the wall fixings from the box, since you may swap them once you see what is behind your wall.
If something is damaged, stop and contact the seller. It is much easier to sort out before the cabinet is hanging.
Confirm before you start
2. Set Out the Tools You Actually Need for This Job
Here is a tiny rule: every tool within arm’s reach before the first hole.
Two tools matter more than the rest. A stud finder tells you where the wall can hold weight, and a long level keeps a wide cabinet from leaning. If you only borrow or buy two things, make it those.
Everything else is ordinary hardware store gear. The cards below sort the kit by job, so you can grab it all in one trip.
3. Shut Off the Water and Clear the Old Vanity Out

The fastest way to flood a bathroom is to loosen a supply line while the valve is still open.
Water first, demo second. Old shutoff valves can be stiff or may drip when turned, so if yours will not fully close, shut off the main water supply to the house instead. Keep a small bucket and a rag close, because the trap always holds more water than you expect.
Once the old vanity is out, look at the wall. The area under a floating vanity stays visible, so patch holes, sand rough spots, and paint now while the space is empty.
Turn both shutoff valves clockwise until they stop.
Open the faucet to let the leftover water run out of the lines.
Set the bucket under the trap, then disconnect the supply lines and the drain.
Cut the caulk along the wall with a utility knife, then unscrew and remove the old cabinet.
4. Find Your Wall Studs Before You Mark a Single Hole
A stud finder beep is not proof.
Run it across the wall a few times from different directions and mark both edges of each stud with painter’s tape. Studs sit at regular spacing, so once you find one, the next should turn up at a similar distance. If your marks do not follow a pattern, keep checking.
To settle any doubt, tap a small finishing nail into a spot the cabinet will hide. Wood gives a firm stop, and hollow drywall does not.
Mark both edges of every stud and find the center.
Confirm with a small nail in a hidden spot.
Look for pipes and wires near the area you plan to drill.
Trusting one beep from one direction.
Drilling near tile edges before you know what is behind them.
Counting on drywall anchors alone to carry a loaded cabinet.
5. Add Wood Blocking When the Studs Do Not Land Where You Need Them

Studs never care where your cabinet’s mounting holes want to be.
When the fixing points fall in the gap between two studs, do not settle for drywall anchors and hope. Give the screws real wood to bite into. There are two common routes, and the table shows how they differ.
Choose by looking at your wall. With an open wall from a remodel, blocking is straightforward. If the drywall is staying, a backer board is usually the easier path.
One warning. If your wall is tile over masonry or old plaster, check the manufacturer’s guidance first, because those walls need different fixings.
| Wood blocking | Backer board |
|---|---|
| Needs open studs, so it suits a remodel where the drywall is off. | Goes over finished drywall, so it works when the wall stays closed. |
| Sits flush inside the wall, so the cabinet keeps its planned depth. | Adds thickness, so recheck plumbing and trim clearance. |
| Cut pieces to fit snugly between studs, then screw through the studs into them. | Screw a plywood board across several studs, then mount the cabinet into the board. |
6. Draw One Level Height Line for the Whole Vanity
Decide your finished height first. Your manual may suggest one, and your own comfort counts too.
Measure up from the floor, mark that height, and carry the line across the wall with a long level. Bathroom floors are rarely flat, so measure from the highest spot rather than from three different places.
Let the line run past both edges of the cabinet, crossing every stud you marked earlier. That shows you right away whether your fixing points land where you hoped.
Your manual will say if the line marks the bottom of the cabinet or the top of the mounting rail. Write that on a piece of tape at the end of the line so you don’t have to remember.
Measure from the floor once, then let the level do the rest. A crooked line stays crooked for as long as the vanity hangs there.
7. Test Fit the Empty Cabinet and Mark Your Fixing Points

Most people mark drill spots from the wall side, then discover the cabinet holes sit somewhere else.
Flip that. Take the drawers out, then hold the empty cabinet or its mounting rail against your level line. Rest it on a stack of boxes or ask a helper to hold it. Pencil through the holes in the back to mark exactly where the screws will go.
While it is up there, check a few things:
- Side gaps to the wall, shower, or door frame
- Drawer and door swing, with room to open fully
- Outlets or switches that the cabinet might cover
💡 Quick Tip
Put painter’s tape on the wall before you mark. Pencil shows up better on tape than on paint, and the tape peels off clean afterward.
8. Check That the Drain and Supply Lines Clear the Cabinet Back
The cabinet stops short of the wall, and the reason is a pipe stub the back panel never planned for.
Measure from your level line down to the center of each supply line and the drain. Then measure sideways from the nearest wall. Transfer those numbers to the back of the cabinet and mark the outlines with a pencil.
Cut each opening a little wider than the pipe, using a jigsaw or a hole saw, so you have room to move the cabinet.
If the pipes sit far from where the sink will be, you may need a plumber to move them. Forcing the fit is not worth it.
Solid back panel, pipes sticking out of the wall, and a cabinet that rocks against them.
Cutouts sized to each pipe, so the back panel sits flat against the wall with room to spare.
9. Fix the Wall Cleat or Mounting Rail First
A well set rail makes every step after it easier.
Hold the rail on your level line and mark the stud centers. Drill pilot holes, then drive the screws your manufacturer supplies or recommends. Stop when they are snug, not fully tight, and check the level once more.
Small nudges are easy at this stage. After the last turn, the rail is done.
Before the final tighten, confirm:
- The rail is level along its whole length
- Every screw sits in the center of a stud
- The rail rests flat against the wall, with no gaps
10. Hang the Cabinet With a Second Pair of Hands
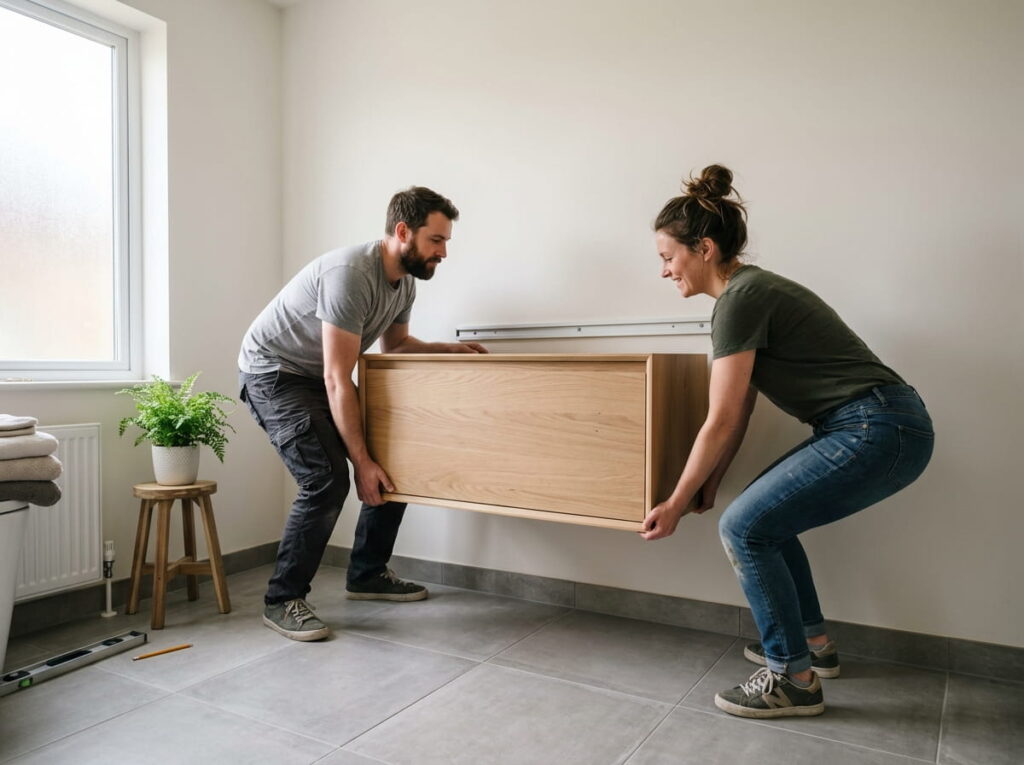
Every cabinet feels heavier at the wall than it did on the floor.
Keep the drawers out and the top off. Each of you takes one side, lifts from underneath, and brings the cabinet to the rail. Hook it on, and keep holding until it has fully engaged.
Then fasten it the way your manual says, usually with screws through the back or into the brackets. Press down gently, then pull outward on the cabinet. It should not move, drop, or tilt.
Only then can you let go.
⚠️ Watch Out
Hang the empty cabinet only. Lift with your legs, and do not attempt it alone if the box feels heavy. The top, sink, and drawers go on after it is secure.
11. Level the Cabinet in Three Directions Before You Tighten Anything
A bubble that sits dead center along the front can still hide a lean somewhere else.
Check the cabinet side to side, front to back, and against the wall. Most hanging systems have adjusting screws or slotted holes for this job. If yours has none, thin shims tucked behind the cabinet will fix a small tilt, and they help when an older wall bows in the middle.
Keep every fixing snug, not tight, until all three checks agree.
12. Set the Top and Sink With the Right Adhesive

Dry fit the top first, with no adhesive, and look at the overhang and the gap against the wall.
Fix any problem now, while the top still lifts off easily. Stone and solid surface tops are heavy, so call your helper back for this one.
If your faucet is easier to mount while the top sits on a blanket on the floor, check your manual and do that before the top goes up. Your instructions will also name the adhesive they want, so use that one.
Wipe the top edge of the cabinet clean and dry.
Run a steady bead of the adhesive your manual names along the edge.
Lower the top straight down with your helper and press it into place.
Wipe away any squeezed out adhesive right away with a damp cloth.
Leave everything untouched for the cure time printed on the label.
13. Hook Up the Faucet, Drain, and Supply Lines
Tight is not the same as right.
Most drain and supply fittings seal with a washer or gasket, and a washer only needs a snug fit to do its job. Connect the faucet lines to the shutoff valves first. Then fit the drain, the tailpiece, and the trap.
Dry fit the trap before tightening anything, because it rarely lines up the way you expect. If it will not meet the wall pipe, trim the tailpiece to length instead of bending parts into place.
Keep the drawers out until the leak test is done.
Use the washers and seals that came with each part.
Hand tighten first, then add a small turn with a wrench.
Add thread tape only where the instructions ask for it.
Cranking down plastic nuts until they crack.
Forcing a trap that sits at an angle to the wall pipe.
Reusing old supply lines with worn or cracked ends.
14. Run a Leak Test Before You Close Anything Up
A few dry minutes now can save you from a swollen cabinet floor later.
Open each shutoff valve slowly, one at a time. Run the faucet, fill the sink, then let it drain fully so the trap sees real flow. Wipe every joint with a dry paper towel and look for damp spots.
Check again after an hour, then once more the next morning. Slow leaks like to show up late.
A slow drip still counts as a leak, so tighten a quarter turn and test again.
Touch and look at each of these
15. Seal the Gaps and Finish the Edges Cleanly

Look along the back edge of the top and you will spot a thin gap that collects water and dust.
Painter’s tape on the wall and the top gives you a straight line. Run a thin, steady bead of bath rated silicone, smooth it with a wet fingertip, and pull the tape while the silicone is still soft. Leave the joint between the cabinet back and the wall alone unless your manual says to seal it.
Drawers go back in last. Slide them in, then adjust until the fronts sit evenly.
Give the silicone its full cure time before anyone splashes water on it.
A dark gap along the back edge of the top and drawers that sit unevenly in their openings.
A thin, smooth line of sealant against the wall and drawer fronts with even gaps all around.
Conclusion
A floating vanity looks light because the hard work happens out of sight. The studs, the level line, the rail, and the careful plumbing are what keep it steady for years.
Now that you know how to install a floating vanity from the first unboxing to the final bead of sealant, the main lesson is simple. Slow down at the wall. Every later step gets easier when the rail is solid and level.
Give the sealant its full cure time, then take one more look under the sink after a week.
One week later, check these
Leave a Reply