

Most bathrooms run out of storage long before they run out of clutter. The counter fills up, the cabinet under the sink turns into a puzzle, and the spare towels end up on the edge of the tub.
Store-bought shelves seem like the quick fix, but they often disappoint. Thin metal brackets sag under a stack of towels. Cheap particleboard swells after a few hot showers. And the ones that look right rarely fit the odd little gap above your toilet or beside your mirror.
Building your own fixes all three problems. With DIY bathroom shelves, you pick the size, the wood, and the finish, so the shelf fits your wall and holds up to steam. You also skip the visible brackets by using a hidden cleat, which is what gives a floating shelf its clean look.
You do not need a full workshop. A saw, a drill, a level, and a free afternoon will get you there. Below are 15 steps in build order, starting with planning the load and ending with styling the finished shelf.
1. Decide What the Shelf Must Hold Before You Buy Any Wood
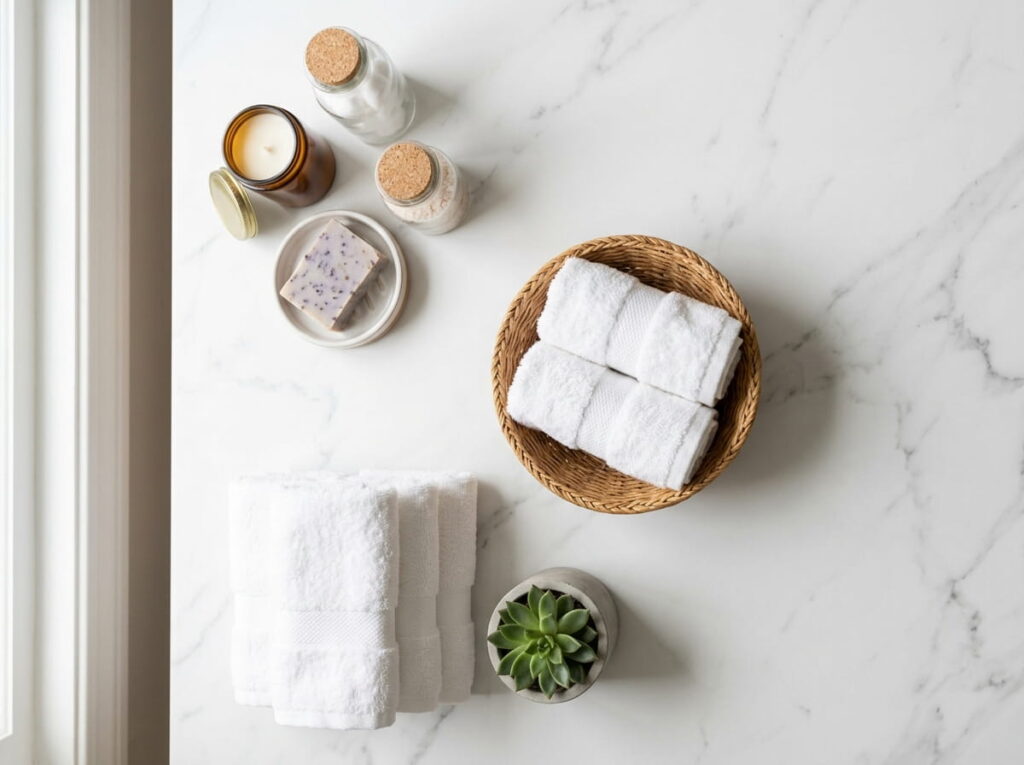
The sag usually starts with a plan that never asked what the shelf would carry.
Think it through before you cut anything. Walk around the bathroom and list what will actually live here:
- Everyday items like a soap dish, a candle, and a few jars
- Rolled towels or a wicker basket
- Something heavy, like a stack of towels, a big plant, or a row of glass bottles
A shelf for jars can be slim. A shelf for towels needs a thicker board and a firmer hold on the wall. That answer shapes the wood, the cleat, and the screws in every step below, so sort your list into one of the three groups here.
2. Pick Wood That Can Handle Steam and Splashes
Wood that behaves in a hallway can warp above a shower.
Buy boards that are dense and straight, then seal them well. Two quick checks at the store:
- Sight down the board like you are checking a pool cue. If it curves, leave it on the rack.
- Look at the ends for cracks or splits, since those open wider in damp air.
Solid pine, poplar, and cedar are common choices. Good plywood works for wide shelves. Skip MDF and particleboard, since they puff up once water reaches a cut edge.
| Solid wood | Plywood | MDF |
|---|---|---|
| Steam: Good once sealed | Steam: Good once sealed | Steam: Poor, it swells |
| Cut edges: Seal the ends well | Cut edges: Layers show, so seal or cover them | Cut edges: Soak up water fast |
| Strength: Strong, may bow if thin | Strength: Strong and stays flat | Strength: Weak over long spans |
| Cost: Medium | Cost: Medium | Cost: Low |
3. Find Your Studs or Choose the Right Wall Anchors First
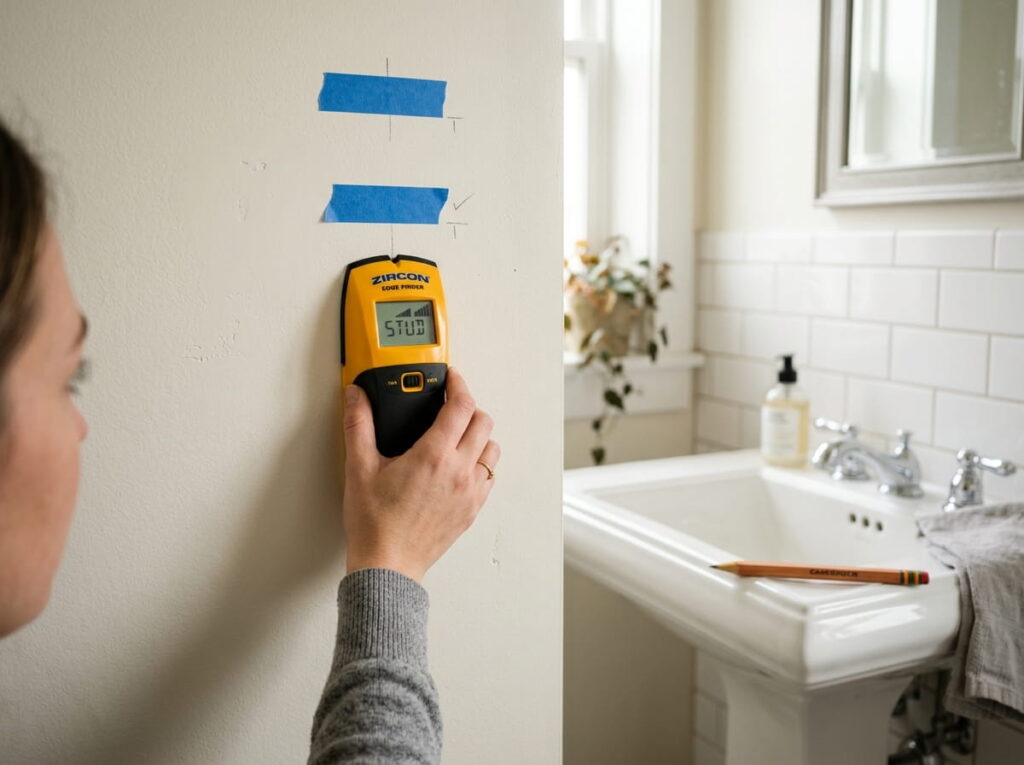
Here is the rule that saves shelves: fasten into wood framing whenever you can.
A stud finder makes it quick. No finder? Tap along the wall and listen for the sound to change from hollow to solid, then confirm with a thin nail. Mark each stud with painter’s tape so you can see it while you plan.
If no stud lines up with your shelf:
- Use heavy-duty toggle anchors, not the small plastic ones from cheap kits.
- Read the load rating on the package and stay well under it.
- Keep that shelf for light items only.
Avoid drilling right above outlets or behind a sink or tub, where pipes and wires like to hide.
A floating shelf is only as strong as what it is screwed into. Solid framing beats any anchor.
4. Gather Every Tool and Fastener in One Trip
A second hardware store run costs you an hour and your momentum.
Lay everything out on an old towel before you start, then check it against the list below. Most of it is basic, and you may already own half.
Screws deserve the most thought. Pick ones long enough to pass through the cleat and the drywall and still bite deep into the stud. Buy a few extra, because bathroom walls have a way of eating one or two.
Buy two pencils. One always disappears.
What to grab first
5. Measure Twice, Then Cut the Board to Fit the Wall
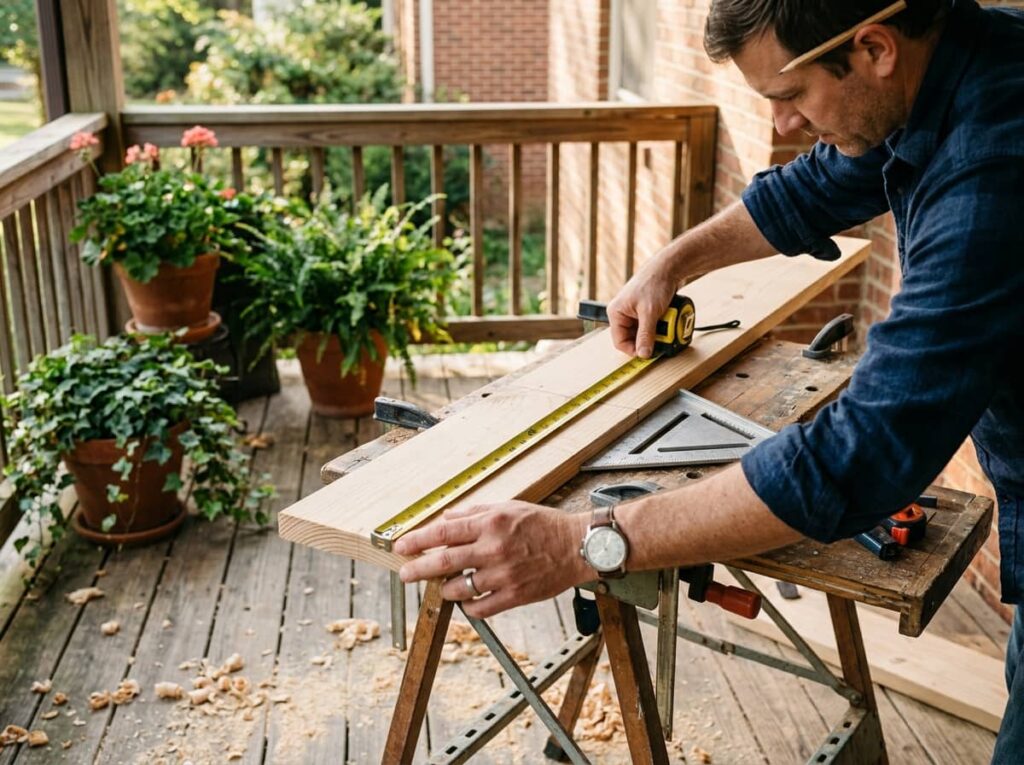
Measure the wall gap first, not the board.
Hold the tape against the spot where the shelf will sit and note the width. Then decide on depth. A shallow shelf is easier to live with, since nobody bumps a shoulder on it. Mark your cut line with a square so the end comes out straight, and cut just outside the line. You can sand down to it.
Two small habits help:
- Measure from the same end of the tape both times.
- Clamp the board to a table so it cannot shift mid cut.
Cutting a hair long is fixable. Cutting short is not.
6. Sand Every Face and Edge Before You Touch a Brush
Your fingertips are a better judge than your eyes.
Run a bare hand over the board after each pass. Splinters and fuzzy patches show up by touch long before they show up by sight, and sealer will make them worse, not hide them.
Work in this order:
- Start with a medium grit to flatten the saw marks
- Move to a fine grit on the faces and edges
- Round the sharp corners a little, since crisp edges chip first and scrape knuckles
Wipe the dust off with a slightly damp rag and let the board dry. Dust trapped under a finish leaves a gritty feel that never goes away.
Skip this step and every later step shows it.
💡 Quick Tip
Sand with the grain, never across it. Cross-grain scratches look faint on bare wood and show up clearly once the finish goes on.
7. Seal All Six Sides, Including the Cut Ends

Most people seal only the parts they can see.
That is where bathroom shelves fail. Steam does not care which side faces the room. It creeps into the back, the underside, and especially the cut ends, where the grain soaks up moisture fastest. Once water gets in, the board swells, the finish lifts, and the shelf slowly warps.
Use a sealer made for damp areas and follow the label. Coat the ends first, then the back and underside, then the faces you will see. Two thin coats beat one thick one, and each needs to dry fully before a light sanding.
Do not hang the shelf until the finish has fully cured, since a dry feel can hide a soft coat underneath.
Seal the ends, back, and underside.
Apply thin, even coats.
Let each coat dry before a light sanding.
Sealing only the top and front.
Thick coats that drip and stay tacky.
Hanging the shelf before it cures.
8. Build a Hidden Cleat So No Brackets Show
Think of the cleat as the shelf’s spine.
It is a plain strip of wood screwed to the wall, and the shelf slides over it like a sleeve. Nothing shows underneath, which is the whole trick behind a floating look. It also carries the weight, so it deserves the same care as the shelf itself.
Cut the cleat a little shorter than the shelf so it hides completely. Make it slightly thinner than the gap inside the shelf, so the two slide together without a fight. Sand and seal it just like the shelf, then follow the steps below.
Every bit of strength in this build comes from how well the cleat is fastened.
Hold the cleat against the wall at your marked height and set the level on top. Trace a light pencil line along the edge.
Drill pilot holes through the cleat at each stud mark. Pilot holes stop the wood from splitting.
Drive the first screw into a stud, then check the level again before adding the rest.
Tighten every screw snug, then give the cleat a firm tug. It should not budge.
9. Turn a Flat Board Into a Chunky Hollow Box Shelf
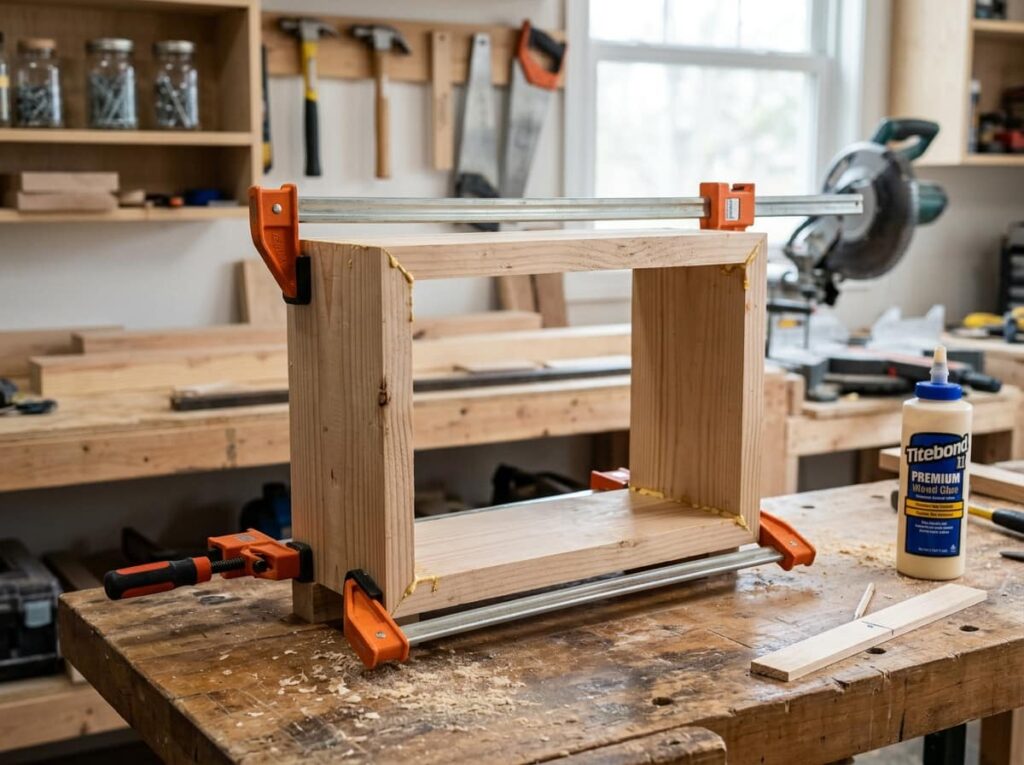
A thin board reads as a plank. A hollow box reads as furniture.
Building the box is easier than it sounds. Cut a top, a bottom, a front strip, and two end caps. Glue the pieces, clamp them square, and add small nails once the glue grips. Leave the back open so the box slides over the cleat from item 8.
Check the inside height against your cleat before you glue anything. A snug fit is good, but a tight one means sanding at the worst moment.
The thick front edge also hides the cleat and gives towels a solid lip to rest against.
A single thin board on visible brackets. It looks flat, it can bow under towels, and the hardware draws the eye.
A thick hollow box on a hidden cleat. It looks solid, stays stiffer, and shows no hardware at all.
10. Choose a Paint or Stain That Survives Humidity
Paint hides the wood. Stain shows it. Each has a different job in a damp room.
Paint gives you a solid color and covers knots, patchy grain, and plywood edges. Stain keeps the grain visible but needs a clear, water-resistant topcoat to protect it, and the stain alone will not do that.
Pick a product labeled for bathrooms or damp areas, and check that the sealer and finish are compatible before you mix brands. Test on a scrap piece first, since one small square saves a whole shelf.
Open a window or run the fan while you work, and let the finish cure fully before it meets its first steamy shower.
| Paint | Stain plus topcoat |
|---|---|
| Look: Solid color, hides grain | Look: Shows the wood grain |
| Damp protection: Good with a moisture-resistant paint | Damp protection: Depends on the clear topcoat |
| Touch ups: Easy to patch | Touch ups: Harder to blend |
| Best for: Knotty pine, plywood | Best for: Clean, good-looking solid wood |
11. Hang It Level and Test the Load Before You Stock It
Slide the shelf box over the cleat and push it back until it meets the wall. There should be no gap at the back and no rocking side to side.
Then lock it in place:
- Drive two or three short screws or small nails through the top of the box into the cleat
- Fill the holes with wood filler and touch up the finish once dry
- Set the level on top one last time
Now test before you stock. Press down hard on the front edge with both hands, then load a bag of something heavy and leave it overnight. If nothing shifts, the shelf is ready for real use.
12. Set the Right Height Around the Toilet, Sink, and Door

The shelf that gets bumped every morning was usually hung a few inches too low.
Ideally you tested the height with painter’s tape before the cleat went up in item 8. If you skipped that, do the checks below now, while the shelf is still empty and moving the cleat is a small job.
Think about where your head, elbows, and hands actually travel in this room. Stand in your normal spots and go through the list.
Clearance checks
13. Style the Shelf With a Simple, Repeatable Formula
Use one tall, one low, and one soft item.
That is the whole rule, and it works on a short shelf or a long one. On a longer shelf, just repeat it.
- Tall: a slim bottle, a candle, or a single stem in a bud vase
- Low: a small tray, a stack of folded washcloths, or a soap dish
- Soft: a rolled towel, a small plant, or a faux stem if the room has no window
Leave a little bare wood between groups. The corner that always looks empty usually needs one good group, not five small things.
Bottles lined up shoulder to shoulder, no gaps, nothing to rest the eye on. It reads as clutter even when it is clean.
Three small groups with space between them. One tall piece, one low piece, one soft touch, and the rest of the shelf left open.
14. Corral Small Items in Lidded Jars and a Shallow Tray
Loose small things are what make a tidy shelf look messy again within a week.
Cotton rounds, swabs, and hair ties do not stack, so they scatter. Give each kind a home with edges. Lids also keep steam and splashes off things that should stay dry, which is the bigger reason to use them in a bathroom.
Choose jars with a wide mouth so a hand fits inside. A tray under your daily items catches drips too, since you wipe one surface instead of moving six bottles.
- ▸Lidded jars: cotton rounds, swabs, bath salts, hair ties
- ▸Shallow tray: hand soap, lotion, lip balm, the things you grab daily
- ▸Small basket: rolled washcloths and spare hand towels
- ▸Bare wood: leave a stretch open on purpose so the shelf can breathe
15. Keep It Solid With a Quick Seasonal Check
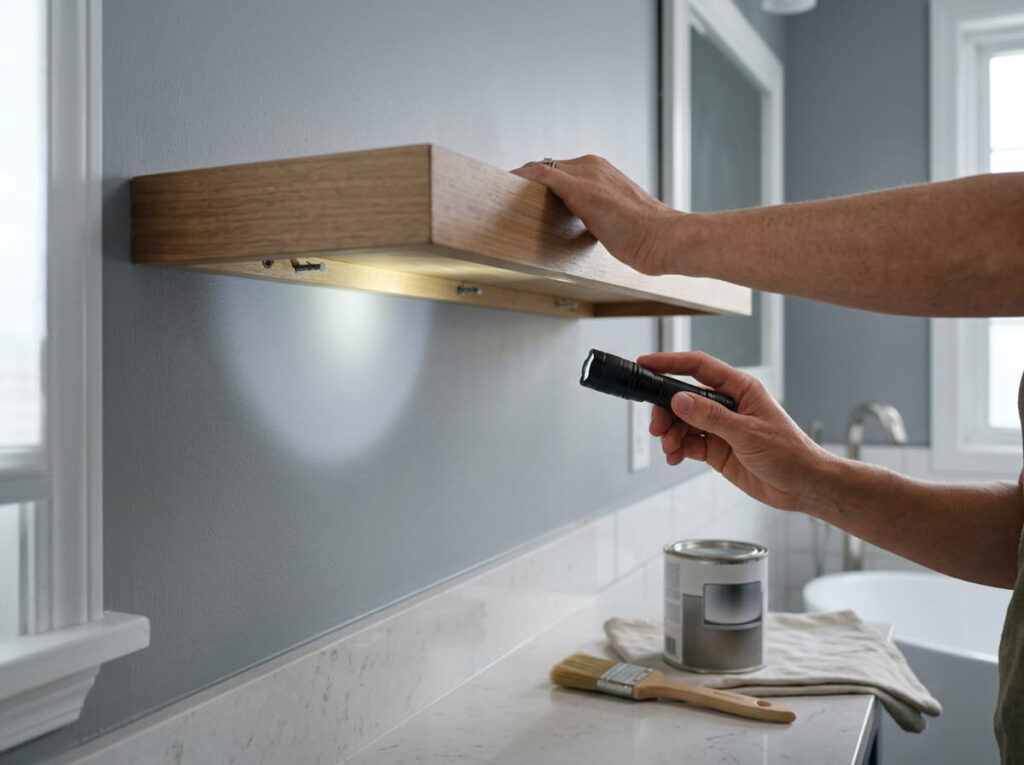
A shelf that survives the first month can still loosen by the sixth.
Steam, temperature swings, and daily weight all work on it slowly. Once a season, empty the shelf and look it over:
- Press down on the front edge and feel for any movement
- Check the ends and underside for peeling, dark spots, or soft wood
- Make sure the screws are snug
- Touch up the sealer wherever it looks thin
Ten minutes now beats a rebuild later.
Conclusion
A good shelf starts long before the first cut. You planned the load, chose wood that can take steam, and found something solid to fasten into. Then you built a hidden cleat and sealed every side. The result is storage that looks light on the wall and holds real weight.
The best part is how much this small project gives back. The counter clears, the towels have a home, and the odd gap by the mirror finally has a purpose. Your DIY bathroom shelves will be one of those things you use every day and never think about, as long as you give them a quick check each season.
Plan the load, fasten into studs, seal all six sides, and check the shelf once a season.
Leave a Reply