
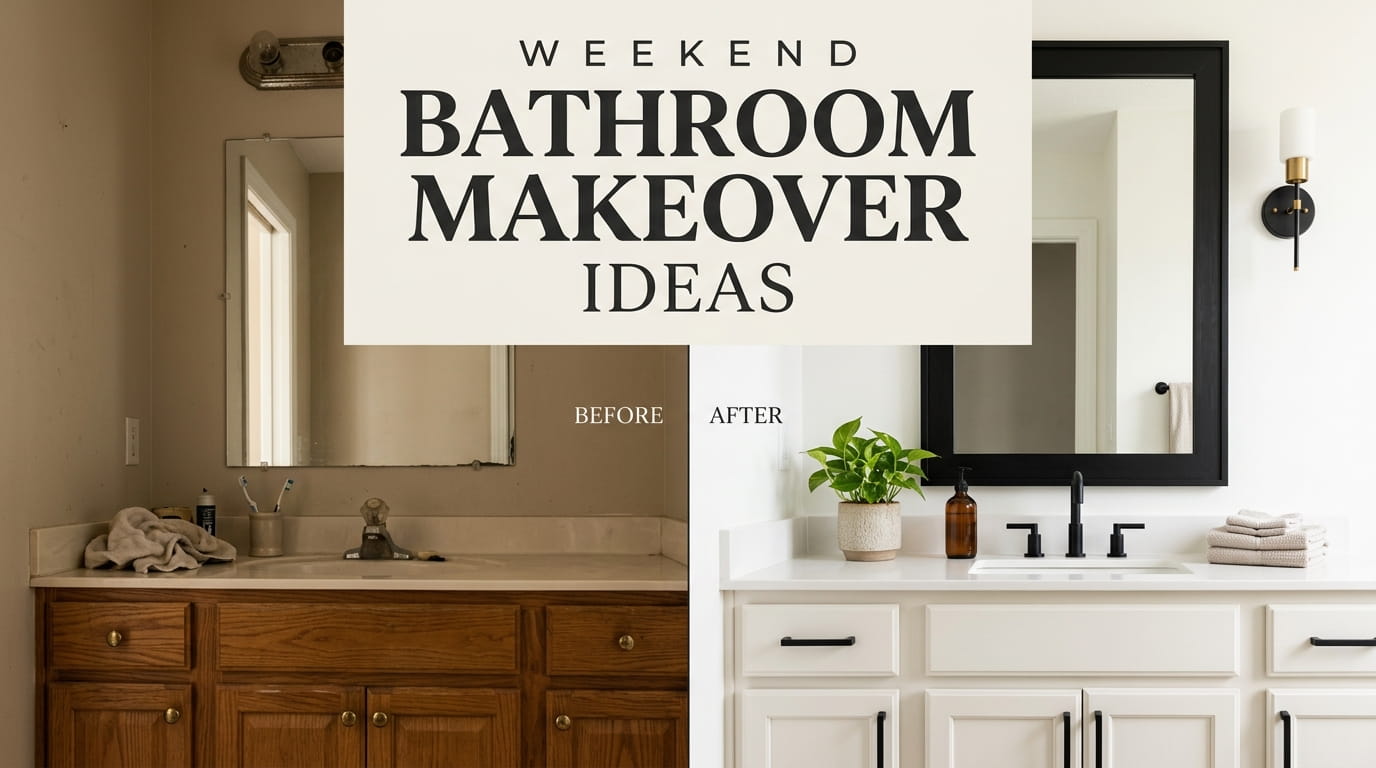
Most bathrooms don’t look tired because of one big thing. It’s the grout that went gray, the vanity paint that chipped near the sink, and the mirror that has looked a little cloudy since the last owner moved in. A full gut job is out of reach for most of us, both in money and in patience. But a weekend bathroom makeover can change the room more than you’d expect, and you don’t need to take a single wall apart to do it.
The good news is that the best upgrades are often the small, boring-looking ones. A bonding primer, a color pen, a new set of cabinet pulls. These jobs use the walls and fixtures you already have, so there’s no waiting on a contractor and no dust cloud through the hallway. Most can be finished between Saturday morning and Sunday night.
Below are fifteen ideas, each one a different move you can make without tearing anything out. Some are cheap, some take a bit more effort, and a few come with a short safety note. Start with the spot your eye lands on first when you walk in, and save the rest for later.
1. Paint the Vanity With Bonding Primer First

A fresh coat of paint on a cabinet can hide a lot, right up until the first steamy week makes it bubble. The fix is in the prep, not the paint color.
Before you open the can, do these three things:
- Wipe the doors with a degreaser to lift the film from cooking and hand oil.
- Scuff the glossy surface with a fine sanding sponge.
- Brush on one coat of bonding primer and let it dry overnight.
The vanity will hold up far better than one painted straight over old finish. Pick a satin or semi-gloss topcoat, since it wipes clean without getting tacky in humid rooms.
Dull, chipped doors that show every fingerprint near the sink.
An even, smooth finish that wipes clean and holds up in steamy air.
2. Swap Cabinet Pulls for One Matching Finish
Mismatched hardware is one of the quickest ways to make a bathroom feel unfinished. Look closely at your vanity and you may find two or three finishes competing for attention.
Drawer pulls and knobs are small, so they’re an easy place to start. Most pulls use a set hole spacing, often measured center to center, so measure your current holes before you shop. A brushed brass or matte black finish looks fresh beside almost any faucet, and the swap usually fits into one quiet evening. Keep the old screws in a small bag in case you need them later.
What to grab before you shop
3. Replace the Showerhead With a Handheld Option

A handheld showerhead makes rinsing hair and cleaning the tub easier, and it’s one of the few upgrades you’ll notice every single day. The swap is simpler than most people expect.
Here’s the quick version:
- Wrap the threads of the shower arm with plumber’s tape, a few times in the direction the head turns.
- Unscrew the old head by hand, or use a rubber grip if it’s snug.
- Thread the new head on and tighten it gently.
Run the water and check the joint for drips. If the arm is stuck, rusted, or cracked, a plumber is the safer call.
4. Refresh Dingy Grout Lines With a Color Pen
Gray grout is often just dirty grout. A color pen can cover the lines in an afternoon without any tile work, and it’s one of the most affordable changes on this list.
The pen only sticks to clean, dry grout. Any leftover grime or soap film will show through the color, so the prep matters more than the pen itself. Stiff old toothbrushes are handy for corners the pen can’t reach.
The color lasts best where nothing gets scrubbed hard. Expect the spots by the tub to need a touch-up sooner than the rest of the floor.
Scrub the lines with a baking soda paste and a stiff brush.
Rinse and let the grout dry fully before you start.
Test the pen on a hidden line to check the shade.
Draw along each line, then wipe the tile before the pen sets.
5. Cover the Backsplash Wall With Peel-and-Stick Tile

You’ll often hear that peel-and-stick tile doesn’t belong in a bathroom. That’s only half true. The adhesive on many products handles everyday humidity fine, but direct water is another story.
Good spots for it include:
- The wall behind the toilet
- The wall beside the vanity, away from the faucet
- The narrow wall beside the door
Check the packaging for moisture ratings before you buy, since the labels differ from brand to brand. Clean the wall with a degreaser, let it dry, and press each tile firmly from the center out to push out air bubbles.
6. Recaulk the Tub Edge Before Anything Else
Cracked, dark caulk along the tub edge can make a clean bathroom look neglected. It also lets water sneak behind the tub, where you won’t see it until something soft starts to give.
Here’s the order that works:
- Scrape out the old caulk with a plastic putty knife.
- Wipe the joint with rubbing alcohol and let it dry.
- Tape both edges of the gap with painter’s tape.
- Run a steady bead of silicone and smooth it with a wet finger.
- Pull the tape before the silicone skins over.
Silicone doesn’t take paint well, so choose a color that matches the tub or tile. A little extra care on the first pass saves a redo later.
⚠️ Watch Out
Open a window or run the fan while you work. Check the tube for the cure time before water touches the new bead.
7. Warm Up the Room With Dimmable 2700K Bulbs

Many people assume a brighter, whiter bulb makes a bathroom feel cleaner. In practice, cool white light can make skin look gray and tile look harsh at 7 a.m.
Bulbs labeled 2700K give off a warm, soft glow, closer to a candle than a office ceiling. Pair them with a dimmer, and the room can shift from bright for shaving to low for a long bath. Check the bulb box for dimmer compatibility first, because LED bulbs often flicker or buzz on older switches.
Pick 2700K bulbs for the vanity and the ceiling light.
Check the box for dimmer compatibility before you buy.
Mixing cool white and warm bulbs in the same room.
Pairing a dimmable bulb with an old dimmer switch.
8. Frost the Shower Door With Privacy Film
A clear glass shower door can feel exposed, especially in a rental or a guest bath. Frosted film gives you privacy without swapping the door.
There are two common types, and they behave differently:
| Static cling film | Adhesive frosted film |
|---|---|
| Slides on with water, no tools | Needs a careful, flat press |
| Repositions and peels off clean | Can leave residue when removed |
| Best for renters and trial runs | Best for a door you plan to keep |
| Replace when the edges start to lift | Lasts longer with gentle glass cleaner |
Clean the glass with rubbing alcohol before either one goes on. Dust trapped under the film shows up as tiny bubbles that never flatten out. Use a credit card or squeegee to press from the center outward.
9. Add a Floating Shelf Above the Toilet
Look at the wall above the toilet. Chances are it’s a blank stretch that collects dust and the occasional stray roll of paper.
A floating shelf fixes that without much fuss. Before you drill, use a stud finder and check for pipes and wiring, since both can hide behind a wall you can’t see into. Mark the height with a level, then mount the bracket into a stud or a rated anchor. Keep the load light: a small plant, folded hand towels, or a candle works well. Heavy bottles belong in a cabinet.
Anchor the shelf into a stud or a rated anchor, and keep the load light.
10. Layer a Coordinated Towel and Bath Mat Set

Here’s a simple rule for towels: pick one main color, add one supporting tone, and stop there. Too many colors make a small bathroom look busy fast.
Build the set like this:
- Main color: the bath towels, in a shade that matches your walls.
- Support: the bath mat, one step lighter or darker.
- Accent: one hand towel or small rug in a color already in the room.
Cotton towels soak up water well and hold their color through regular washing. Let mats dry fully between uses, since damp fabric is what most often gives a bathroom that musty smell.
11. Upgrade the Toilet Seat to a Soft Close Model
A toilet seat that slams down at 2 a.m. wakes up the whole house. A soft close seat fixes that with a small hinge damper that slows the lid to a gentle stop, and it’s one of the cheapest quality-of-life upgrades in the room.
Most soft close seats use the same mounting system as standard seats, so the swap is usually a 20-minute job with a screwdriver. Check the bolt spacing on your current seat before you buy, since a few older toilets use unusual sizes. Look for a model with a quick release hinge too. It lifts off with one tab, which makes cleaning behind it much easier.
12. Frame the Existing Mirror With a Trim Kit
Many people think a mirror frame needs a carpenter, a miter saw, and a free weekend. In reality, a pre-made trim kit can turn a plain builder-grade mirror into something that looks custom, and most kits go up with adhesive or mounting tape.
Start by measuring the mirror edge to edge, then buy a kit slightly longer than you need. Lay the pieces on the floor to check the fit before you stick anything to the wall. Clean the mirror edge with rubbing alcohol so the adhesive grabs well.
💡 Quick Tip
Choose a kit labeled for bathrooms or moisture. Standard foam trim can soften and peel within a few steamy months.
13. Repaint the Walls in a Satin Finish Built for Humidity
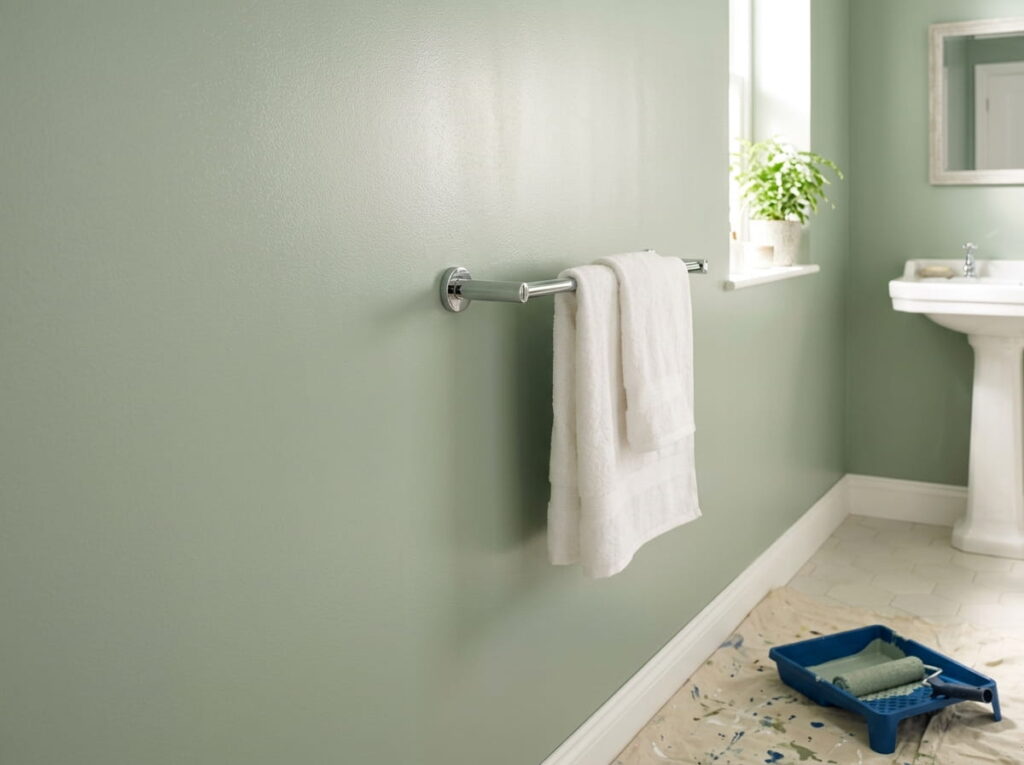
Bathroom walls take a beating from steam, and a flat paint can start to look blotchy after a few hot showers. The right sheen matters as much as the color you pick.
Satin or eggshell finishes wipe clean without looking shiny, so they suit most bathrooms. Use a paint sold as moisture resistant, and run the exhaust fan during and after the job so the new coat can cure. Let the paint dry at least a full day before you hang anything heavy on the wall.
14. Bring in a Low Light Plant That Handles Steam
Greenery makes a small bathroom feel calmer, but many plants struggle in a damp room with little sun. The trick is picking one that likes humidity and bright, indirect light, then giving it a spot that works.
Pothos is a common pick because it tolerates steam and grows well from a shelf or a ceiling hook. Keep it away from direct splash zones, and water only when the top inch of soil feels dry. Watch for soggy soil, since a waterlogged pot causes more plant trouble than low light does.
What to grab before you shop
15. Hang a Wall Hook Strip for Robes and Towels

Every morning, the robe hanging on the door hook slides off and lands in a heap on the floor. A short rail of hooks on the wall solves that quickly, and it gives each towel room to dry instead of bunching up.
Mount the strip into a stud or a wall anchor rated for the weight you plan to hang. Heavy robes and wet towels add up, so check the hook’s stated load before you drill. Space the hooks about a hand’s width apart so each one has room to swing free.
Damp towels piled over the door, with a robe sliding to the floor each morning.
A short rail of hooks, with each towel and robe hanging free to dry.
Conclusion
A weekend bathroom makeover doesn’t need a dumpster in the driveway or a month of waiting for a crew. Most of these ideas work with what you already have: the vanity, the tub, the walls that hold the mirror. Start with whichever one bugs you most, whether that’s the gray grout, the slamming lid, or the bare wall above the toilet. Once that’s done, the room will feel different, and the next project will be easier to choose.
Leave a Reply