

Most walk-in shower remodels go wrong before a single tile gets set. Homeowners pick a drain, a door style, and a bench because they look good in a photo, then find out later the plumber needs six more inches, the joists won’t hold a rain head, or the door can’t swing without hitting the vanity.
A good walk-in shower layout isn’t about style first. It’s about the rough-in, the slope, the framing, and the small measurements nobody thinks to check until the demo is already done.
This guide walks through the planning decisions that actually shape how your shower works, not just how it looks. Some of these are measurements you can take yourself with a tape measure.
Others are questions worth asking your contractor or plumber before you sign off on a design. None of them require you to be an expert. They just need to happen in the right order, before the walls open up and the choices get expensive to undo.
1. Measure the Rough-In Before You Fall in Love With a Tile
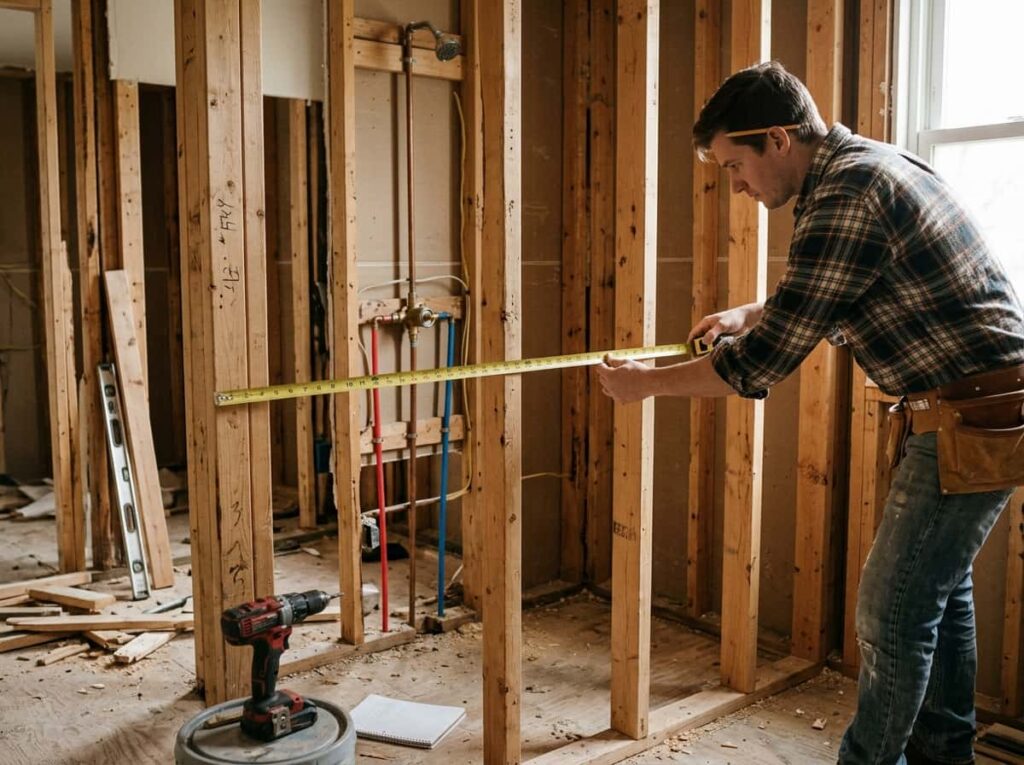
Pull out a tape measure before you open a single tile catalog. Walk-in showers need real clearance, not just a pretty floor plan. Most codes call for at least 36 inches by 36 inches of usable shower space, and your plumber needs enough room behind the wall to run supply lines and a mixing valve without fighting a stud. Check this before you fall for a tile pattern that only fits a narrower footprint.
Measure the full wall to wall width of the shower space.
Measure the depth from the back wall to where the entry starts.
Confirm the plumbing wall has clearance for the valve and supply lines.
2. Curbless or Curb: Decide This Before the Subfloor Is Touched
Curbless and curb showers solve different problems, and picking wrong tends to show up later. A curb shower is cheaper to waterproof and more forgiving if your subfloor isn’t perfectly flat. A curbless shower looks sleeker and works better for anyone who wants to age in place, but it needs a sloped subfloor and a linear drain plan done right the first time. Decide now, because changing your mind after the subfloor is poured means tearing it back out.
| Curb Shower | Curbless Shower |
|---|---|
| Simpler waterproofing | Needs a sloped subfloor pan |
| Lower cost, less labor | Higher cost, more framing work |
| Good for tight budgets | Good for aging in place, sleeker look |
3. Pick Your Drain Type First, It Changes the Whole Layout
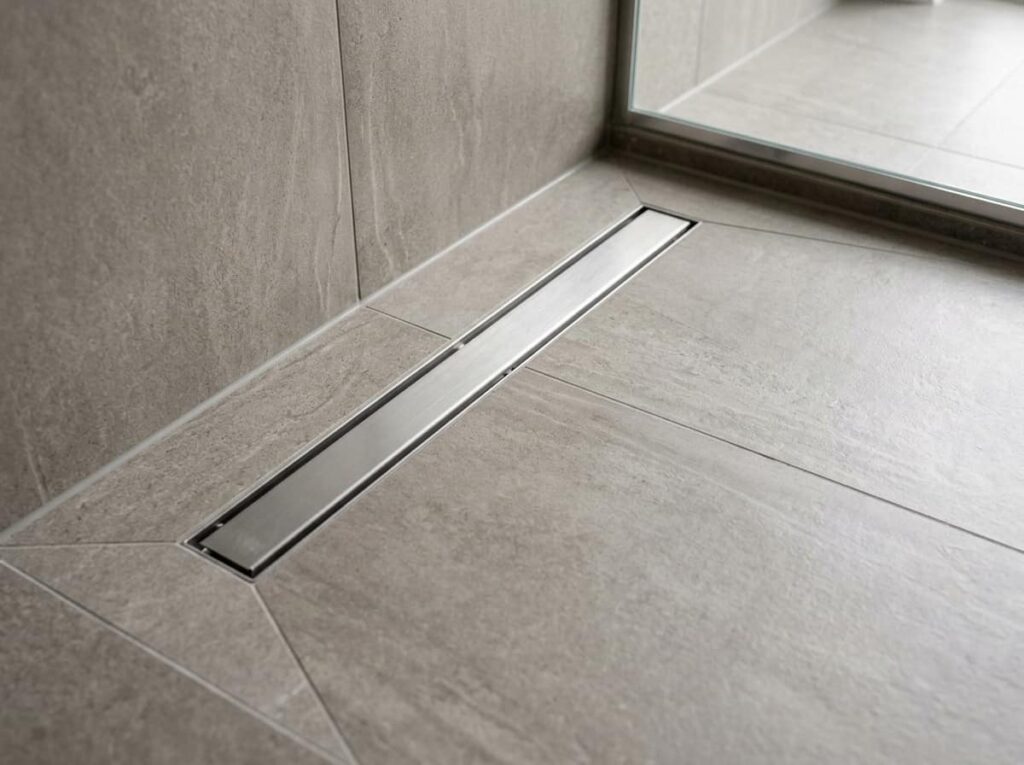
A drain placed in the right spot saves you from standing in a puddle for the next twenty years. Center drains are the easiest for a contractor to slope evenly in every direction. Linear drains along the back or side wall let the whole floor slope one way, which pairs well with a curbless entry and large format tile. Pick this before you choose a tile layout, since the drain decides which direction the floor lines need to run.
4. Leave Enough Room for the Door to Actually Swing
Nothing ruins a new shower faster than a door that clips the vanity every time it opens. Before you commit to a swing door, measure the full arc it needs, not just the width of the opening. A pivot or hinged door typically needs 24 to 28 inches of clear floor space to swing without hitting a toilet, cabinet, or towel bar. If the room is tight, a sliding or pivot-free door solves the problem without shrinking the shower itself.
💡 Quick Tip
Open the door all the way and measure the swing arc on the actual floor, not just the frame opening on paper.
5. Know the Smallest Footprint That Still Feels Like a Shower
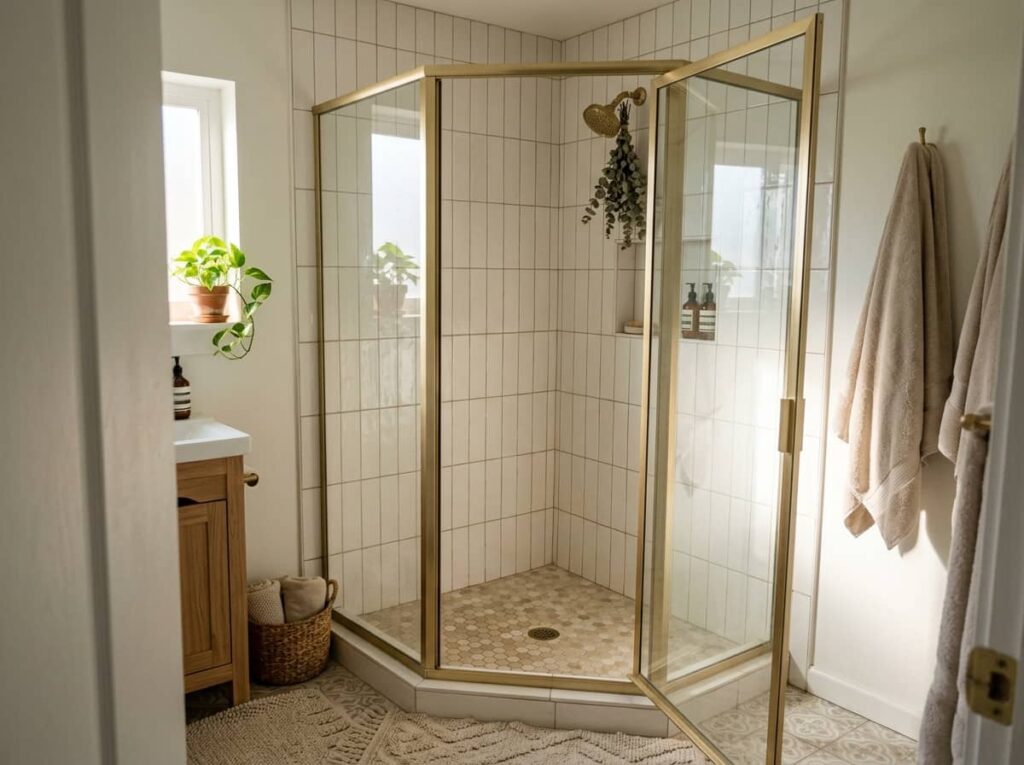
Here’s a simple rule: a shower under 32 inches wide will feel cramped no matter how nice the tile is. Thirty-six inches is the comfortable minimum for most adults to turn, bend, and wash without elbowing the glass. If your bathroom can’t give you that, a neo-angle layout in a corner often reclaims a few extra inches without expanding the room’s footprint. Small bathrooms don’t have to mean a small-feeling shower.
6. Lock In Showerhead Height Before the Plumber Shows Up
Standard showerhead height is 80 inches from the floor, but standard doesn’t mean right for your household. A tall household often wants 84 inches so nobody ducks under the spray. If you’re planning ahead for resale or aging in place, a handheld on a slide bar solves the height question for everyone at once. Decide this before the plumber roughs in the valve, because moving a pipe after drywall is a demo job.
Before you call the plumber, confirm
7. Only Add a Bench If the Footprint Can Handle It
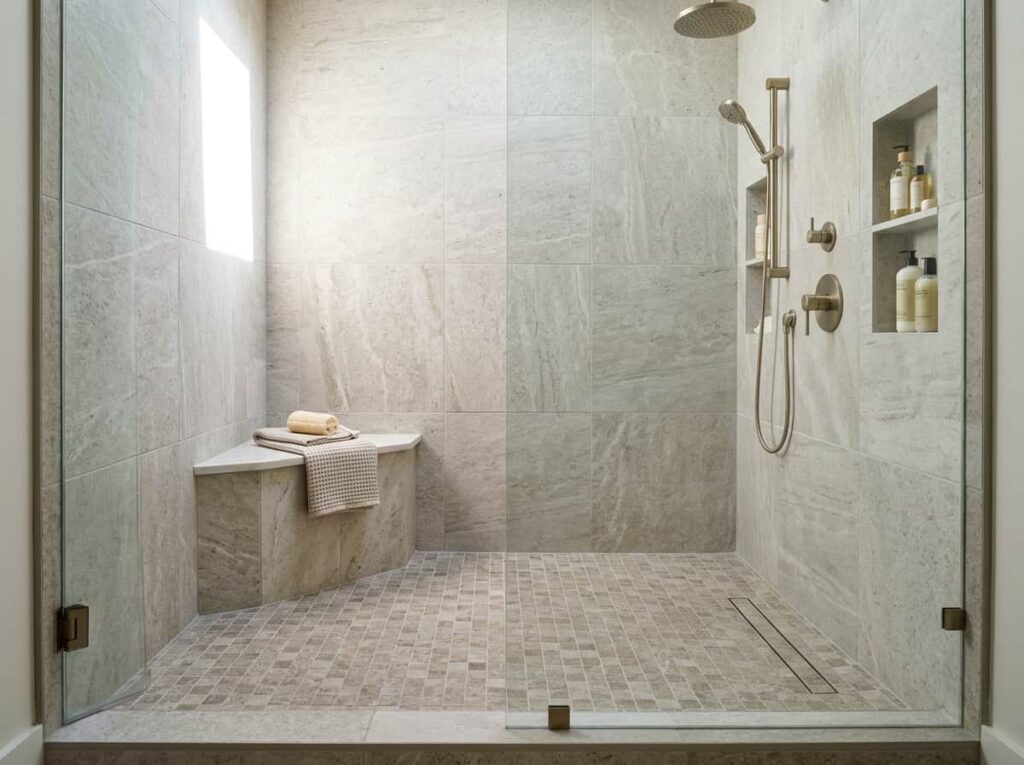
A built-in bench is one of the most requested features and one of the most commonly regretted. It eats 12 to 18 inches of floor space, which in a smaller shower can mean the difference between comfortable and cramped. Before you say yes to a bench, check if your layout can afford to lose that corner. If it can’t, a fold-down bench or a teak shower stool gets you the same function without permanently shrinking the stall.
Add a built-in bench only in showers 42 inches or wider.
Use a fold-down or freestanding stool in smaller stalls.
Don’t wedge a bench into a 32 inch stall to match a photo.
Don’t frame the bench before checking the final door swing.
8. Put the Niche Where Your Hand Lands, Not Where It Looks Nice
A recessed niche looks best centered on a wall. It works best somewhere else entirely. Think about where your arm naturally reaches when you’re shampooing with your eyes closed, usually a spot just below shoulder height and slightly off to one side. Centering it purely for symmetry often puts it too high or in a spot that’s awkward to reach from where you actually stand.
- ▸Set the niche 42 to 48 inches from the floor for average reach.
- ▸Offset it from center toward the side you stand on most.
- ▸Keep it out of direct spray so water pools less inside it.
9. Map Your Splash Zone Before Choosing a Door Style
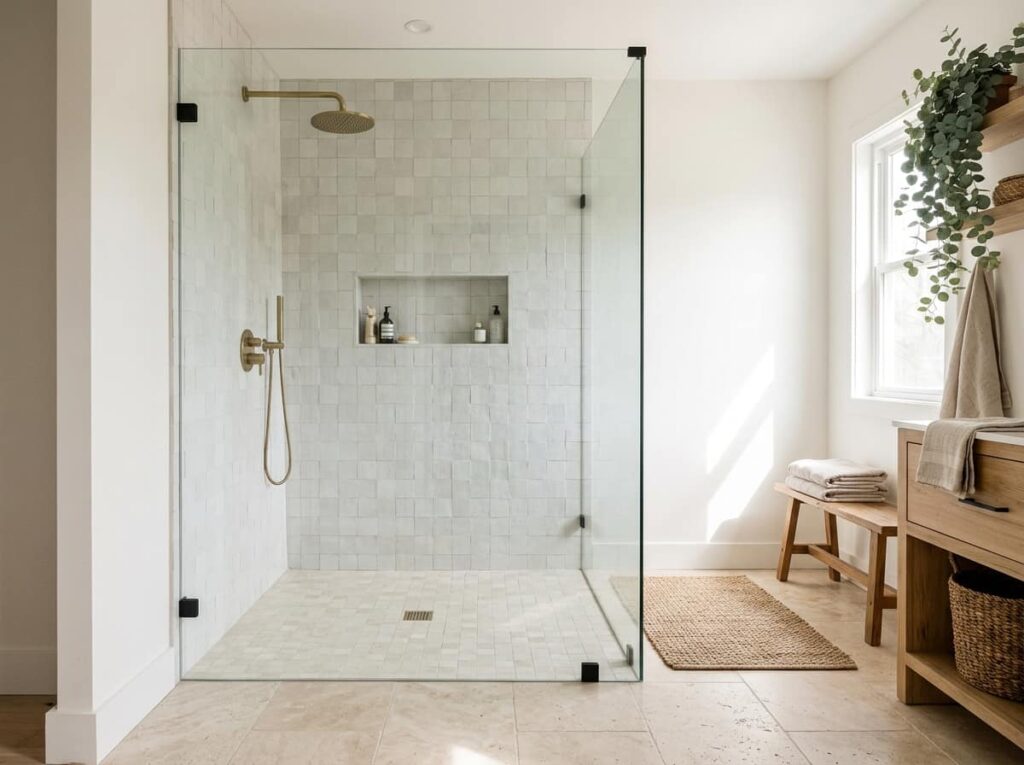
Open the water on a mock layout, or picture the spray pattern on the actual floor plan, before you choose between a full glass panel and a half wall. A door or panel that stops too short lets water sheet straight onto the bathroom floor every single time. Mapping the splash zone first tells you exactly how tall and how wide your glass needs to be, instead of guessing and adding a second panel later.
Short half wall, water sheets onto the floor, bath mat soaked every morning.
Full height panel sized to the actual spray pattern, dry floor outside the shower.
10. Decide Exactly Where the Glass Panel Needs to Stop
A fixed glass panel doesn’t need to run floor to ceiling to do its job. Most splash protection only requires it to reach 6 to 8 inches above the showerhead. Stopping it there instead of at the ceiling saves money on glass and keeps the room feeling more open, especially in a smaller bathroom where a full enclosure can make the space feel boxed in.
Measuring the glass panel height
11. Check Your Joists Before You Fall for a Rain Head
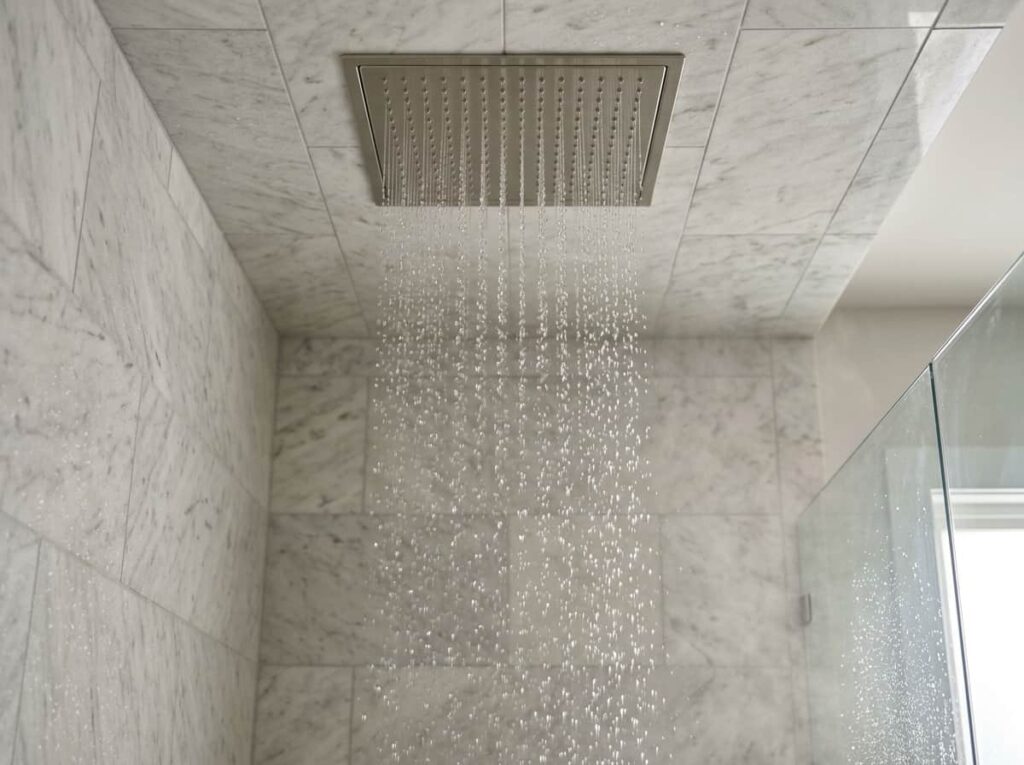
A ceiling mount rain head looks incredible in photos and weighs more than people expect once the water is running. That weight needs solid blocking between the joists, not just a hole cut into drywall. If your remodel hasn’t started yet, this is the easiest moment to ask your contractor to add blocking while the ceiling is still open. Skip this step and you’re looking at cutting into a finished ceiling later to reinforce it.
A rain head needs blocking in the ceiling, so plan for it before the ceiling closes up, not after.
12. A Second Showerhead Only Works With the Right Layout
Two people, two showerheads, sounds simple until the spray patterns cross and someone ends up rinsing shampoo they didn’t ask for. A second head only works well when the shower is wide enough to give each spray its own lane, usually 60 inches or more. Angle them slightly away from each other, not straight across, so the patterns don’t collide in the middle.
Confirm the shower is at least 60 inches wide before adding a second head.
Place each head on an opposite wall, not directly facing one another.
Ask about a thermostatic valve so both can run at the same time without a temperature fight.
13. Plan the Fan Placement Before the Walls Close Up
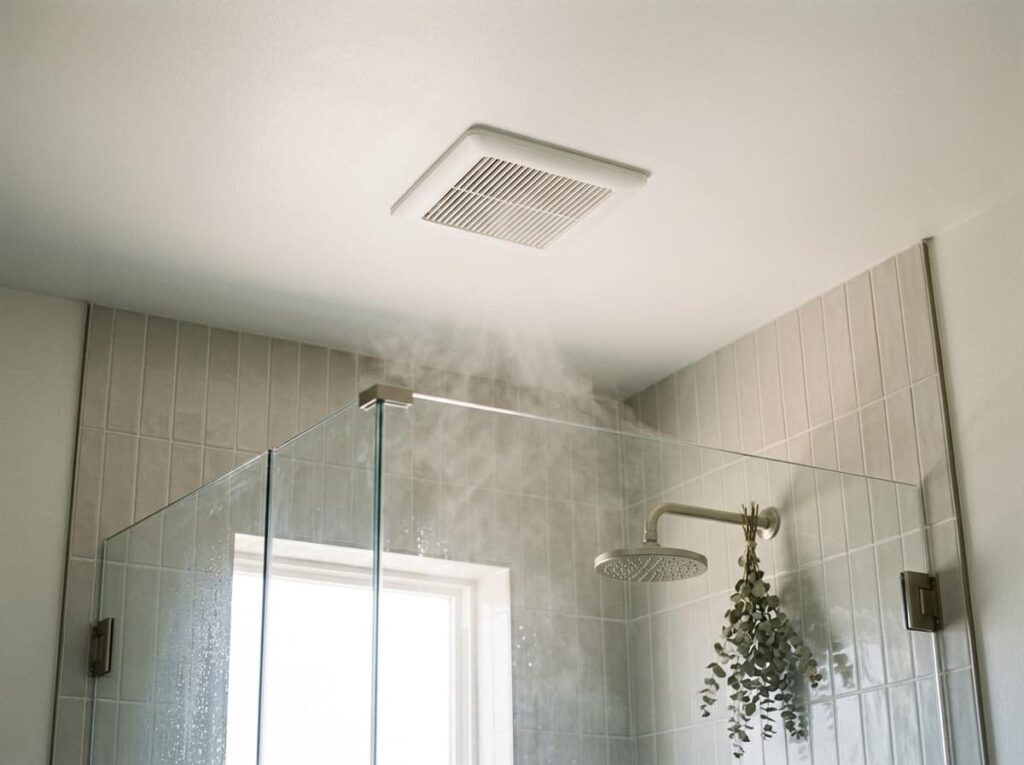
Mold loves a shower with weak ventilation more than any grout color or tile choice ever matters. The fan needs to sit close enough to the shower to actually pull steam out, not off in a corner by the door where it barely does anything. This is a wiring and ducting decision, so it has to happen while the walls and ceiling are still open, not as an afterthought once tile is already up.
14. Build In Aging-In-Place Features Now, Even If You Don’t Need Them Yet
Blocking for a future grab bar costs almost nothing to add during a remodel and a real headache to retrofit later. You don’t need to install the bar today, but you do need solid backing behind the drywall in case you or a future owner wants one. The same goes for a slightly wider doorway and a curbless entry. None of it has to look clinical. It just has to be there when it’s needed.
| Add Now | Install Later |
|---|---|
| Grab bar blocking in the wall | The actual grab bar hardware |
| Curbless entry and sloped floor | A fold-down bench seat |
| Wider doorway framing | A handheld slide bar |
15. Sketch Your Waterproofing Zones Before Calling a Contractor
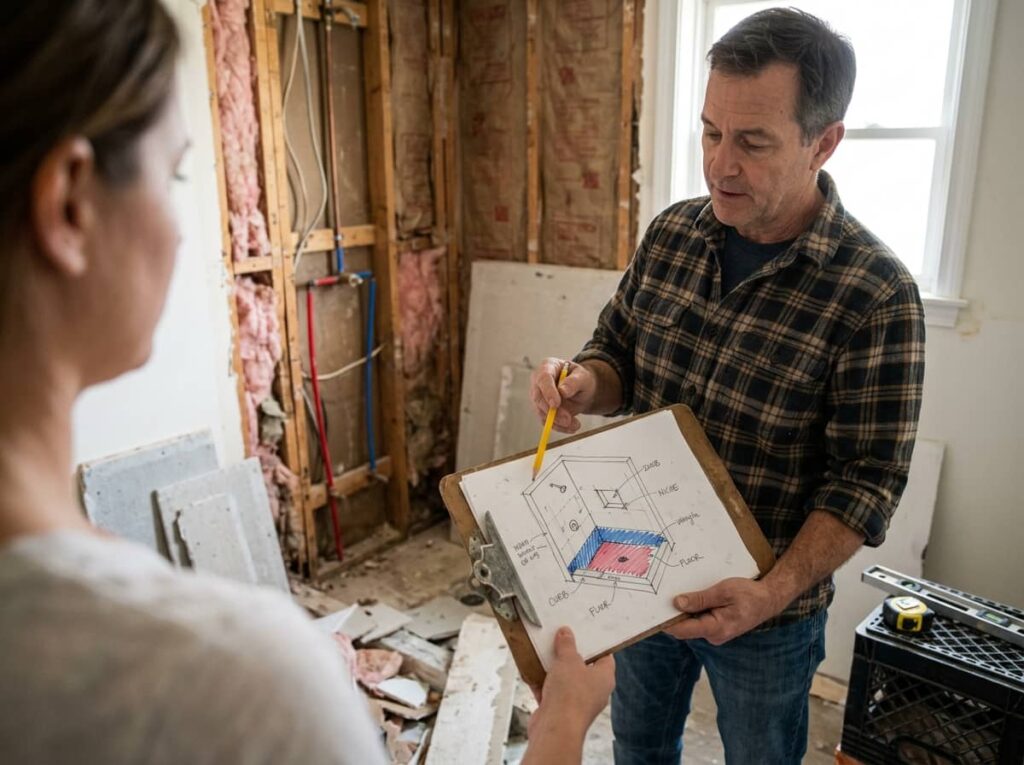
Every wall inside a shower is not waterproofed the same way, and knowing that before your first contractor walkthrough makes the whole conversation easier. The plumbing wall, the floor, and any bench or niche need full waterproofing membrane. A half wall or an area outside the direct spray zone may need less. Sketching this out first, even roughly, means you’ll understand your quote instead of just trusting it.
Full waterproofing membrane belongs on every wet wall, the floor, and any niche or bench, no exceptions.
Conclusion
A good walk-in shower layout isn’t about picking the prettiest tile first. It’s about the measurements, the drain, the slope, and the small decisions that happen before a single wall gets closed up. Get those right and everything after, including the tile you’ve been eyeing, has a layout that actually works for it. Get them wrong and even the nicest finishes end up fighting a cramped door swing or a drain in the wrong spot.
Walk through this list with your contractor before the demo starts, not during it. A little planning now means fewer surprises and a shower that feels right every single day, not just in the first photo.
Save this list for the next time you’re sketching out a walk-in shower layout, so you have it handy before the remodel starts.
Leave a Reply