

Most walk-in showers look great in photos and feel a little off in real life. The glass is fogged with spots, the floor is slippery, and there is nowhere to set a shampoo bottle without it ending up on the tile.
The good news is that the fixes are rarely complicated. A better layout, a smarter tile choice, or one well placed shelf can do more than a full gut job. These walk-in shower ideas focus on the small decisions that make a modern bathroom feel calm and work every single morning.
You will find ideas for tight rooms and roomy ones, budget tweaks and bigger projects, light palettes and dark ones. Each one comes with a quick visual so you can scan, compare, and save what fits your space.
Start with the ideas that match your bathroom’s size, then borrow a detail or two from the rest. A shower does not need to be big to feel considered. It just needs to be planned.
1. Use One Fixed Glass Panel Instead of a Door
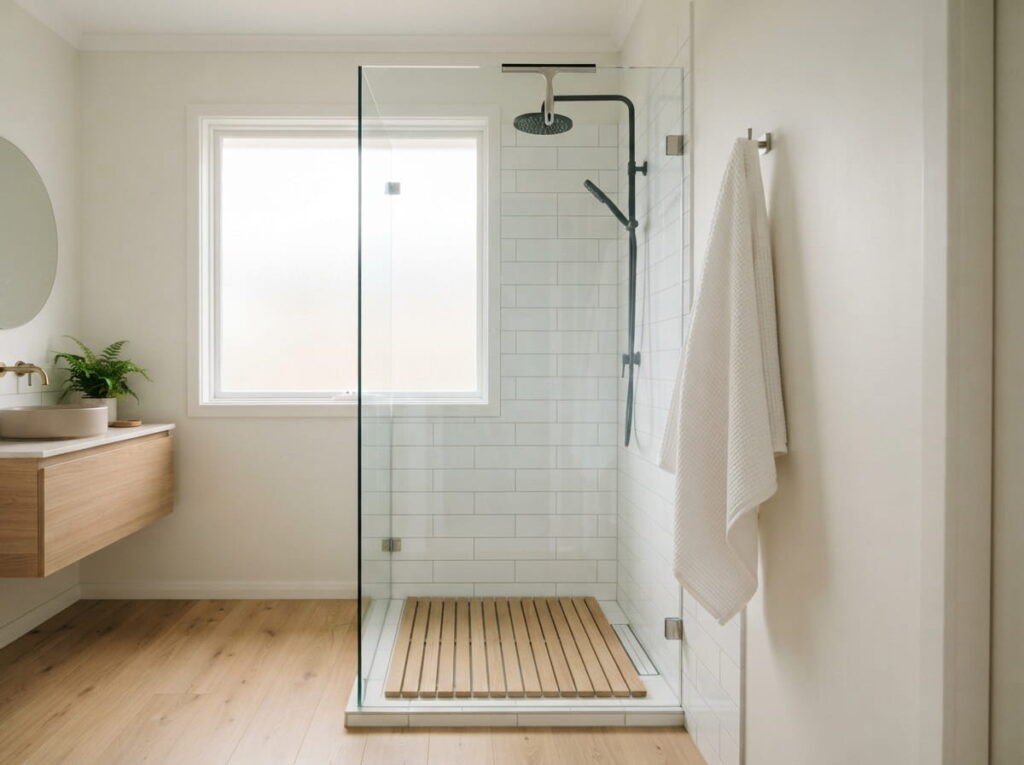
A shower door is one more thing to clean, hinge, and bump into. Skip it.
A single fixed panel keeps the water in and leaves the entry wide open. It also lets the tile and the room read as one space, which matters most in a small bathroom where every visual break makes the floor feel smaller.
A few details to settle early:
- Full height glass blocks the most spray, while a shorter panel feels lighter.
- Low iron glass looks clearer next to white tile.
- Slim clamps or brackets look cleaner than a heavy frame.
Keep the shower head on the wall behind the panel so the spray points away from the opening.
2. Cover the Walls in Large-Format Porcelain Slabs
Grout lines are where soap scum settles and mildew starts. Fewer lines means less to scrub.
Large porcelain panels can run from floor to ceiling with only a few seams, so the wall reads as one calm surface. Stone looks and concrete looks suit a modern bathroom because they stay quiet.
Two things to know before you commit:
- Big pieces need a flat wall, so ask your installer to check it first.
- Cutting around a niche or valve takes skill, which is why this one usually goes to a pro.
Choose a matte or lightly textured finish if you want to avoid glare.
| What you notice | Small tile | Large slabs |
|---|---|---|
| Grout lines | Many | Very few |
| Cleaning | More scrubbing | Mostly a wipe down |
| Look | Pattern heavy | Seamless and calm |
| Install | Easier for DIY | Best left to a pro |
3. Make the Entry Curbless with a Linear Drain
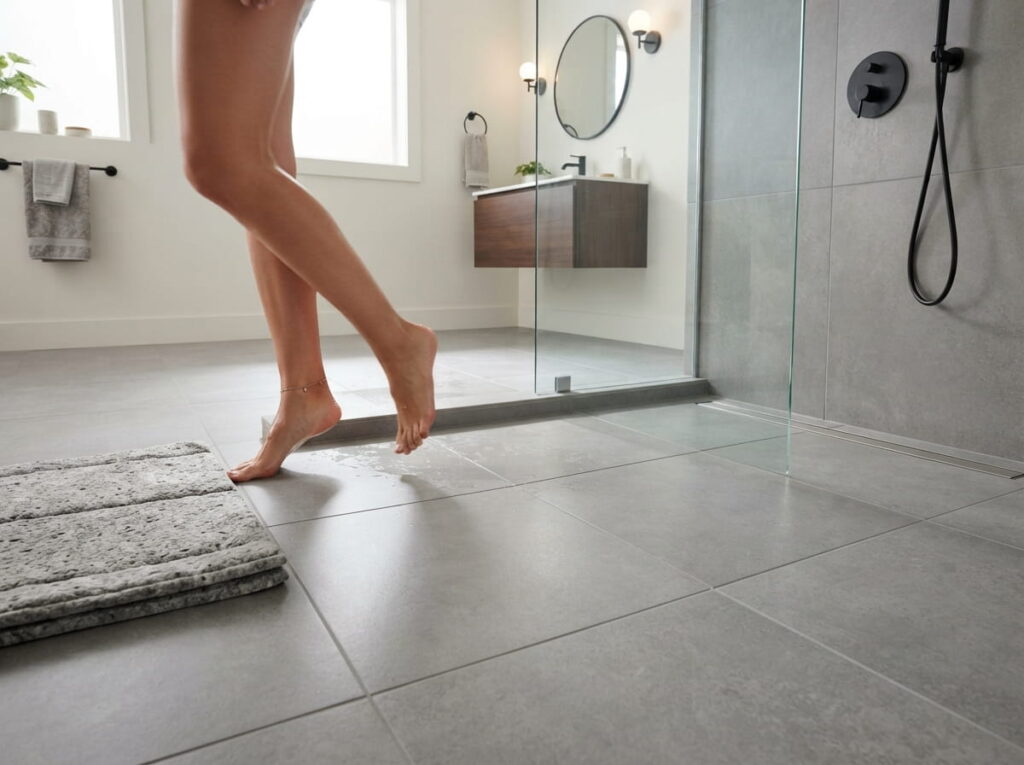
Stepping over a curb with wet feet gets old fast.
A curbless entry removes that edge, so the bathroom floor flows straight into the shower. A linear drain makes it work. The floor only has to slope in one direction toward a slim channel, usually along the back wall or at the entry, which means you can use larger floor tile without cutting lots of angles.
Waterproofing and slope are not places to improvise. Hire a tiler who has built a curbless shower before and ask to see one.
It also keeps the room easier to use as your needs change, which is worth planning for now.
A raised curb to step over, and a center drain that forces the floor to slope four ways, with messy tile cuts.
A flat entry, one gentle slope toward a slim channel, and tile that runs from the bathroom into the shower.
4. Pair Matte Black Fixtures with Pale Tile
Pale tile, dark fixtures. That is the whole idea.
White, cream, or light grey tile gives the matte black shower head, valve, and slide bar something to stand against. The contrast does the styling for you, so the rest of the bathroom can stay simple.
Keep the finish consistent:
- Match the shower head, handle, and drain cover.
- Use the same black on the faucet and towel hooks.
- Confirm the sample is matte and not satin, so the tones do not drift.
Hard water spots show more on dark metal, so keep a soft cloth near the glass.
💡 Quick Tip
Hold a finish sample against your tile in your own bathroom light before you order. Black fixtures from different brands rarely match exactly, so buy the shower, faucet, and hardware from the same line when you can.
5. Run a Full-Width Niche at Eye Level

Most people tuck the niche low or into a corner, then crouch for the shampoo.
A wide horizontal niche set around eye level, running most of the wall width, holds everything in one tidy line. Line it with the same slab or tile as the wall so it disappears, or use a contrasting stone strip if you want it to show.
Details that keep it useful:
- Tilt the base slightly so water runs out.
- Size the height to your tallest bottle, plus a little extra.
- Avoid exterior walls where the insulation is thin.
6. Add a Floating Bench in Stone or Teak
A place to sit changes how a shower gets used.
You can shave, rest a foot, wash your hair without balancing, or let the water run a minute longer. A floating bench keeps the floor open underneath, so the shower still feels light and mopping stays easy.
Stone looks solid and calm. Teak brings warmth and handles constant moisture well, though it needs an occasional wipe to stay clean.
Plan the wall behind the bench early, because it has to carry real weight.
Before you order a bench
7. Pair a Ceiling Rain Head with a Handheld on a Slide Bar
Rain heads get the glory. The handheld does the real work.
An overhead head gives you that soft, full-body soak. It cannot rinse the glass, reach a corner, or wash a low knee. A handheld on a slide bar covers all of that, and it adjusts for the tallest and shortest person in the house.
Put both on a diverter so you can switch between them or run them together. Ask your plumber about water pressure first, since a wide rain head needs enough flow to feel good.
Mount the rain head toward the back wall, away from the opening.
Place the slide bar where you can grab it from the bench and the floor.
A rain head right above the entry, which sends spray into the bathroom.
A hose too short to reach the floor corners.
8. Stack Fluted Tile on One Feature Wall
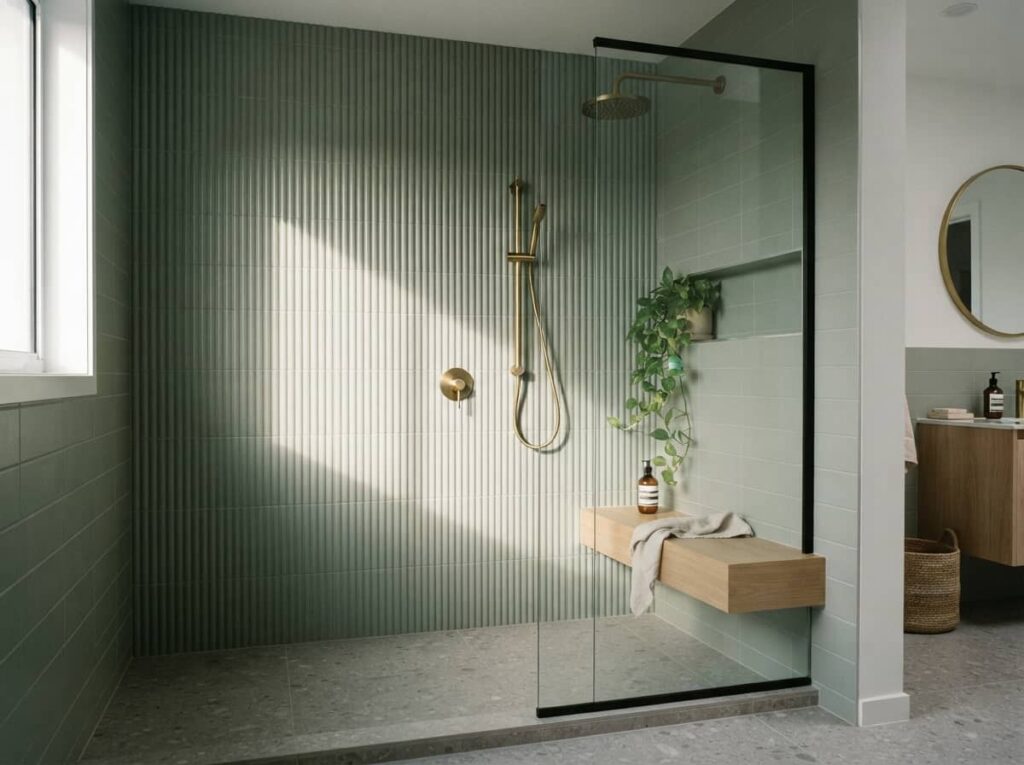
Vertical ridges look different at every hour. Morning light skims across them, and warm evening bulbs drop a soft shadow into each groove.
Fluted tile does the most when plain tile sits beside it. One textured wall reads as a feature. Four walls read as a lot. The wall behind a floating bench is a good spot, or whichever wall you see first from the bathroom door.
How to pull it off
Pick the wall your eye lands on first from the doorway.
Tile the other walls in a smooth finish from the same color family.
Choose shallow ridges. Deep grooves hold soap film and are harder to wipe.
Run the ridges vertically so the ceiling feels taller, and wipe them top to bottom.
9. Build a Walk-Through Shower with Two Open Ends
Give the water a long runway.
A walk-through shower has an opening at each end. You step in on one side and out on the other, with a towel waiting right there. No door to swing, no corner to squeeze past. It needs a longer room than most bathrooms offer, so it suits a layout with some length to spare.
Three things to settle before you build:
- Put the shower head on the long wall, away from both ends.
- Slope the floor toward a drain in the middle.
- Keep a dry spot for towels at the exit end.
The longer the shower, the drier the floor outside it. Keep the head far from both openings so the spray lands before it can reach either one.
10. Choose a Small Mosaic Floor for Better Grip
Polished floor tile looks sharp in the showroom and turns slick the moment it gets wet.
Small tiles fix that. Every grout line adds traction under your feet, and tiny pieces follow the slope toward a center drain much more easily than a big tile can. Hexagons, small rounds, and little squares all work.
A few choices that help:
- Pick a matte or textured finish, never polished.
- Use grout a shade darker than the tile, since it hides stains.
- Seal the grout, or ask your installer about stain resistant grout.
If you chose a linear drain in idea 3, larger textured tiles are fine. Mosaic earns its place when the floor slopes from every side.
⚠️ Watch Out
Look for a slip resistance or wet area rating in the product details before you buy. A tile can look grippy in a photo and still be slick underfoot. Your installer can tell you which ratings apply where you live.
11. Go Dark with Charcoal Tile and Warm Light
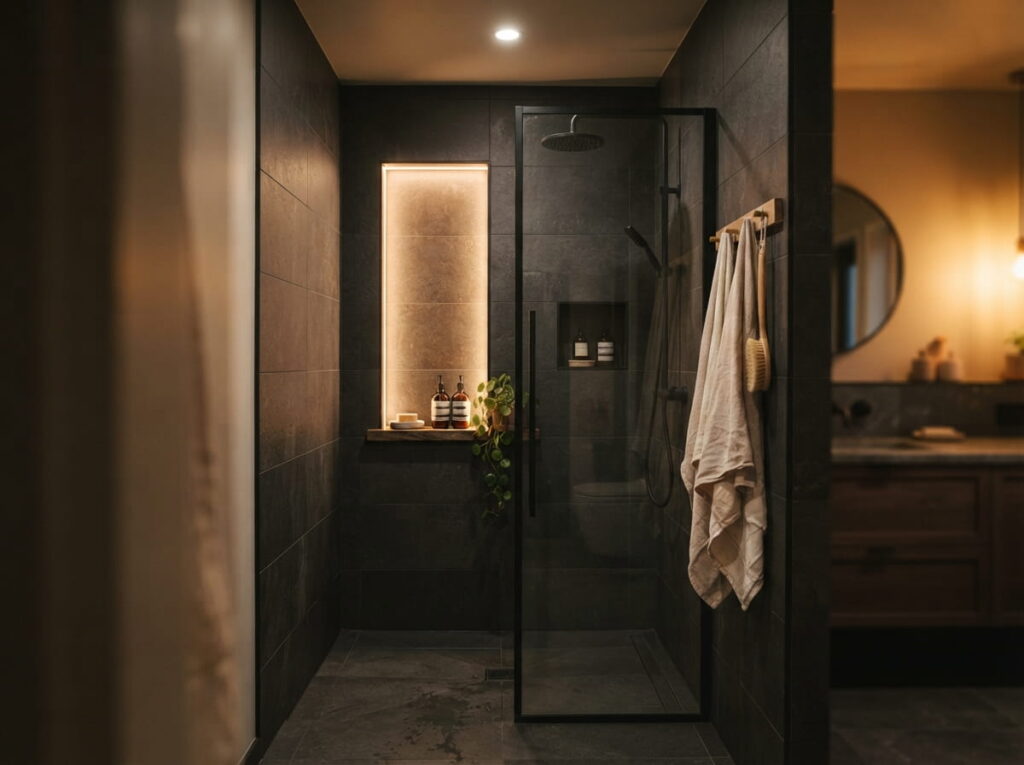
“Dark tile makes a shower feel small” sounds right, and it often is not.
Charcoal walls read as deep and calm when the light is warm and sits low. The same tile under cold, harsh light looks flat and gloomy, so the lighting matters as much as the tile.
What helps most:
- Use a warm white fixture rated for wet areas.
- Add a slim strip light inside the niche so it washes the wall.
- Choose a honed or matte finish, since polished dark tile shows every water spot.
Keep towels and plants pale, and the dark walls will do the rest.
12. Fit a Corner Walk-In Shower in a Narrow Bathroom
A narrow bathroom rarely has room for a wide shower, so stop trying to fit one.
Tuck the shower into the far end instead, using the full width of the short wall. One fixed glass panel on the open side keeps the entry clear, and the vanity and toilet stay exactly where they are. The path from the door to the shower stays straight, which makes the room feel longer than it is.
Put the shower head on the wall farthest from the door so spray never reaches the entry.
- ▸Set the niche into the short wall so nothing juts into the stall.
- ▸Choose glass with no frame on the open side.
- ▸Run the same floor tile into the shower so the room reads as one space.
- ▸Hang a hook on the wall just outside the glass edge.
13. Split the Wall into a Darker Lower Half and a Lighter Upper Half
Two tones on one wall, and the shower suddenly has structure.
The darker lower half grounds the space and hides splashes and soap marks where they land most. The lighter upper half bounces light back so the ceiling does not feel heavy.
Where you stop the dark tile matters:
- Line it up with the top of the bench or the bottom of the niche.
- Finish with a thin trim strip or a clean tile edge so the split looks planned.
- Keep both tones in the same color family.
Skip a wavy or stepped line. Straight reads modern.
One flat color from floor to ceiling, with water marks showing low on the wall and nothing to anchor the eye.
A deeper tone below, a lighter one above, and a straight line at bench height that ties the whole shower together.
14. Hang a Heated Towel Rail Just Outside the Opening

A walk-in shower has no door to hang a towel on, and that matters more than it sounds.
A heated rail beside the entry puts a warm towel within arm’s reach the moment you step out. It also dries towels between uses, which keeps the bathroom smelling fresher.
Mount it on the wall next to the opening, not facing the spray. Electric models need wiring nearby, so have a qualified electrician plan it before the walls close up.
Check before you buy
Conclusion
A good walk-in shower is mostly a set of small decisions made in the right order. Pick the layout that fits your room, then choose the glass, the floor, and the tile around it. After that, the details do the quiet work: a niche at the right height, a bench with a solid wall behind it, a towel rail within reach.
You do not need to use every idea here. Two or three that suit your bathroom will change how it feels every morning. Keep this list of walk-in shower ideas close while you plan, and save it for the next time you want to refresh your bathroom.
Layout first, then glass, then floor, then walls, then fixtures and finishing touches. Settle the big choices before the small ones.
Leave a Reply