
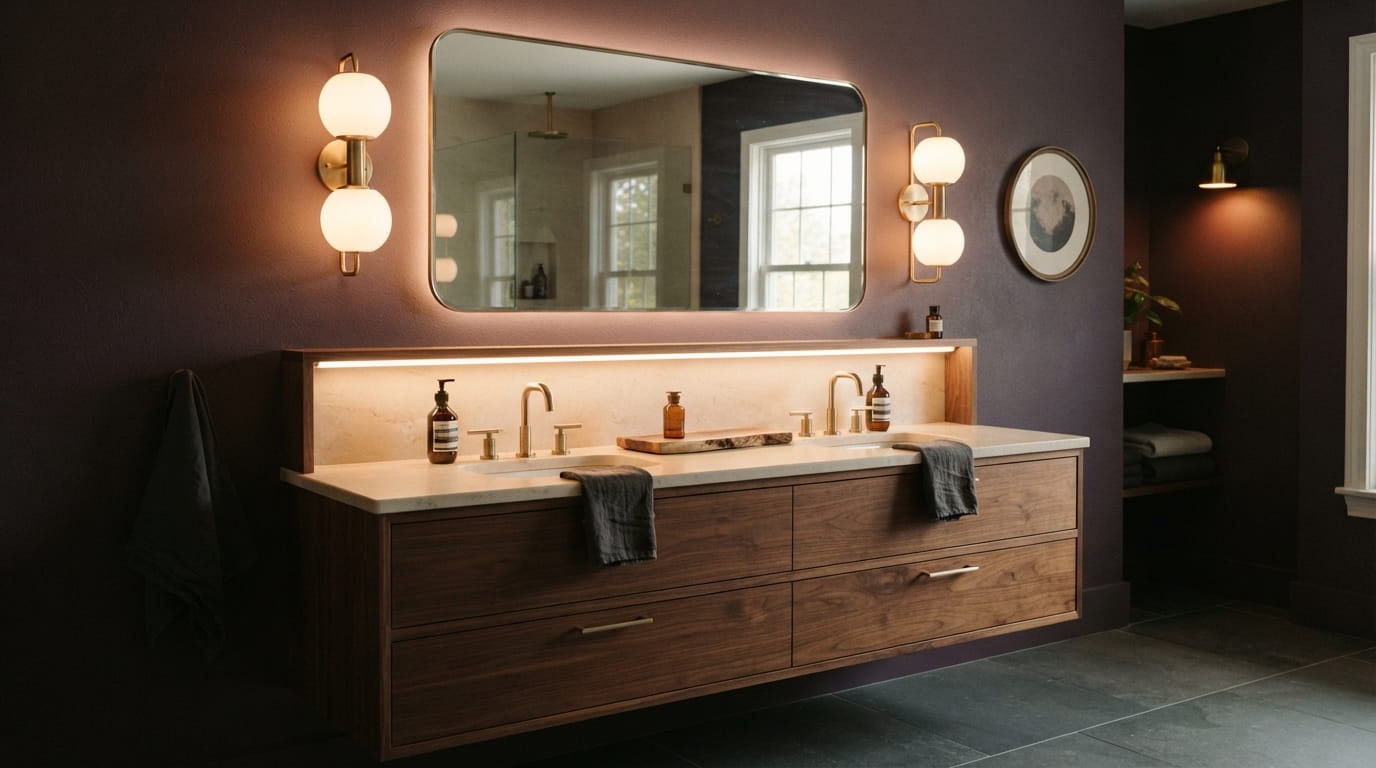
Most bathroom mirrors get one light source, mounted straight overhead or built into a medicine cabinet, and it’s the wrong kind of light for actually seeing your own face. Overhead light drops shadows under your eyes, along your nose, and under your chin, so you end up second guessing your concealer or your blush in a mirror that was never built to show you the truth.
Good vanity lighting ideas start with where the light comes from, not just how bright it is. Light aimed at your face from the sides, close to eye level, cancels out those shadows in a way a single bulb overhead never will.
This list walks through practical fixes for real bathrooms, from where to mount sconces to which bulb specs actually matter and when a plug in fixture is enough. Some of these are a quick bulb swap. Others are a weekend project. All of them are about getting a mirror that finally shows you what you actually look like before you leave the house.
1. Flank the Mirror With Two Vertical Sconces Instead of One Overhead Light

A single light mounted above the mirror throws shadows down across your eyes, nose, and jaw, no matter how bright the bulb is. That’s why makeup artists rely on side lighting instead.
Two vertical fixtures, one on each side of the mirror at roughly eye height, cancel out those shadows and light your face evenly from both directions. It’s the same setup you’ll find in a well lit dressing room mirror.
- Mount fixtures at eye level, not above the mirror
- Space them close enough to flank your face, not the whole mirror
- Choose shades that diffuse light rather than expose the bulb
html
Mount sconces at eye level, one on each side of the mirror.
Use diffused or frosted shades.
A single light mounted above the mirror only.
Bare bulbs facing straight at your eyes.
2. Check the Bulb Box for a CRI of 90 or Higher Before You Buy
One number on the box matters more than wattage or brand: CRI, or color rendering index. It measures how true colors, including skin tones, look under that bulb compared to natural daylight.
A low CRI bulb can wash out your face or give your skin a flat, grayish cast, even if the light feels bright enough. Most cheap bulbs from a hardware store fall in the 80 range, which is fine for a hallway but not for a mirror you get ready in front of. Skip anything that doesn’t list a CRI number at all.
html
💡 Quick Tip
Look for CRI 90 or higher on the packaging. Anything under 80 can distort how your skin actually looks in the mirror.
3. Pick Warm to Neutral Bulbs Over Cool White for Truer Skin Tones
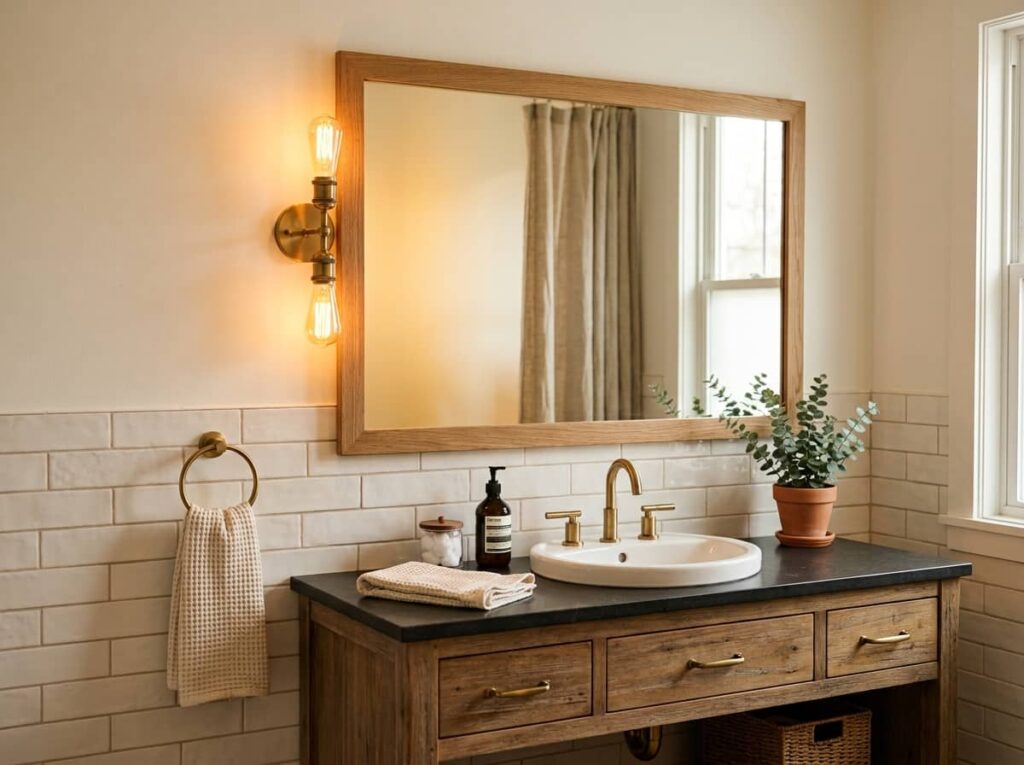
Color temperature changes your whole reflection, not just the room. Warm and neutral bulbs, in the 2700K to 3000K range, tend to flatter most skin tones and come closer to how your face looks in daylight.
Cool white bulbs, anything past 5000K, lean blue. They’re fine for a garage workbench, but on a vanity they can make skin look tired or sallow, and they throw off how you judge makeup shades before you walk outside.
html
| Warm/Neutral (2700K-3000K) | Cool White (5000K+) |
|---|---|
| Closer to natural daylight tone | Leans blue, can look clinical |
| Flatters most skin tones | Can make skin look tired or sallow |
| Makeup shades read true | Makeup can look different in daylight |
4. Mount a Horizontal Light Bar Above the Mirror as a Second Layer
A thin bar of light running the width of the mirror fills in shadows that side sconces can miss, especially under the chin. It works best as a second layer, not a replacement for side lighting.
Pair it with two side sconces and you get light from three directions instead of one, which is closer to how a professional vanity mirror is lit. Most bar fixtures mount with two screws into an existing electrical box, so this is a weekend project for most bathrooms, not a full rewire.
html
5. Swap Bare Bulbs for Frosted or Opal Glass Shades

The most common vanity lighting mistake is leaving the bulb exposed. An uncovered bulb creates a hot glare point that your eyes adjust to, which makes the rest of your face look dimmer by comparison.
Frosted or opal glass spreads that same light across a wider surface, so it’s softer on your eyes and more even on your skin. It’s a small swap, often just a shade or globe cover, but it changes the whole feel of the light.
html
What to grab first
6. Try a Backlit LED Mirror for Even Coverage With No Shadows
Light that comes from behind the glass itself solves a problem side sconces can’t. It removes the shadow a mirror frame casts across your forehead when the only light source sits above it.
A backlit mirror glows evenly around its whole edge, so there’s no single hot spot and no dark band cutting across your face. Many plug into a standard outlet and don’t need an electrician, which makes this one of the easier upgrades on this list if your bathroom already has a nearby outlet.
Look for models with adjustable brightness so you’re not stuck with one setting for both morning routines and evening ones.
html
One overhead fixture casts a shadow from the mirror frame right across the forehead.
Light glows evenly around the whole mirror edge, with no single hot spot or dark band.
7. Hang Side Sconces at Eye Level, Not Ceiling Height

Measure before you mount anything. The center of each sconce should land roughly at eye level when you’re standing at the sink, not lined up with the top of the mirror or the ceiling height of the room.
Getting the height right matters more than the fixture style you pick.
- Stand at the sink and mark the height of your eyes on the wall
- Center each sconce on that mark, one on either side of the mirror
- Check that light hits your face straight on, not from above or below
A fixture mounted too high just recreates the overhead shadow problem from a slightly different angle.
html
Stand at the sink and mark where your eyes land on the wall.
Center each sconce on that mark, one on each side of the mirror.
Check that light lands on your face directly, not from above.
8. Put the Whole Setup on a Dimmer Switch
Morning light and evening light are not the same job. Getting ready for work at 7am calls for brighter, truer light to catch every detail. Winding down before bed doesn’t need that same intensity.
A dimmer switch lets one fixture do both jobs instead of forcing you to pick a single brightness and live with it all day. Most sconces and vanity bars are compatible with a standard dimmer, though it’s worth checking that your specific bulbs are dimmable before you install one, since not all LEDs are.
html
One fixture on a dimmer can handle both a bright morning routine and a soft evening one.
9. Watch Out for a Single Centered Downlight Overhead
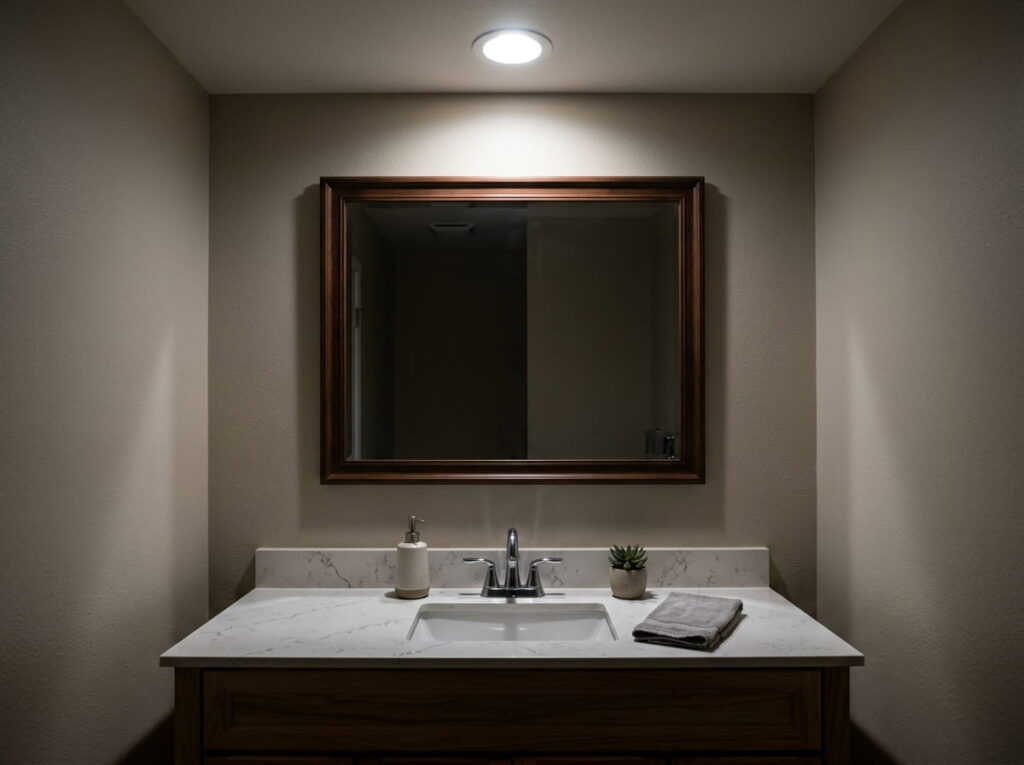
Recessed can lights look sleek on a renovation mood board, but centered directly over the sink, they’re one of the worst setups for actually seeing your face. Light from straight above creates deep shadows under the eyes, nose, and chin, the exact opposite of what a vanity mirror needs to do.
If your bathroom already has one, you don’t have to remove it. Just don’t rely on it as your only light source. Pair it with side sconces so the shadows it creates get filled back in.
html
⚠️ Watch Out
A single overhead downlight, used alone, creates the deepest shadows on your face of any setup on this list.
10. Line Up Small Globe Bulbs for Soft Hollywood Style Light
A row of small round bulbs framing a mirror is the classic dressing room look for a reason. The light comes from several points instead of one, which softens shadows in a way a single large fixture can’t match.
It works especially well for anyone who wears a lot of makeup and needs to judge blending up close, since the coverage is even across the whole face, not just the center.
html
11. Add One Small Accent Light for Depth, Not Just Flat Coverage
Even lighting is the goal for your face, but a room with zero variation in light can feel flat overall. One small accent, like a tucked away shelf light or a warm toned plug in sconce elsewhere in the bathroom, adds depth without competing with your main vanity light.
Keep it dim and off to the side. This isn’t meant to light your face at all, just to keep the rest of the room from feeling stark once your main lights are dialed in properly.
html
- ▸Pick a warm bulb, well under the brightness of your main lights
- ▸Place it off to the side, not near the mirror itself
- ▸Use it for ambiance, not for seeing your face
12. Choose Smart Bulbs You Can Shift From Morning to Evening Light

App controlled bulbs do what a dimmer alone can’t: they change color temperature, not just brightness. That means the same fixture can run cooler and truer in the morning for makeup, then shift warmer at night for a calmer routine before bed.
Most smart bulbs screw into existing fixtures, so this works even if you’re not ready to swap out sconces or run new wiring. The tradeoff is the upfront cost, which runs higher than a basic LED.
html
13. Space Side Sconces About 28 to 36 Inches Apart
Too close together and the light feels narrow, missing the outer edges of your face. Too far apart and you end up with a dim zone right in the middle of the mirror where your face actually sits.
For most standard vanity mirrors, 28 to 36 inches between fixtures hits the sweet spot, though a wider double vanity mirror can handle a bit more spread. Measure your specific mirror before you buy, since width varies more than people expect.
html
Before you mount anything
14. Give Each Mirror Its Own Light Source in a Double Vanity

Two people getting ready at once, sharing one centered light fixture, almost never works well for either person. Whoever isn’t standing directly under it ends up in partial shadow.
Splitting a double vanity into two separate lighting zones, each with its own side sconces or backlit mirror, means both people get properly lit space instead of compromising on one shared setup.
html
One centered fixture leaves whoever isn’t standing under it in partial shadow.
Each mirror gets its own lighting zone, so both people are lit evenly at the same time.
Conclusion
Good vanity lighting ideas come down to one shift in thinking: light your face from the sides, not from above. Once you get that part right, everything else, the bulb temperature, the CRI, the dimmer switch, is just fine tuning.
You don’t need to fix everything at once. Swap a shade this weekend, check your bulb’s CRI next time you’re at the store, and work toward side sconces when you’re ready for a bigger project. Even one or two changes from this list will make a real difference in how your mirror actually shows you your own face.
Leave a Reply