

Every outdated bathroom looks the same walking in: dim lighting, a tub nobody uses, and tile that was trendy decades ago. It is easy to stare at a room like that and assume a full renovation is the only fix, or that any change will cost more than it is worth.
That is where real bathroom renovation before and after transformations are useful. They show the actual gap between a room that is merely functional and one that works, without guessing at what is possible or what any of it costs.
The fourteen bathrooms below range from small powder room tweaks to full gut jobs, and each one solved a specific, nameable problem instead of just getting a style refresh. Some took a single weekend. Others took months. All of them prove that the right change, even a small one, can make a dated bathroom feel like a different room entirely.
1. The Pink Tile Gut Job That Finally Let Go of the 1980s

The tile in this bathroom had not changed since the Reagan administration.
What got pulled out in one weekend:
- A pink cast iron tub three people had to carry out
- Floral wallpaper border nobody could ever bring themselves to remove
- A medicine cabinet rusted shut at the hinges
A partial fix would have just left an awkward in between room. Full gut jobs work best when the layout is this outdated, not just the finishes.
Pink tile floor to ceiling, a cast iron tub nobody wanted to keep, and wallpaper straight out of 1985.
A curbless walk in shower, large format porcelain tile, and a floating vanity that makes the room feel twice the size.
2. Why This Powder Room Stopped Feeling Like a Closet
Powder rooms get skipped during renovations more than any other room in the house, mostly because owners assume there is nothing to fix in such a small space.
Three problems were stacked on top of each other here:
- A door that hit the toilet every time it opened
- A mirror sized for a hallway, not a sink
- Overhead lighting that cast shadows under every eye
None of it required moving plumbing. Swinging the door outward instead of inward solved the clearance problem in a single afternoon, and the rest came down to better proportions.
Reverse the door swing so it opens outward instead of into the room.
Size the mirror to the full width of the vanity, not a small hallway size.
Add wall sconces at eye level instead of one light straight overhead.
3. The Frameless Shower Swap That Made an 80s Stall Disappear
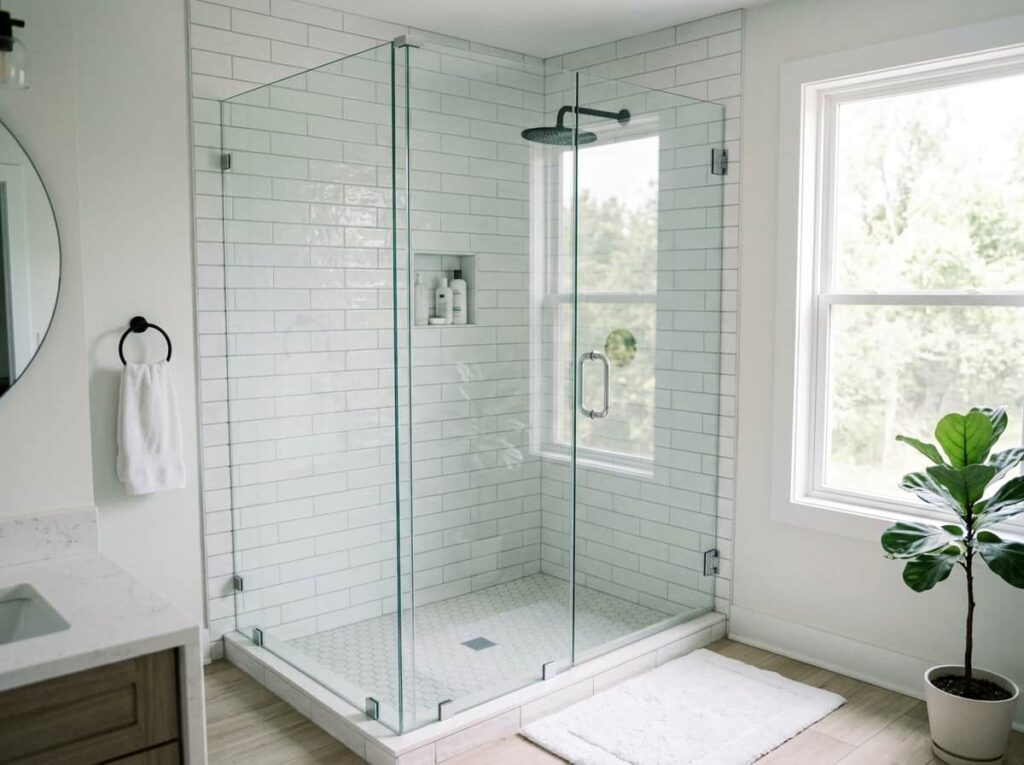
Glass from floor to ceiling changes how a small bathroom reads, even before anything else is touched.
This stall had a sliding door with a track that collected mildew no matter how often it got scrubbed, plus frosted glass that blocked most of the light from a nearby window. Swapping it for a single pane of clear glass on a simple hinge let the window do its job again, and the room reads larger without a single wall moving.
Clear glass only works if the tile behind it is worth looking at, so budget for both at the same time.
4. One Skylight Fixed What No Paint Color Could
Most people reach for a brighter paint color when a bathroom feels dark, but paint was never the actual problem here.
The room had one small window facing a shaded side yard, and no amount of white paint changed how little daylight reached the shower. Adding a tubular skylight above the vanity brought in real daylight on a sunny day, without the cost or framing work of a full window addition.
Daylight changes how clean a bathroom feels in ways paint never will.
💡 Quick Tip
Tubular skylights can work even without direct attic access above the bathroom. Ask an installer about flexible tubing before ruling the idea out.
5. The Finish Mistake That Was Aging This Whole Room

Brushed nickel faucet, chrome shower trim, and gold mirror frame, all living in the same room. That mismatch was doing more to date this bathroom than the dated tile ever did.
The fix was not matching everything exactly, just making it agree:
- Warm brass for anything touched often, like the faucet and cabinet pulls
- Matte black for the mirror frame and lighting
- Brushed nickel retired completely
It is an easy mistake to make because each fixture usually gets bought on a different shopping trip, months apart, with nobody standing back to compare them side by side.
Pick one warm metal and one cool metal, max.
Keep the warm tone on anything your hand touches.
Mixing three or more finishes in one small room.
Buying fixtures on separate trips with no sample in hand.
6. What a Water-Damaged Floor Actually Takes to Fix Right
Spongy subfloor near a toilet is never just a cosmetic problem.
This bathroom had water damage that had been painted over twice by previous owners, which is about as common as it is risky. Once the tile came up, the subfloor underneath had to be fully replaced before anything new went down, not patched around.
Before any renovation starts over a toilet, shower pan, or tub, check for:
Signs of hidden water damage
Skipping this step is how good looking renovations fail within a year.
7. Trading a Cramped Tub Shower Combo for Two Separate Zones

Giving up the tub felt like a loss at first, right up until the new layout made the whole bathroom easier to use.
The old combo unit meant stepping over a high tub wall every single day, and the shower curtain never fully kept water off the floor. Splitting it into a standing shower on one end and a freestanding soaking tub on the other used almost the same footprint, just arranged differently.
It works best for households who shower far more often than they bathe, which covers most people.
8. Popcorn Ceiling and Fluorescent Strip, Gone in a Weekend
Nothing dates a bathroom faster than a ceiling nobody has touched since it was built.
The fluorescent light box over the vanity buzzed audibly and cast a flat, greenish light that made every skin tone look tired. Scraping the popcorn texture and patching the ceiling smooth took longer than removing the light fixture, but both had to happen together or the new lighting would highlight every flaw left in the old surface.
| Before | After |
|---|---|
| Popcorn texture, never repainted. | Smooth ceiling, fresh matte white. |
| One buzzing fluorescent box. | Two recessed cans on a dimmer. |
9. Splitting One Sink Into a His and Hers Vanity Without Moving Plumbing
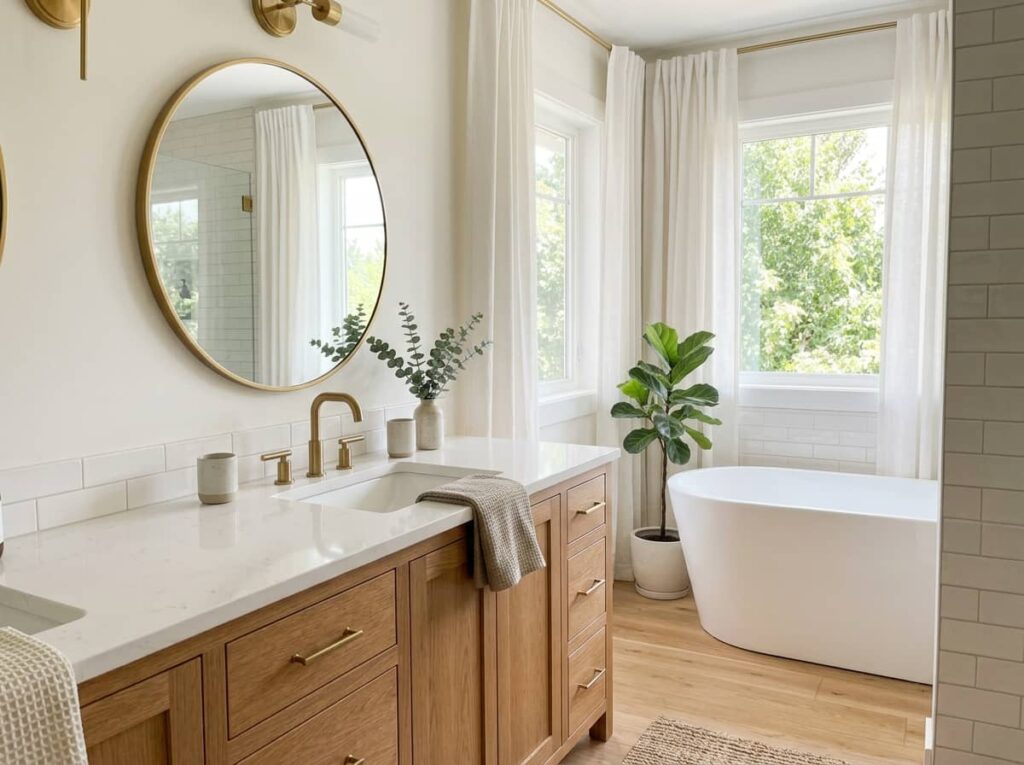
The old vanity had a single sink serving two adults getting ready at the same time every morning, which meant someone was always waiting.
The existing plumbing stack sat almost dead center under the counter, so the contractor was able to widen the cabinet and add a second sink on the opposite side without rerouting any supply lines. Both faucets now tie into the same stack, just spaced further apart.
A double vanity only makes sense if there is at least 60 inches of wall to work with, so measure before falling in love with the idea.
One sink, one mirror, two people rushing on a weekday morning.
Two sinks, two mirrors, and no more waiting for the counter to clear.
10. The Large Format Tile Trick That Made This Floor Look Bigger
Fewer grout lines can change the whole feel of a small room.
The original floor used small hexagon tile with grout lines every two inches, which visually chopped up a room that was already tight on space. Switching to large format porcelain tile, laid with minimal grout lines running the length of the room, made the floor read as one continuous surface instead of a patchwork.
To get this effect right:
Choose tile at least 12 by 24 inches for a small bathroom floor.
Lay it running the long direction of the room, not across it.
Match the grout color closely to the tile so lines fade visually.
11. Swapping a Boxed In Medicine Cabinet for a Backlit LED Mirror
Rust around the hinges was the first sign this cabinet had outlived its usefulness. The second sign was a mirror too small to see more than half a face at once.
Replacing it with a backlit LED mirror solved both problems at the same time. It mounts flush to the wall instead of boxing into it, and the even light around the edges does a better job than any overhead fixture at showing true color for makeup or shaving.
A backlit mirror replaces two fixtures at once, the cabinet and the overhead light, and usually needs no new wiring if it hangs where the old cabinet was wired.
12. The Hardware Finish Rule That Pulls a Mismatched Bathroom Together
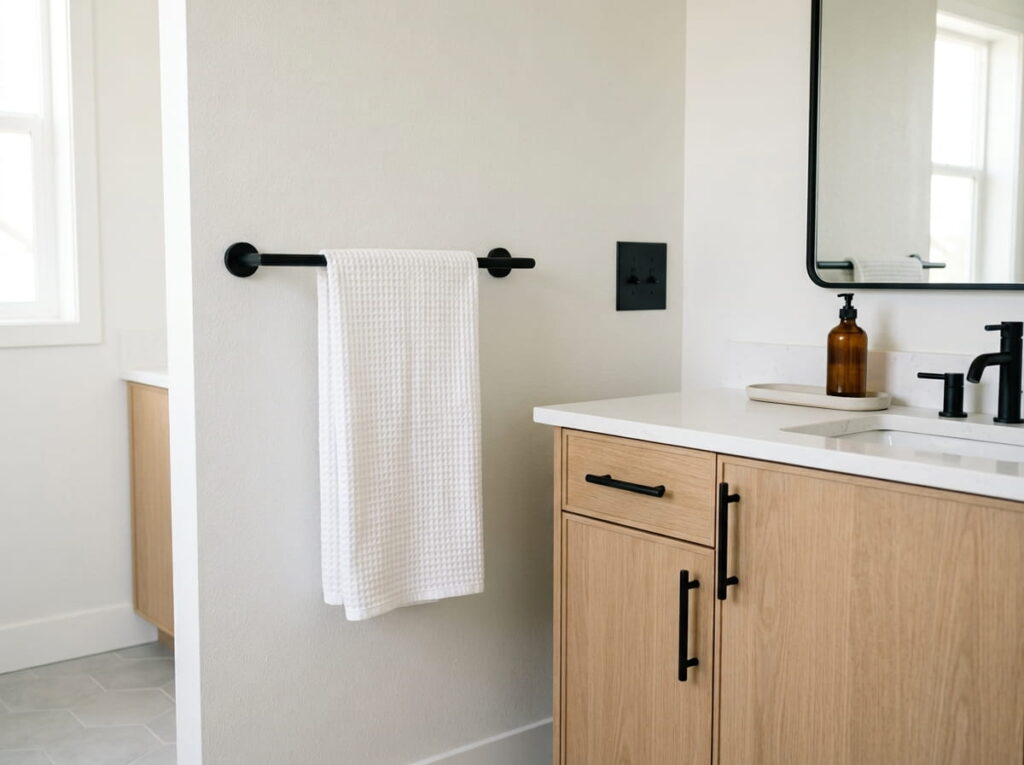
People assume a full renovation is the only way to make a bathroom feel put together. Often it just takes noticing what finish every small detail is in.
Cabinet pulls, towel bar, toilet paper holder, and light switch plates had all been bought separately over several years in this house, in three different metals. Swapping them all to one finish, with no other changes made, was the single move that made the whole room look intentional again.
📌 Good To Know
Switch plates and outlet covers count as hardware too. They get forgotten often, and they’re one of the cheapest items to replace.
13. Turning a Dead Linen Closet Into a Walk In Shower Nook
The linen closet next to this bathroom had been collecting mismatched towels and half empty bottles for years, doing almost nothing for the room it bordered.
Knocking down the shared wall gave the shower an extra two feet of depth, enough to add a built in bench and a recessed shelf for shampoo that used to live on the tub ledge. The closet was never load bearing, which is what made the whole move possible without touching the roofline.
Check with a contractor before removing any wall. Not every closet wall is this easy to take out.
14. The Renter Friendly Refresh That Still Looks Like a Full Remodel
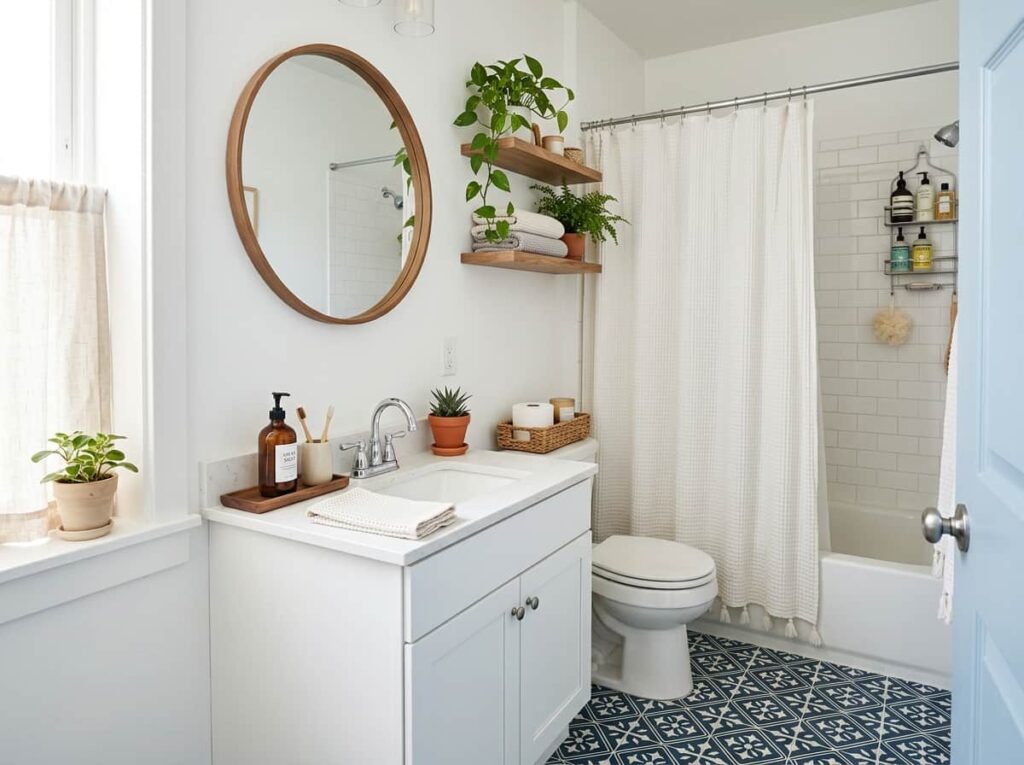
Not everyone can knock out walls or replace a tub, and this bathroom proves that is fine.
Nothing here was permanent. A peel and stick tile covered the dated floor, a tension rod shower curtain replaced a frosted glass door that could not be removed, and a wood vanity tray plus a new mirror did the rest. Everything came off cleanly at move out with no deposit lost.
What to buy for a rental refresh
Conclusion
What stands out across these bathroom renovation before and after transformations is how different the fixes actually were. Some needed a full gut job down to the studs. Others just needed one finish swapped or one wall opened up. None of them needed every idea at once to make a real difference.
If your own bathroom is stuck somewhere in its own before, start with whichever idea above matches your actual problem, not the one that looks most dramatic in photos. Small, specific changes add up faster than people expect.
Leave a Reply