
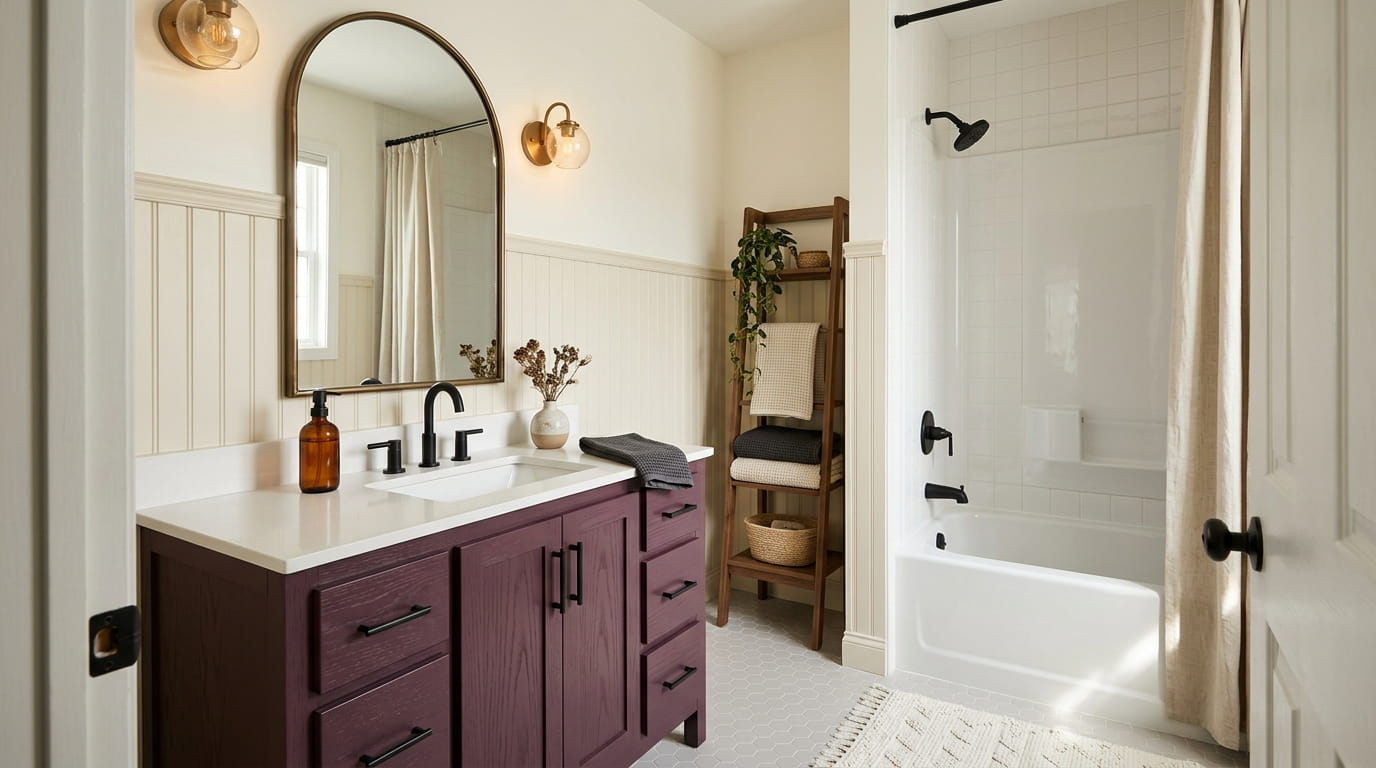
The bathroom is the room most people keep meaning to fix. If your home dates to the 90s, you probably have peach or teal tile, brass fixtures, and a light bar that makes everyone look a little tired. An outdated bathroom makeover sounds like a big job, with demolition and a pile of invoices, so many people close the door and wait.
The good news is that most of the dated look comes from a handful of details, not the bones of the room. New hardware, a different mirror, fresh grout, and better light can shift the whole feel of the space. For most of these changes, you will not need to move a single pipe.
The ideas below start small and build up. Some take one afternoon with a paintbrush, while others need a weekend and a tub of grout. Each one comes with a quick visual, so you can see the change before you spend anything. Start with whichever one bothers you most.
1. Swap Brass Faucets and Handles for Matte Black

Dull brass is one of the first things that dates a 90s bathroom. The finish turns brownish, and the whole room starts to look older than it is.
Matte black is the simplest fix. It reads as current, it tends to hide water spots better than polished chrome, and it works with almost any tile color. Most sets include the spout, handles, and drain, so everything matches.
Dull brass handles, a faucet that drips, and a sink that looks older than the rest of the room.
Matte black handles that match the cabinet pulls, a clean spout, and a room that feels current.
Before you buy, check the holes on your sink. Three-hole and single-hole setups need different faucets, and a mismatch is the most common reason people return one. If you hate the idea of hunting for old parts later, take a photo of the under-sink plumbing before you start.
2. Compare Vanity Top Options Before Replacing the Cultured Marble
Cultured marble vanities with a built-in sink were everywhere in the 90s. They hold up well, but the finish can yellow, and the sink edge can crack over time.
Before you replace anything, know your two real options. A refresh works when the surface is sound. A new top makes sense when the top is cracked or the sink shape is the real problem.
| Refresh the top | Replace the top |
|---|---|
| Cost: low, mostly materials | Cost: higher, with installation |
| Time: one weekend plus cure time | Time: a few days, including lead time |
| Best for: a sound top with surface wear | Best for: cracks, stains, or a new sink style |
| Watch out: keep the room ventilated when you work | Watch out: measure carefully before you order |
If a stain will not lift or the edge is chipped, go with replacement. If the top just looks dull, a deep clean and a test patch with a refinishing kit may be enough. Always test a hidden spot first.
3. Replace the Builder Mirror With a Framed Mirror

Most 90s bathrooms have a plain mirror stuck to the wall above the sink, often with no frame and no real shape. It works, but it does nothing for the room.
A framed mirror changes the look fast. An arch softens a boxy room, and a rectangle with a thin frame suits almost any style. Hang it so the bottom edge sits a few inches above the backsplash, so it does not feel crammed against the faucet.
If you add a light strip with the new mirror, check how it is powered. A plug-in model should stay clear of water, and a hardwired fixture needs an electrician. Do not try that part yourself.
4. Regrout Pink Tile in Warm Grey Without Pulling Anything Out
Here is a rule that saves money. If the tile is solid and the grout is the only thing wrong, keep the tile and fix the lines.
Regrouting does not mean pulling tile. You scrape out the old grout with a grout saw or small oscillating tool, vacuum the joints, and fill them with new warm grey grout. Warm grey quiets the pink without fighting it, and it pairs well with brushed nickel or matte black hardware.
Grab before you start
Colors dry lighter than they look when wet, so test a patch in a hidden corner first. Work slowly with the saw, since scratches on glazed tile are hard to undo.
5. Paint the Oak Vanity Instead of Hauling It to the Curb

Many people think an oak vanity has to go in a 90s bathroom. It does not. Solid wood cabinets can take a fresh coat of paint, and a painted vanity often looks more current than the old stain.
Prep decides how the finish turns out. Sand the surface lightly so the paint can grip, wipe it down with a degreaser, and use a bonding primer. Oak grain can show through, so a grain filler helps if you want a smooth look.
Sand lightly, degrease, and prime first.
Use cabinet enamel and a foam roller for a smooth finish.
Skip regular wall paint, which chips on cabinet doors.
Skip painting over grease or dust, since the new coat will peel.
6. Replace the Tub Border Tile With Large-Format Tile
The thin border strip around the tub is often the first thing to look dated. Its small, busy pattern makes the wall feel fussy, and every extra grout line adds to the noise.
Large-format tile fixes that. Fewer joints make the wall look calmer, and the room feels bigger. Here is the process:
Mark the tile height on the wall so the new row sits level.
Score the old border with a utility knife and pry it off in small pieces.
Set the large tiles with a level, using spacers to keep the joints even.
Grout with a color close to the field tile so the joints fade into the wall.
Old tub surrounds often slope a little, so the top row may need a small cut. Measure twice and cut once, since a tile that is off by an eighth of an inch shows from across the room.
7. Add Dimmable Wall Sconces to Replace the Bar Light

A single bar light above the mirror casts harsh shadows and makes everyone look a bit tired. Two wall sconces, one on each side of the mirror, give softer light at face level.
The project depends on what is already in the wall. If there is a box where a sconce can go, the swap is simple. If not, new wiring is a job for an electrician.
Look for a dimmer rated for bathrooms and for the bulb type you plan to use. Dimming lets you go bright for makeup and soft for a late night soak.
8. Trade the Shower Curtain for a Glass Panel
A shower curtain that clings to your legs and grows mildew along the bottom can make the whole bathroom feel older than it is. A fixed glass panel along the open side of the tub looks cleaner and wipes down easily.
Most panels are fixed, not doors, so you still step over the tub edge. That is part of why they suit narrow rooms.
⚠️ Watch Out
Use tempered safety glass with a secure mount. Measure the tub rim at three points, since old tubs are rarely perfectly level.
If glass feels like a big step, a tension rod with a heavier liner is a cheaper test. You can upgrade later once you know how you like it.
9. Lay Hex Tile Over the Dated Vinyl Floor
Old bathroom floors often have yellowed vinyl with a pattern that never matched the rest of the room. Hex tile is small and forgiving, and it makes a floor look intentional.
Tiling over vinyl only works if the vinyl is in good shape. Check it before you buy anything.
Mix only as much thinset as you can use in about 30 minutes. Keep one spare tile, since a cracked piece later is much easier to swap than to match.
10. Add a Ladder Shelf Where the Cramped Corner Cabinet Used to Be
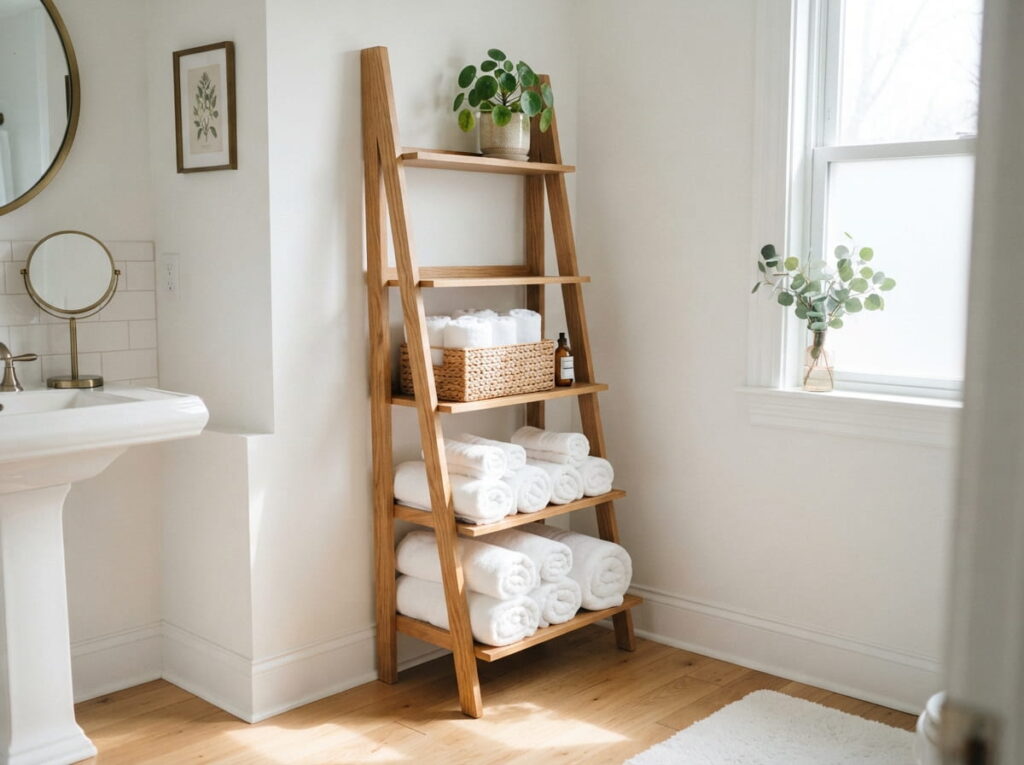
Corner cabinets in 90s bathrooms are deep and dark, and the back corner is hard to reach. Many people keep them for years because they seem like the only storage option.
A tall ladder shelf fills the same corner with more air around it. The open rungs let you see what you have, and the slats let light pass through.
- ▸Anchor the frame to a wall stud so it stays put when the rungs hold towels.
- ▸Put baskets on the lower rungs and display pieces on the upper ones.
- ▸Pick a finish that matches your faucets, such as matte black or natural wood.
- ▸Leave a few inches of clearance so the door still swings fully open.
Open shelving also makes the room feel bigger, since the eye moves past the shelves instead of stopping at a dark cabinet front.
11. Reglaze the Old Tub Instead of Replacing It
A pink or avocado tub with a chipped rim is often the reason people tear out a whole bathroom. A new tub means demolition, plumbing, and a long wait. Reglazing gives you a glossy, fresh surface in a day or two.
Reglazing is a surface job, so the result depends on prep. The tub has to be fully clean and dry before the coating goes on. Here is how the choice usually breaks down:
Ventilate the room with a fan and an open window.
Let the coating cure for the full time on the label before you use the tub.
Skip bleach and abrasive pads, which can dull the new finish.
Skip using the tub on the first day, even if it feels hard.
The first few weeks are a fragile stage for the finish. Use a gentle cleaner and a soft cloth, and avoid dropping heavy bottles on the rim.
12. Paint the Popcorn Ceiling Instead of Scraping It
Popcorn ceilings are a headache. They trap dust, they stain at the edges, and scraping one is messy work. In a bathroom, the steam makes the bumpy texture look worse.
Paint can freshen a textured ceiling without the mess. A flat, mildew-resistant ceiling paint brightens the room, and the texture stays in place.
⚠️ Watch Out
Older textured ceilings can contain asbestos. Get a lab test before you scrape, sand, or drill into the texture. A paint job skips the scraping, which keeps the dust down.
Roll the paint on in thin coats so it does not drip into the bumps. Paint the ceiling before the walls, so any spatter lands on surfaces you were going to paint anyway.
13. Repaint Peach and Mint Walls in a Soft Neutral

Peach and mint were the go to bathroom colors for decades, and they now read as very dated. A single coat of a new color can change the room more than most people expect.
Pick a soft neutral with an undertone that matches your new hardware. Warm greige with matte black fixtures feels cozy, and a cool white with brushed nickel feels crisp.
Paint is the cheapest, fastest change in this list, so do it before you spend on tile or fixtures.
Coclusion
You do not need to gut a 90s bathroom to make it feel new. Most of the dated look comes from a few details: brass hardware, peach walls, a harsh bar light, and tired grout. Start with the cheapest change you can live with, then work up to tile or lighting as your budget allows. Each small update makes the next choice easier.
An outdated bathroom makeover works best one step at a time. Live with each change for a week before you decide on the next.
Leave a Reply