

Most bathroom remodels hit the same snag at the shower door. The raised curb looks minor on a floor plan, then it becomes the thing everyone trips over at 6 a.m. Curbless showers solve that, but plenty of people skip them because they worry about water spilling onto the rest of the room or because the result feels clinical.
A curbless design doesn’t have to look like a hospital hallway. With the right slope, a smart drain choice, and careful tile planning, you can get a floor that feels open and high end while still working for a parent with a stroller, a guest with a cane, or your own knees twenty years from now.
Below are 12 curbless shower ideas that work in real bathrooms, from the drain you pick to the bench you tuck into the wall. Each one is a specific move you can bring to your contractor or use on a weekend project. Save the ones that fit your space, because the planning details are easier to find when you’re standing in the tile aisle.
1. Start with a linear drain and a slope you can barely see
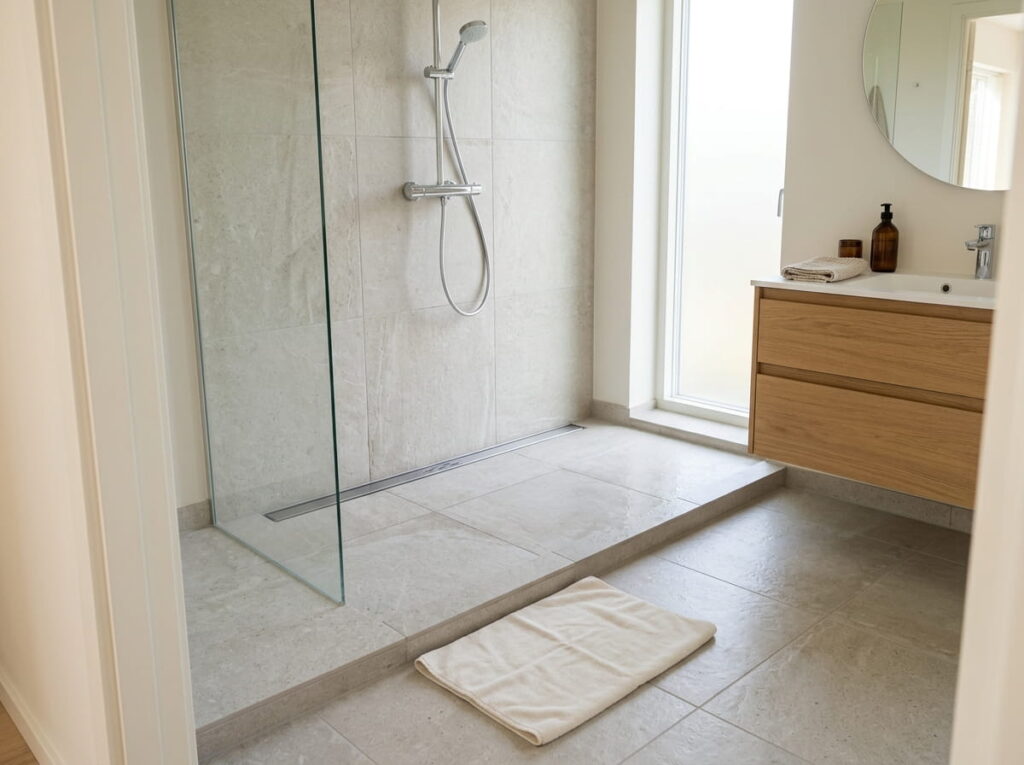
A linear drain runs as a thin strip along one wall instead of a round drain in the middle of the floor. That shape lets the whole floor tilt toward a single edge, so the slope can hide under the tile.
Most installers aim for about a quarter inch of fall per foot. Your eye won’t catch it, but the water will. Ask for the slope to be built into the mortar bed before the tile goes down, not patched on top later.
Before you finalize, confirm three things with your contractor:
- Where the drain sits relative to the shower opening
- How the tile will be cut along the drain edge
- Whether the drain cover can be tiled to match the floor
2. Run a trench drain along the back wall for a clean entry
A trench drain sits along the back wall, and the floor slopes away from the doorway. Water runs toward the back, so nothing pools on the bath mat or on the tile you step onto first.
This works best in a long, narrow bathroom. The back wall is usually the longest run, so the drain can stretch across it without cutting into walking space.
It asks for a bit more planning, though. The slope has to fall toward the back, and the vanity or toilet can’t block that path. Mark the door location early so the drain and the entry line up.
💡 Quick Tip
Ask your installer to run a bucket test before the tile goes down. Pour water near the entry and watch where it travels. Small pools show up fast, and fixing them after tiling is a hassle.
3. Choose large-format porcelain tile to cut down on grout lines

Large-format tile, usually 24 inches or bigger on at least one side, leaves fewer joints across the floor. Fewer joints means less grout to scrub and a floor that reads as one calm surface instead of a busy grid.
Good shower floors need a few things from that tile. Look for a matte or textured finish, a rectified edge so the joints stay tight, and a size your installer has handled before. Large tile also needs a flat base, so raise floor prep with your installer early.
Grout still needs sealing, even with fewer lines.
Small mosaic tiles everywhere, with grout lines to scrub every week.
A few large tiles with tight joints, so the floor looks continuous and cleans in one pass.
4. Swap the swing door for a fixed glass panel
A fixed glass panel stays put and fills the opening, so there’s no door swinging into the path of a walker or a wheelchair. You also get a wider, more open feel that makes a small bathroom look larger.
Water control is the tradeoff. A curbless entry relies on the slope and on a glass panel placed to catch spray, so the layout needs a deliberate water plan. Many designs add a short return wall or a glass edge that overlaps the tile.
A swing door still makes sense if you need full privacy. This comparison can help you decide.
| Feature | Fixed glass panel | Swing door |
|---|---|---|
| Access | Wide opening, nothing to open | Narrower, door swings in or out |
| Water control | Depends on slope and panel placement | Usually easier to contain |
| Cleaning | Glass needs regular wiping | Same, plus hinges and tracks |
| Feel | Open and airy | More enclosed |
5. Set a recessed niche at a height you can reach from the floor
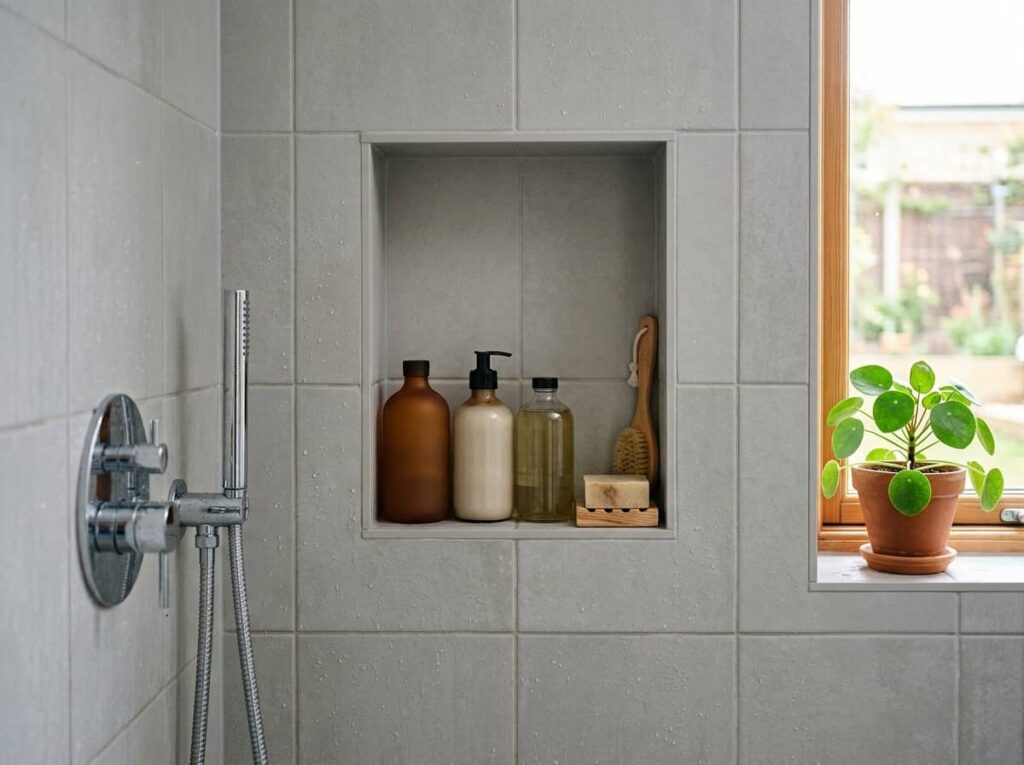
A recessed niche gives you a spot for shampoo and soap without a caddy cluttering the floor. Plan it while the wall is still open, because adding one after tile is a much bigger job.
Place it where your hand naturally lands when you stand under the water. Many people set niches too high, so the bottles sit out of reach for anyone who is seated or shorter. Aim for a spot at mid-torso or lower.
Waterproof the niche as part of the shower system, and choose a shelf edge that won’t trap water.
6. Choose a matte floor tile that won’t turn slippery when wet
Polished tile can look stunning in the showroom and then feel like an ice rink once soap and water hit it. Matte and textured finishes usually grip better, but slip resistance varies widely between brands, so don’t rely on the word “matte” alone. Take a sample home and test it before you commit.
Test before you buy
Soap film makes any floor feel slicker, so pick a finish that rinses clean without leaving a haze.
7. Keep the shower floor level with the hallway at the doorway
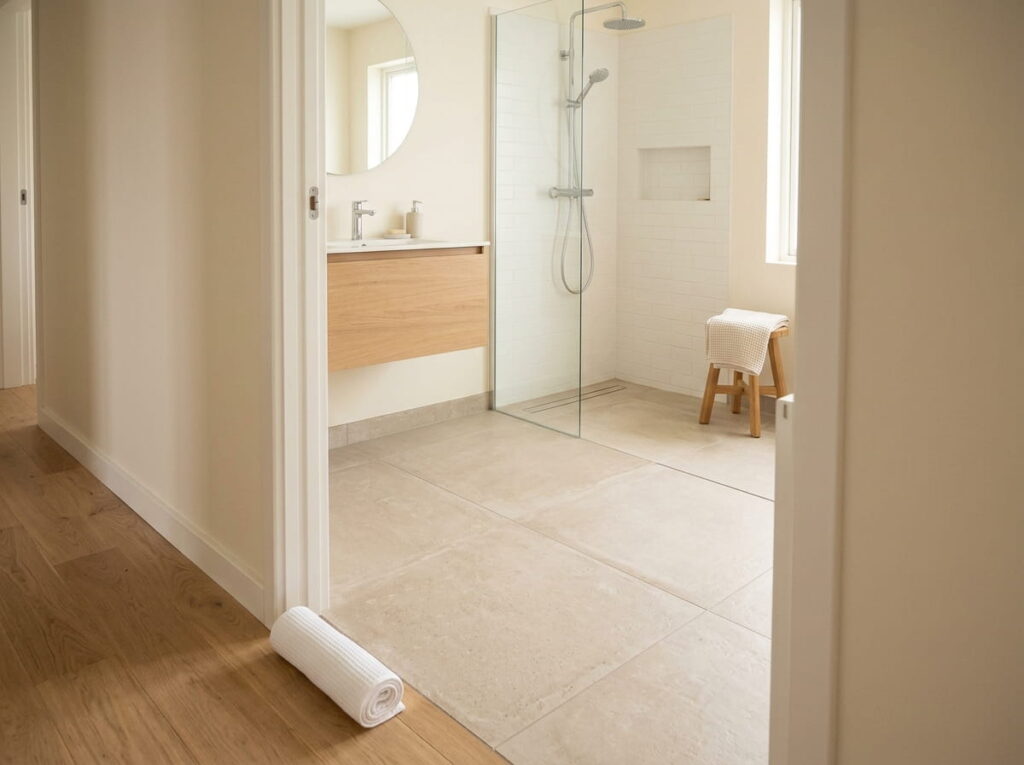
Many people assume the shower floor has to sit lower than the rest of the bathroom. It doesn’t. The goal is a flat edge at the doorway, with the slope starting only after you step inside.
Keep the entry edge flat and level with the hall floor.
Start the slope a few inches inside the shower opening.
Dropping the whole floor so the hallway ends up with a step.
Adding a thick threshold strip that a cane or toe can catch on.
If you’ve ever stubbed a toe on a metal strip at 6 a.m., you already know why this matters.
8. Build a fold-down teak bench into the wall
A bench gives you a place to sit while you shave a leg or wait for the water to warm up. Fold it flat against the wall when you don’t need it, and the floor stays open. Seated shower guides often aim for a seat height near 17 to 19 inches, so start there.
Choose a seat height in the 17 to 19 inch range for comfort.
Frame solid blocking into the wall before the board goes up.
Seal the teak with a finish made for wet areas, and recheck it every year.
Teak handles moisture well, but untreated wood still greys and can crack over time.
9. Run one continuous wet room floor across the whole bathroom
A single tile running from the door to the shower removes every visual break. In a small bathroom, that unbroken line makes the room read as larger than it is. The trade-off is serious waterproofing under every tile, plus a drain set at the floor’s lowest point.
A wet room floor needs full waterproofing under every tile, not just inside the shower.
Pick one slip rating for the whole floor so no zone feels different underfoot.
10. Mount a handheld showerhead on a slide bar at seated height
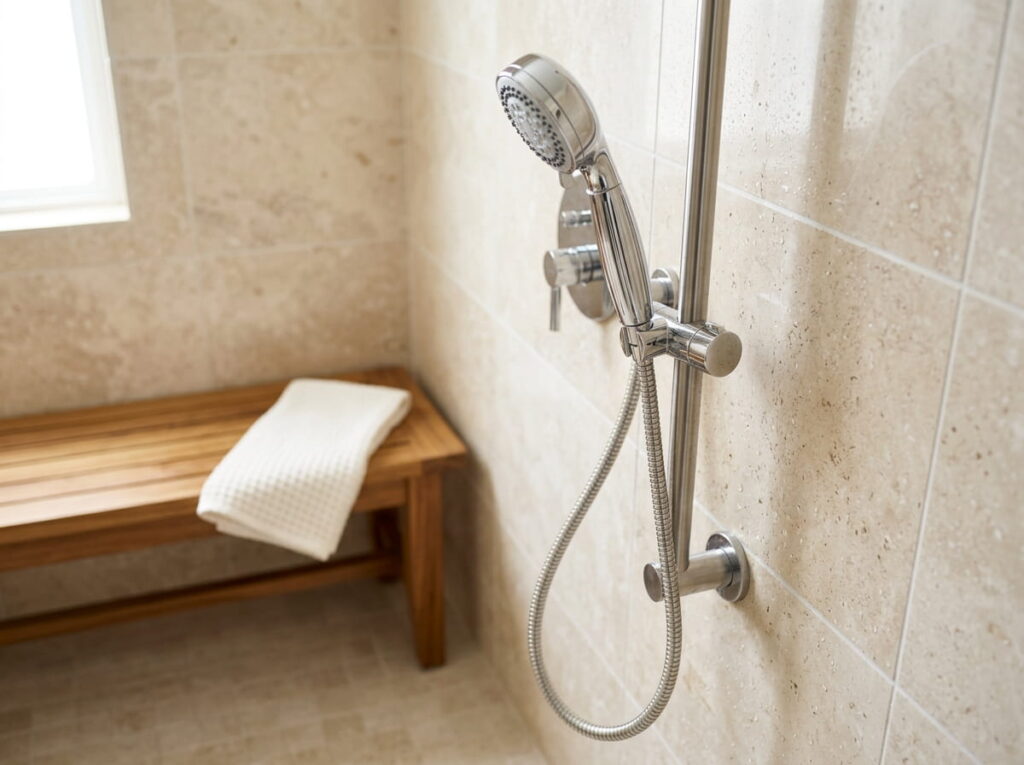
A slide bar lets you set the showerhead to your height, whether you’re standing, seated, or helping someone else. Keep the bar low enough to reach from a bench. Hose length matters more than most people expect, so measure before you buy.
⚠️ Watch Out
A short hose can pull the head out of reach, and a low-flow head can feel weak. Check the hose length and flow rate on the box before you buy.
11. Use grab bars that double as towel hooks or shelf edges
Grab bars are the piece people skip until they need one. Mounted into a stud or solid blocking, a bar can look like part of the design instead of a medical add-on. Matching the finish to your faucet keeps the room cohesive.
Ask your installer to add blocking during framing. Retrofitting it after tile is a much bigger job.
12. Plan lighting and a vented fan before the tile goes up

Lighting and ventilation are easy to forget when the design focus is the floor and the glass. Set them during rough-in and the shower will look finished on day one. A vented fan keeps moisture from soaking into paint and drywall, and layered lighting keeps the space from feeling flat.
Confirm before tile day
Conclusion
A curbless shower works best when it fits how you actually move through your day. Start with the floor slope and drain, keep the entry flat, and place the niche, bench, and grab bars where your hands and body need them. Choose tile with a real slip rating, and light the room well enough to see the slope you built.
Leave a Reply