
Your bathroom cabinet looks fine until you actually open it. Then it’s three half-used bottles of the same lotion, a razor with no idea where its cap went, and a drawer that only opens halfway because something is jammed in the back. That’s the real starting point for most people, not a Pinterest board full of matching glass jars.
If you’re looking into bathroom organization for beginners, you don’t need forty dollars of bins before you even know what you own. You need a plan that starts small, works with the space you actually have, and doesn’t fall apart in two weeks.
This list walks through the order that actually works. Empty, sort, measure, then buy, not the other way around. Some of these steps take ten minutes. Others take an afternoon. None of them require redoing your whole bathroom in one weekend.
By the end you’ll have a clear starting point, a system that fits how you actually get ready in the morning, and a bathroom that stays organized longer than a week.
1. Empty Everything Out Before You Buy a Single Bin

Pull everything out of every bathroom drawer, cabinet, and the shower itself. All of it, onto the counter or the floor.
You can’t organize what you can’t see, and half of what’s hiding in a bathroom cabinet is stuff you forgot you owned. This step feels messy for about twenty minutes, then it gets satisfying fast. Do this before you touch a single bin or basket, buying containers first just means organizing clutter instead of getting rid of it.
Pick one zone, the sink drawer, the shower shelf, the medicine cabinet, and empty it completely.
Wipe down the empty surface. You’ll be surprised how much easier sorting feels on a clean shelf.
Group items loosely by type as you go, don’t sort yet, just cluster.
2. Sort What’s Left Into Four Honest Piles
Once everything is out of the cabinet, you’ll have four honest categories to sort into, and this is where the actual organizing starts.
Be ruthless with the toss pile. That lotion you used once in 2022 is not coming back into rotation. The relocate pile matters too, bathrooms tend to collect things that really belong in a bedroom drawer or a hallway closet. Don’t skip the expired pile either, it’s usually bigger than people expect.
3. Start With the Cabinet Under the Sink, Not the Medicine Chest

Most beginners start with the medicine cabinet because it’s small and feels manageable. That’s backwards.
The cabinet under the sink is usually the most crowded, the most mismatched, and the one causing daily frustration, so tackling it first gives you the biggest payoff for the least amount of total time. The medicine cabinet is small enough to handle later, once you already have momentum and a better sense of what you actually own.
Start with the most crowded, most used cabinet first.
Save the smallest, simplest space for last.
Don’t start with the easiest space just to feel productive.
Don’t buy organizers before you’ve sorted anything.
4. Group by Morning Routine, Not by Product Type
You reach for the same five things every morning, toothbrush, face wash, moisturizer, deodorant, and they’re usually scattered across two different cabinets.
Group those together in one spot, ideally at eye level or in the top drawer, and skip grouping by category like “skincare” or “haircare” if that’s not how you actually move through your routine. Organize for the mornings you actually have, not the ones on a cleaning blog.
💡 Quick Tip
Stand where you actually get ready and organize based on your real routine order, not product category.
5. Check Expiration Dates Before You Organize Anything
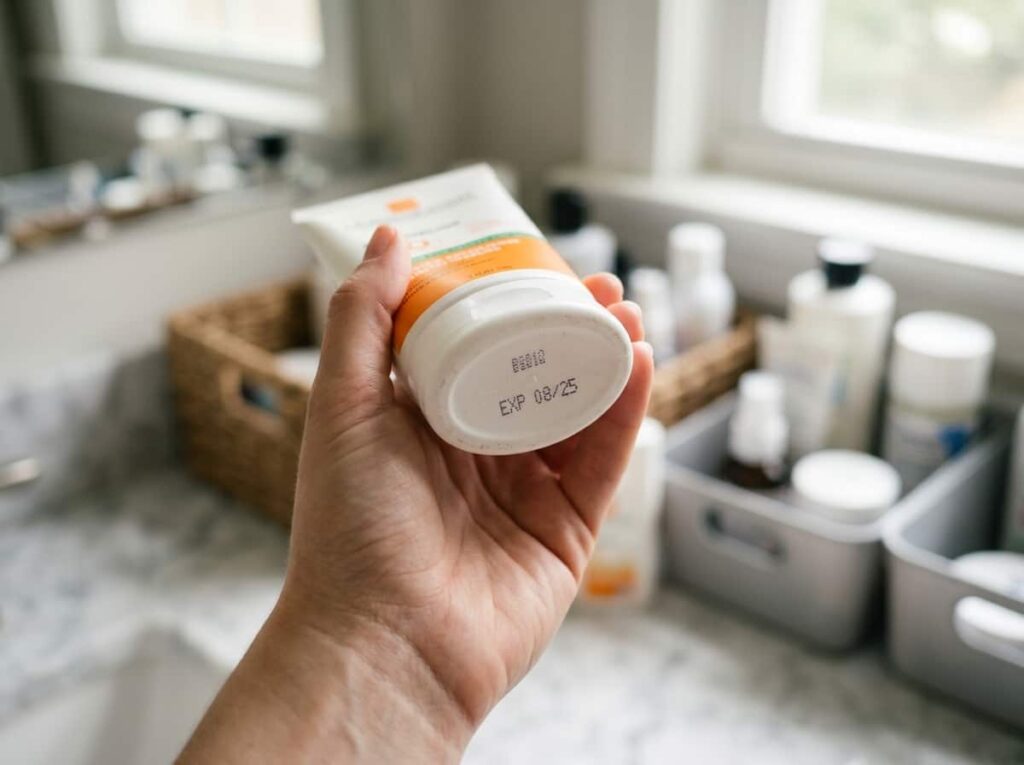
People skip this step constantly, and it’s the one that causes the most regret six months later.
Sunscreen, acne treatments, and anything liquid can go bad well before the bottle looks empty. Check dates while you’re already sorting, not later when you’re in a rush. A few minutes now saves you from reaching for something expired right before you need it most.
Check these dates first
6. Add a Shower Caddy for Anything That Gets Used Wet
Shampoo bottles sitting directly on a tub ledge leave rust rings and slick residue that never fully wipes away.
A hanging caddy or corner shelf solves that and keeps wet products separate from everything else in the room. Pick one that drains instead of pooling water at the bottom, since a caddy that holds standing water just grows mildew instead of preventing it.
7. Give Each Person Their Own Small Bin in a Shared Bathroom
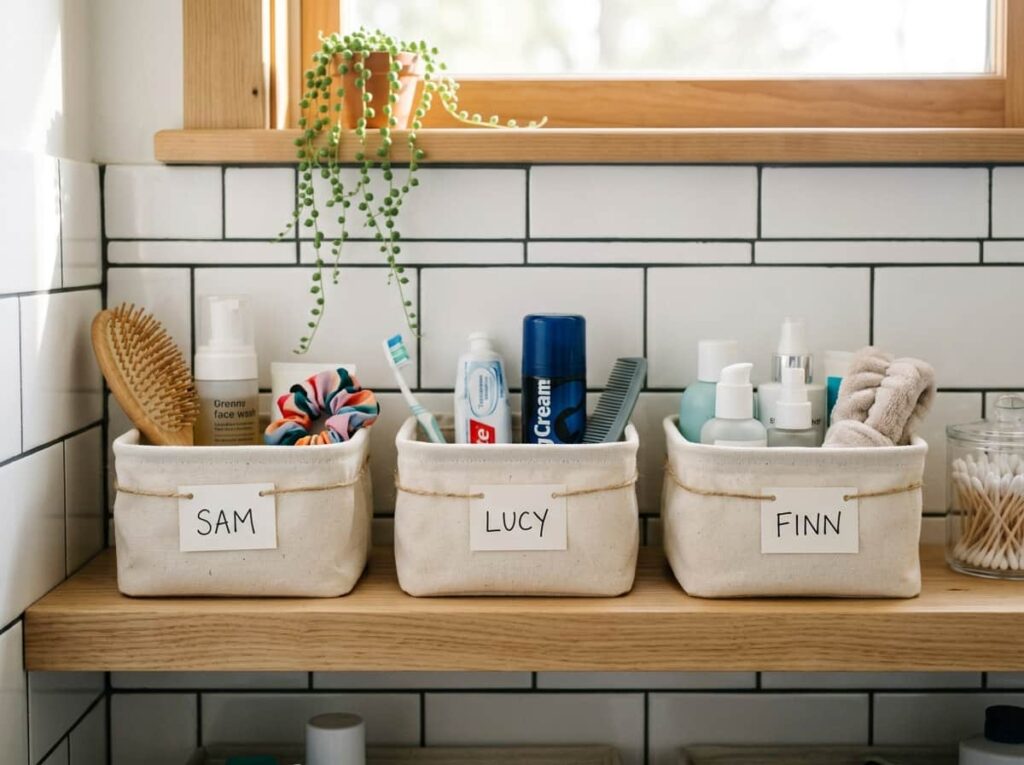
Shared bathrooms fall apart fast when everyone’s stuff lives in one communal pile under the sink.
Hand each person a labeled bin or basket for their own products, and the daily digging stops almost overnight. It also makes it obvious at a glance whose stuff is whose, which cuts down on borrowed toothpaste and missing hairbrushes.
One shared pile under the sink, nobody can find their own stuff.
Each person grabs their own labeled bin and goes.
8. Measure Your Space Before You Buy a Single Organizer
Guessing bin sizes is the number one reason beginner bathroom organizing fails before it even starts.
Grab a tape measure and jot down the height, width, and depth of every cabinet, drawer, and shelf you’re planning to organize.
Watch Out
⚠️ Watch Out
A bin that’s half an inch too tall won’t let the drawer close, measure twice before you order anything online.
9. Keep Backstock Supplies Somewhere Other Than the Bathroom
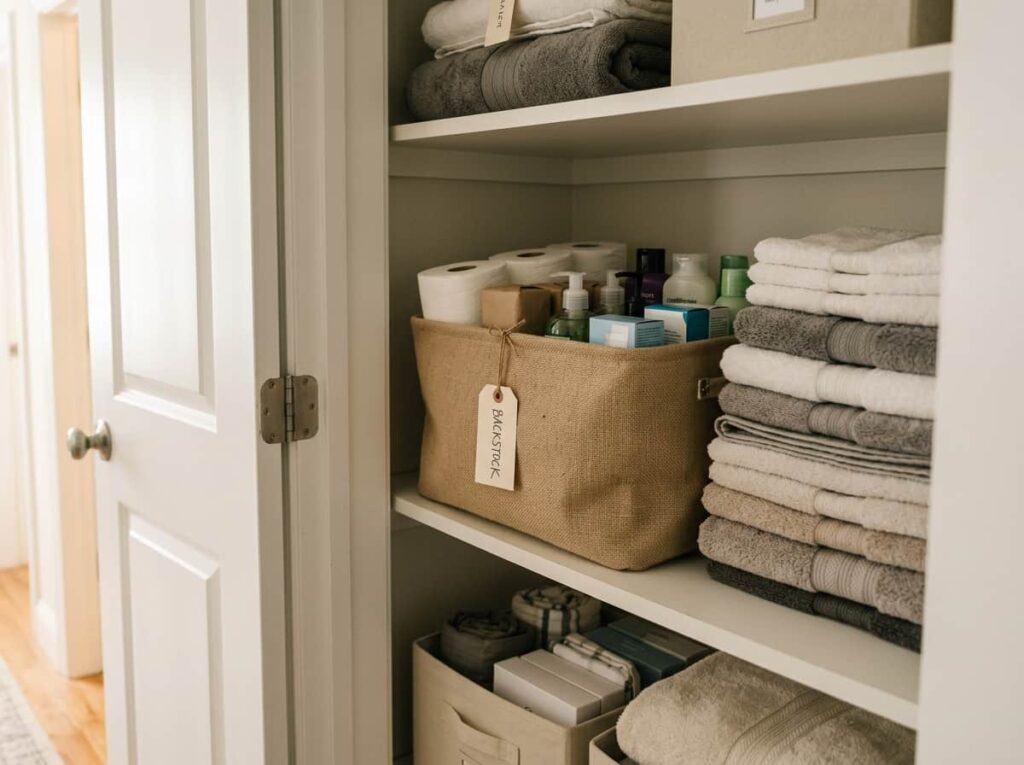
Extra toilet paper, backup shampoo, spare toothbrushes, none of that needs to live in your already cramped bathroom.
A hallway closet, a bedroom shelf, or even a labeled bin in a linen closet works better and frees up real space for things you use daily.
Your bathroom only needs what you use this week, backstock belongs somewhere else entirely.
10. Label Everything While You Still Remember Where It Goes
A system only works if everyone in the house knows where things belong, and labels are what make that stick.
- Use a simple label maker or painter’s tape and a marker, nothing fancy required
- Label bins by function, not by brand name, since products change but categories don’t
- Put labels on the front of drawers too, not just the bins inside them
- ▸Label by category, not brand.
- ▸Keep labels at eye level so they’re easy to read.
- ▸Redo labels whenever a category genuinely changes.
11. Build a Two Minute Weekly Reset Into Your Routine
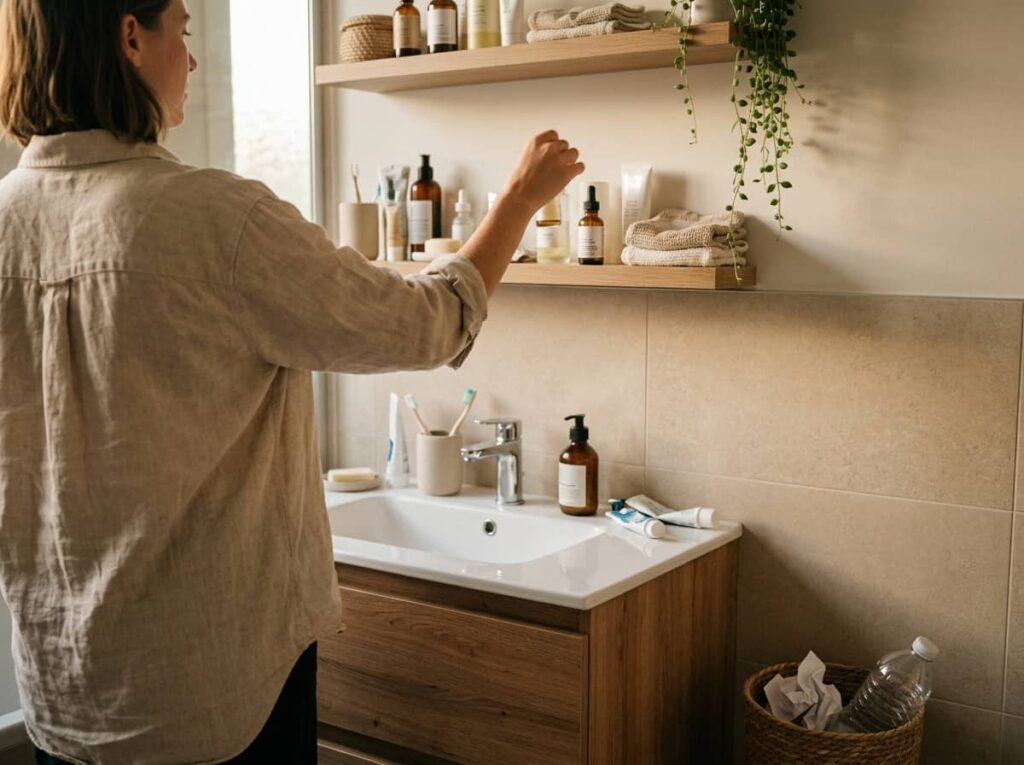
Organizing once doesn’t hold forever, not with daily use, dropped bottles, and kids grabbing things off shelves.
Set a recurring two minute reset, maybe right before you do laundry or take out the trash, where you put anything back in its labeled spot and toss empty containers. This small habit is what actually makes an organized bathroom last past the first month.
A quick weekly reset keeps you from needing to redo this whole process again in three months.
12. Know When to Stop Buying Organizers and Start Using What You Have
It’s easy to fall into a loop of buying bin after bin, convinced the next one will finally fix the clutter.
Most of the time what you already own is enough, an old mug can hold makeup brushes, a cereal container can corral hair ties. Before adding anything new to your cart, check if a container you already have could do the job first.
📌 Good To Know
An empty jar, box, or mug around your house often works just as well as a bin made specifically for bathrooms.
Conclusion
Bathroom organization for beginners isn’t about matching bins or a perfectly styled shelf. It’s about emptying what you have, sorting it honestly, and building a system around how you actually move through your morning. Start with the cabinet that frustrates you most, measure before you buy, and give yourself a two minute weekly reset so the work you just did actually sticks around.
None of this needs to happen in one weekend. Pick one step today, even just emptying a single drawer, and build from there. Save this list for the next time you’re staring at a messy cabinet and don’t know where to start.
Leave a Reply